Many organizations use Google Docs as a document management tool. Google, as a platform, offers a more integrated environment where managing documents and files is relatively straightforward.
Use case
You have chosen Document360 as your Knowledge base platform, and you want to have a backup of your knowledge base in Google docs.
Google makes for a good collaboration platform and a backup for the Knowledge base articles. But you have the task of adding the articles created on the Document360 knowledge base to Google Docs. Yes, it can be done manually, but it takes more effort, is time-consuming, and has a high probability of a mishap.
There is currently no direct integration option between Google Docs and Document360 on either of the platforms.
How will you integrate Document360 and Google docs?
You can use Make integration to bridge this gap as a workaround. You can easily facilitate the content flow between these platforms by connecting Google Docs and Document360 on Make.
-
Go to the Make website.
-
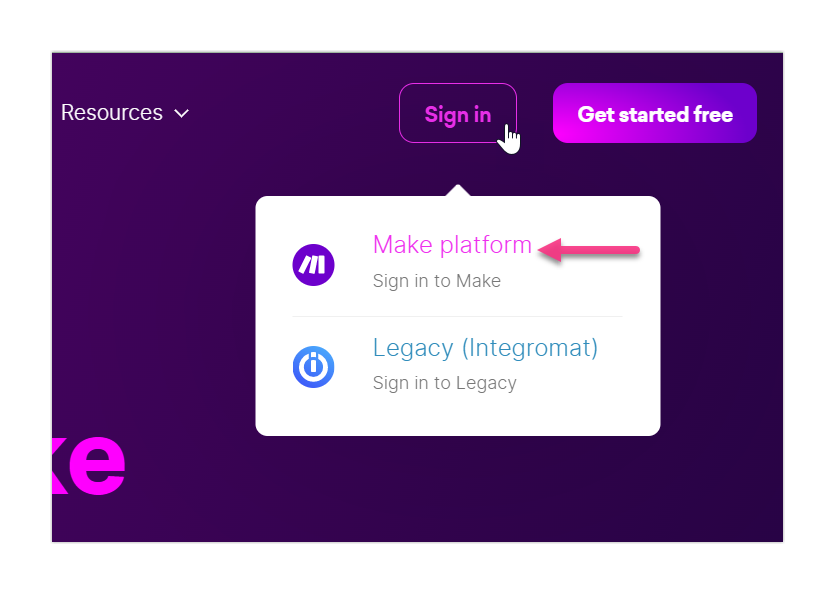
To sign in to your Make account, click the Sign in button at the top-right.
-
Log in to your Make account, and the dashboard appears.
Step 1: Create a new scenario
-
Click Create a new scenario at the top right.
-
Click the + icon, and a list of available applications appears.
-
In the Search field, type in the app name (Google docs) you want to connect to.
-
Select Google docs and choose which task you want to map with Google docs.
For example, you can select Watch New Articles to monitor the new articles created in the knowledge base.
Step 2: Connect Document360
Connect your Document360 account with the new scenario in the Document360 module.
If you have already connected Document360 with Make:
In the Document360 module, select the desired Webhook from the Choose a hook dropdown.
If you are yet to connect Document360 with Make:
-
In the Make scenario page, click the add module (+) icon.
-
In the Search field, type in the app name (Document360) you want to use.
-
Select Document360 and choose which action you want to perform in Document360.
For example, you can select Create an article to create a draft article.
-
Click Create a webhook, and enter the desired Webhook name.
-
Click Create a connection and enter the Connection name.
-
Enter your API key and click Save.
-
Go to Settings > Knowledge base portal > Extensions and navigate to Team collaboration.
-
In Make assistance, click Connect and Copy the generated token.
-
Your Document360 project is now connected with Make.
-
Click OK.
Step 3: Connect Google Docs
After you connect Document360 with Make, it's time to connect your Google Docs account and progress with further steps.
-
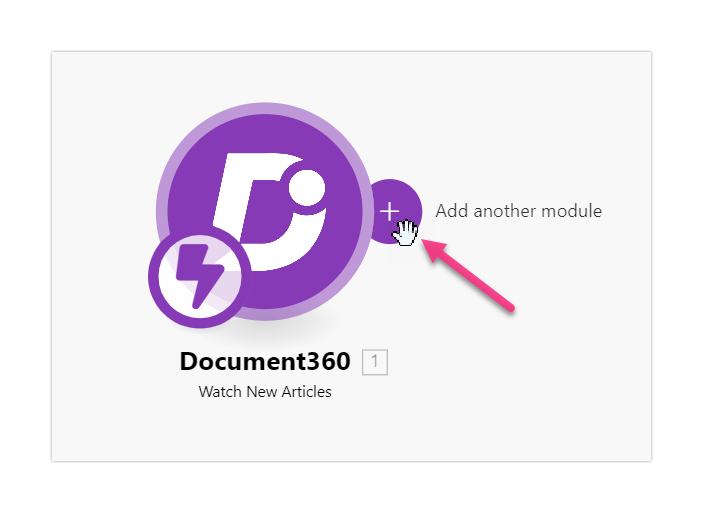
In the Make scenario page, hover over the right side of the Document360 module and click the Add another module (+) button.
-
In the Search field, type in the app name (Google Docs) you want to connect to.
-
Select Google Docs and choose which action you want to perform in Google Docs.
For example, you can select Create a Document to create a new Document when you create a Document360 article.
-
In the Connection dropdown, select the desired connection if you have already connected.
If you are yet to connect:
a. Click Create a connection and enter the Connection name.
b. Enter your Google Docs credentials in the new access window.
Your Google Docs account is now connected with Make. -
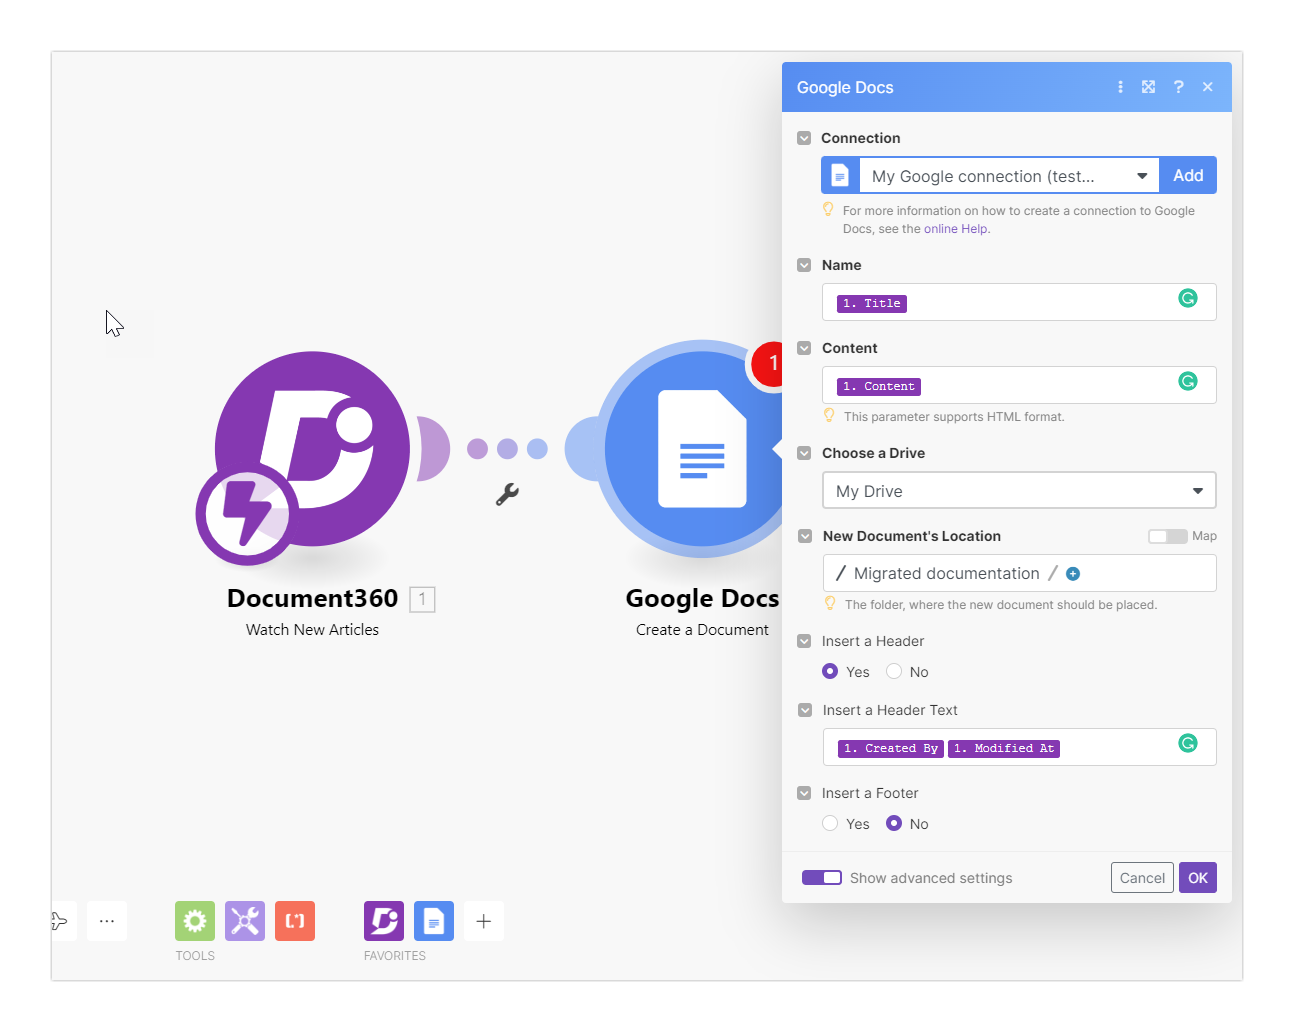
Click inside the Name field and select the parameters you want as the title of your Google Docs document.
For example, you can select the Title parameter and retrieve the title of your Document360 articles as the title of your Google Docs document.
- Click inside the Content field and select the parameters you want as the content of your Google Docs document.
For example, you can select the Content parameter and retrieve the markdown content of your Document360 articles as the content of your Google Docs document.
-
In the Choose a Drive dropdown, select the desired drive where you want to create the document.
-
In the New Document's Location field, select the folder where you want to save the document.
-
In addition, you can also enable the Show advanced settings to add a header and footer to the document.
For example, you can add the Created by parameter to retrieve the article contributor name.
- Click OK to save.
Step 4: Test the scenario
Make sure everything is working before you activate and schedule your scenario.
-
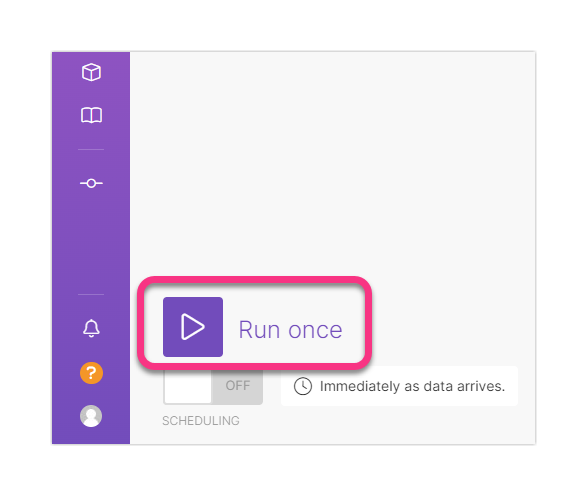
Click the Run once button to test your scenario.
-
The test details appear at the bottom of the page.
-
To test the scenario, create a new task in the associated Google docs project.
-
After you create the task, a new article will be created in the associated Document360 category.
-
You can verify this with the test details at the bottom of the page. If required, you can also navigate to the Document360 project and check out the newly created article.
If you encounter an error for any scenario, recheck steps 1 to 4.
Step 5: Schedule the scenario
-
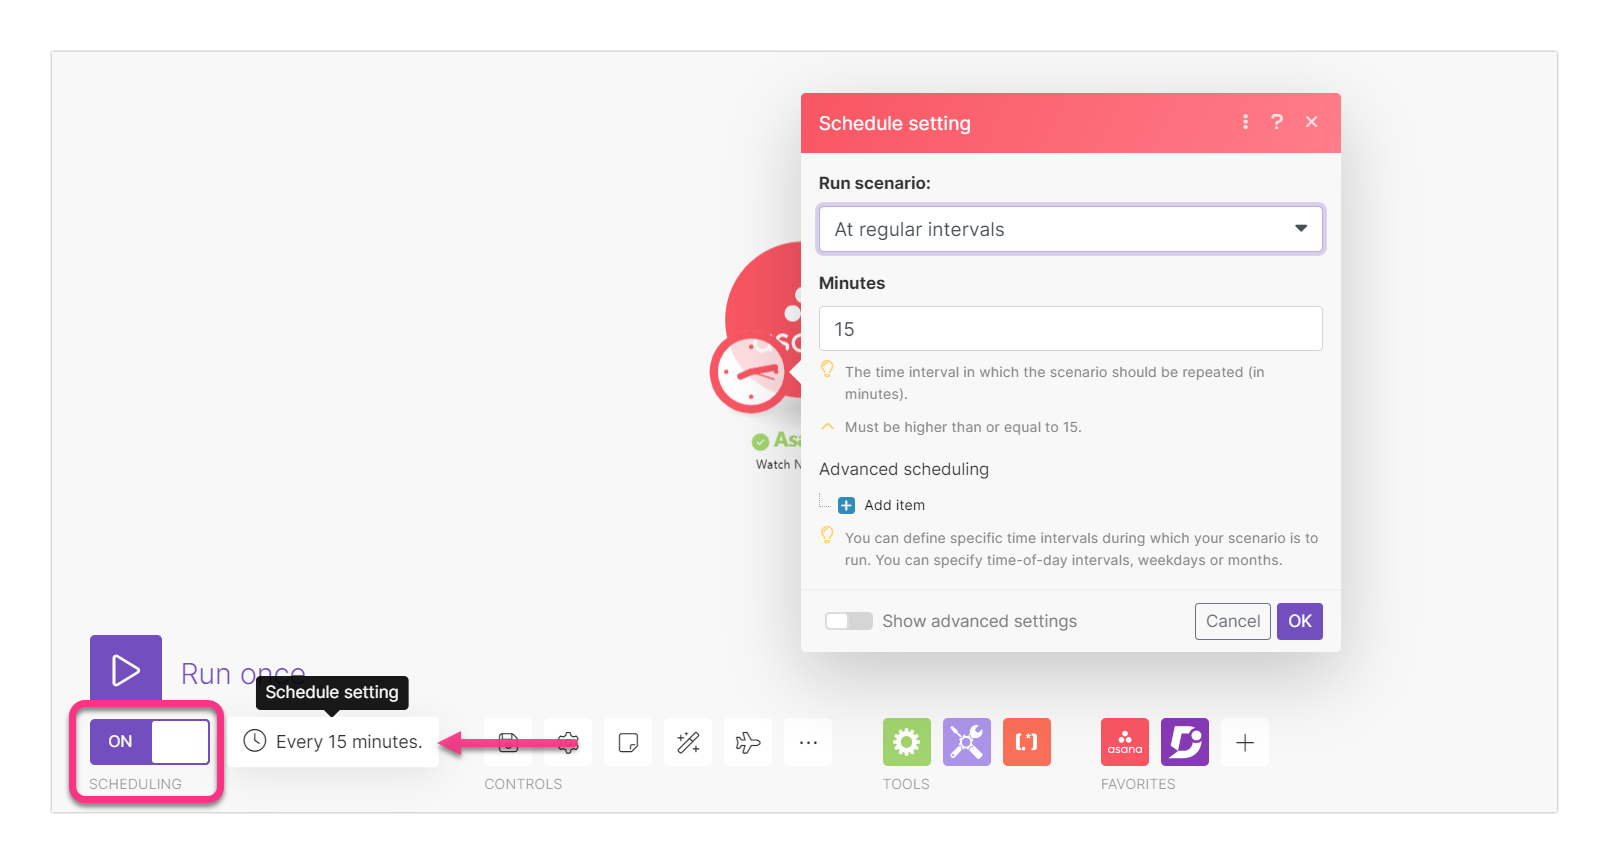
To schedule your scenarios, enable the SCHEDULING toggle at the bottom left.
-
Click the Schedule setting option next to the toggle and set the frequency of the scenario.
For example, you can select the At regular intervals option to choose the time interval in which the scenario should be repeated.
You can select the Everyday option to run the scenario at a specific time each day.
- After selecting the desired option, click OK to save.
Step 6: Activate the scenario
-
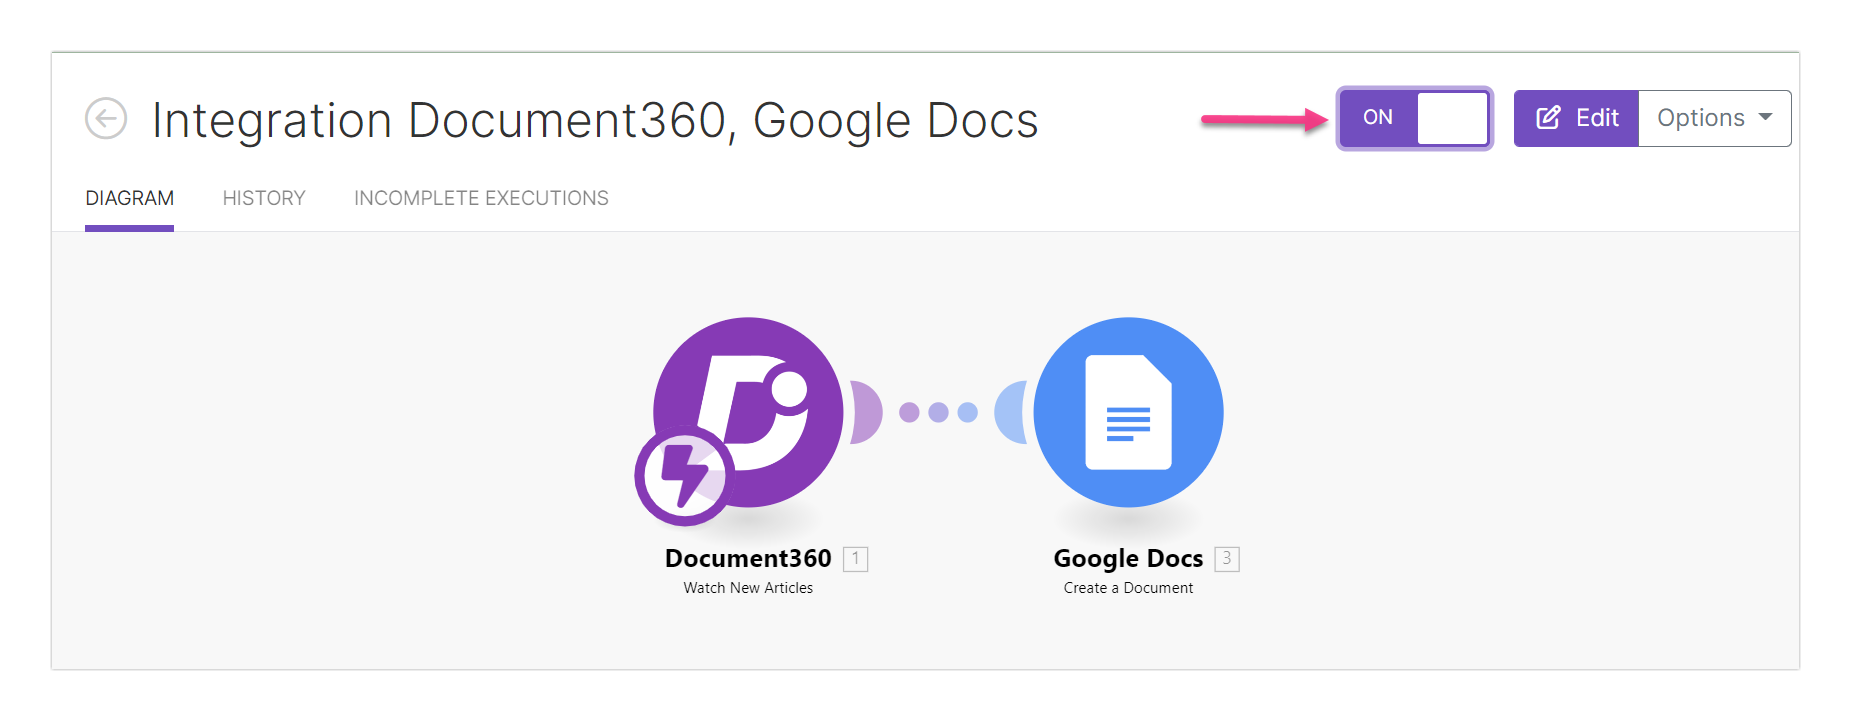
Click the Exit editing (←) icon at the top left.
-
Click the ON/OFF toggle adjacent to Edit to activate the scenario.
Once activated, your scenario will run according to the set schedule.