Planes que admiten esta función: Business Enterprise
Muchas organizaciones en todo el mundo utilizan Google Docs como herramienta de gestión documental. Google, como plataforma, ofrece un entorno más integrado donde gestionar múltiples tipos de documentos y archivos es bastante sencillo.
Integración Google Docs con Document360
Usando Document360 como tu base de conocimiento, puedes colaborar con varios proveedores externos que contribuyen con contenido a Google Docs. Aunque Google Docs es una gran plataforma para la colaboración, transferir manualmente estos artículos a Document360 puede ser laborioso y llevar mucho tiempo.
Al conectar Google Docs y Document360 en Zapier, puedes facilitar fácilmente el flujo de contenido entre estas plataformas. Para establecer una conexión entre Google Docs y Document360, sigue los siguientes pasos:
Asegúrate de haber iniciado sesión en tu cuenta de Zapier.
Desde el menú de navegación de la izquierda, haz clic en Crear y luego en Zaps desde las opciones disponibles.
El Zap se creará con el flujo de Trigger y Acción .

Conectando Google Docs y Document360 en Zapier
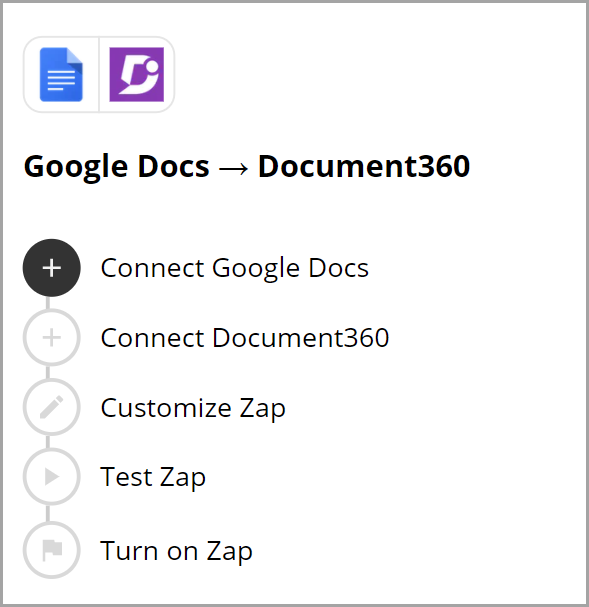
Paso 1: Conectar Google Docs
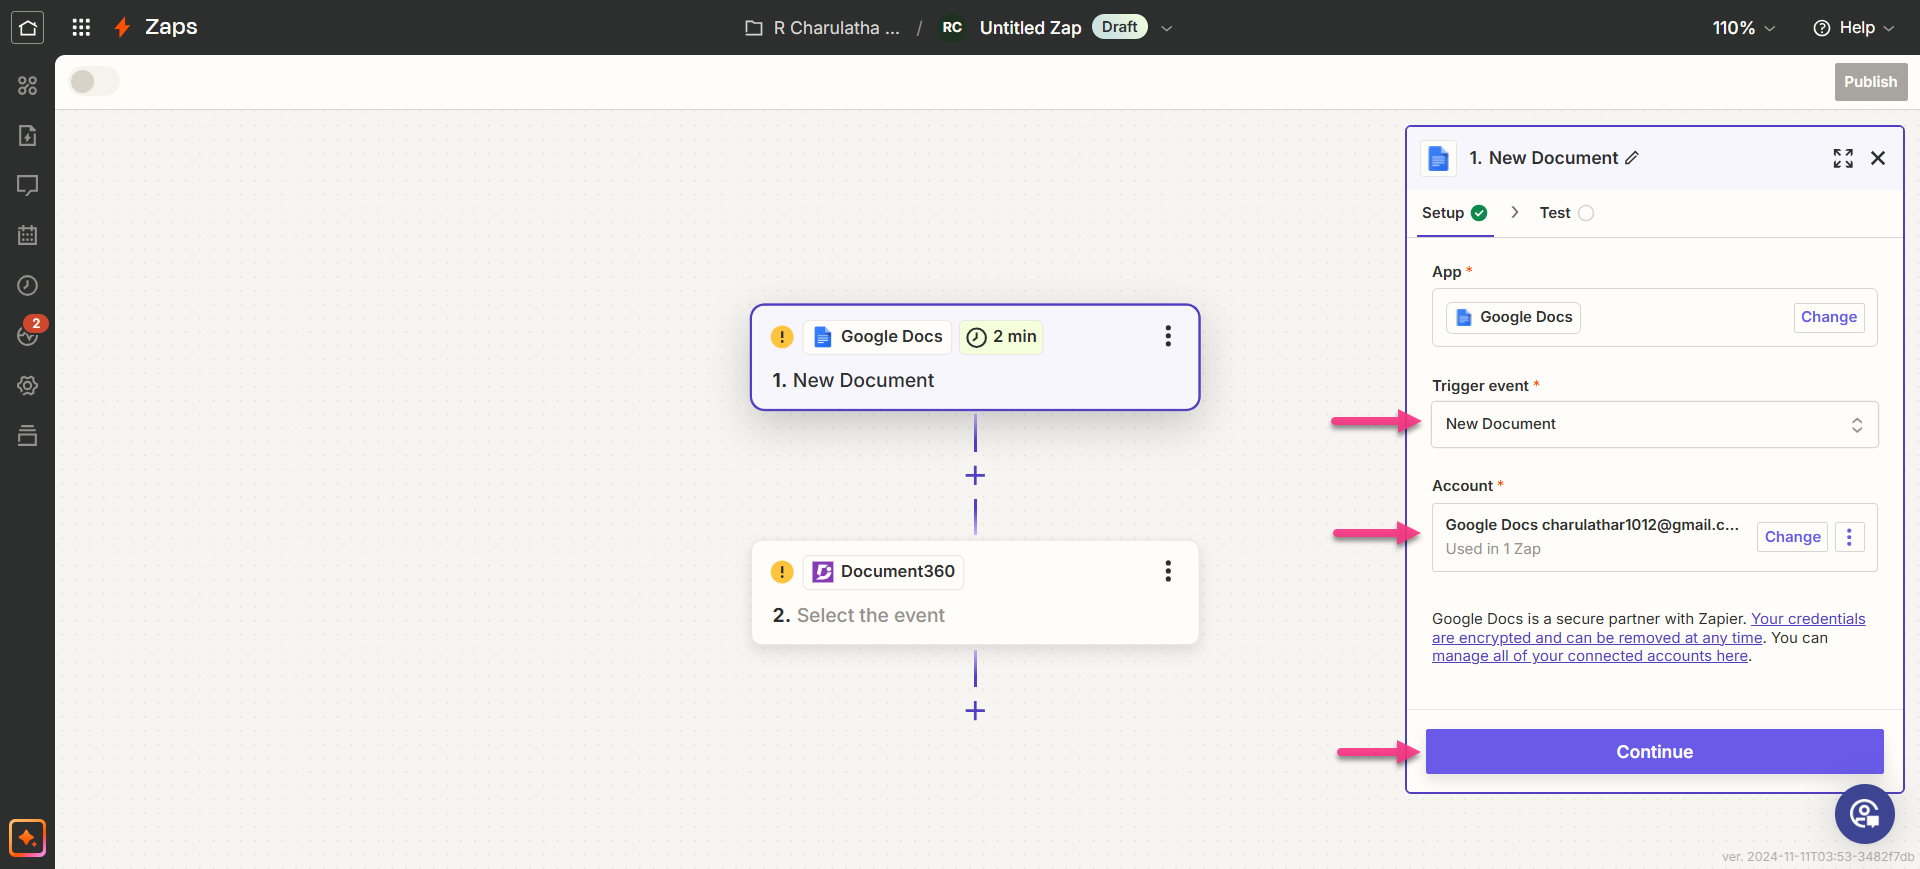
En el campo Trigger , elige Google Docs.
En el campo de evento Trigger , selecciona el evento necesario para activarse en Google Docs.
Si más adelante quieres configurar otra aplicación, puedes hacerlo haciendo clic en Cambiar.
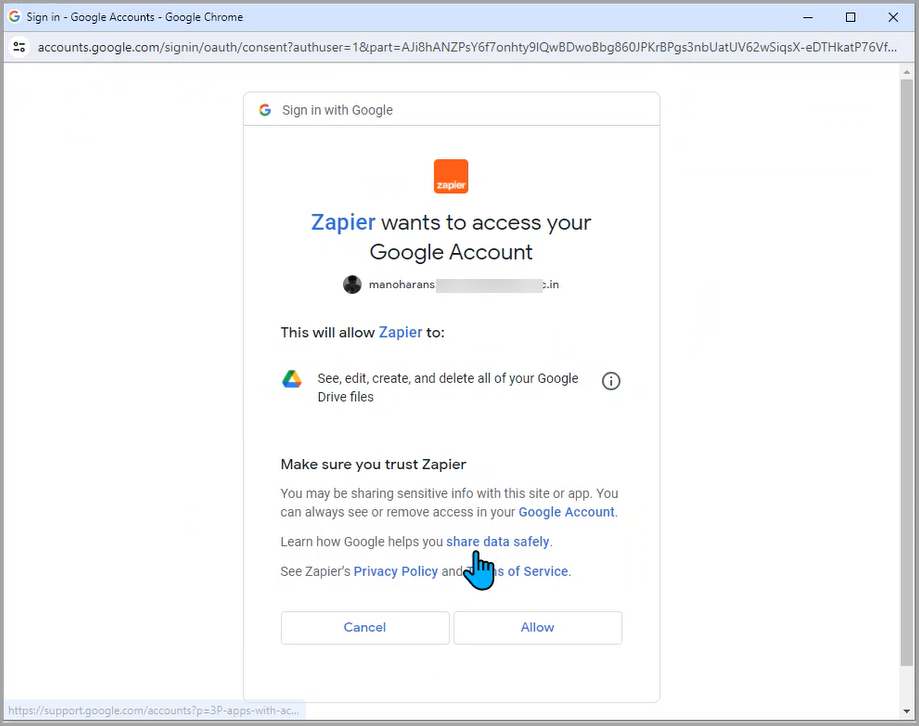
Haz clic en el campo Cuenta y aparecerá un panel de Inicio de sesión .
Introduce tus credenciales de inicio de sesión y haz clic en Permitir.
Haz clic en continuar.
Encuentra la lista de carpetas recuperadas de tu cuenta de Google Drive conectada.
Elige la carpeta deseada y haz clic en Continuar.
Zapier realiza una prueba para asegurarse de que el disparador está correctamente configurado.
Crea un Google Doc dentro de la carpeta seleccionada y prueba el disparador.
Paso 2: Conectando Document360
En el campo Acción , elige Document360.
En el panel de Configuración que aparece a la derecha, selecciona un evento deseado en el campo Evento .
Haz clic en el campo Cuenta y aparece un panel de Inicio de sesión .
Introduce tus credenciales de inicio de sesión y haz clic en Permitir.
Para generar el token API desde el portal Document360,
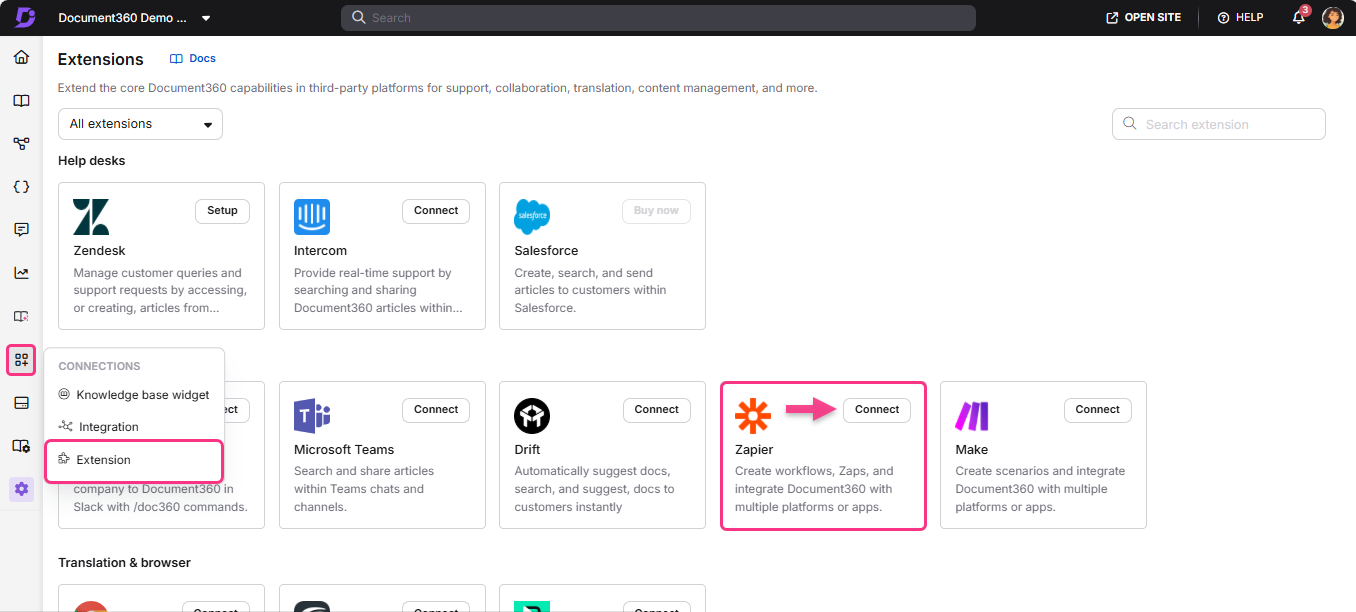
Navega a Conexiones () > Extensiones en la barra de navegación izquierda del portal de la Base de conocimiento.
En la casilla de extensión Zapier , haz clic en Conectar.
Haz clic en el icono de Copiar () para copiar el token.
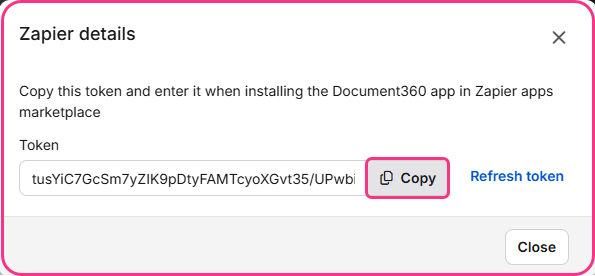
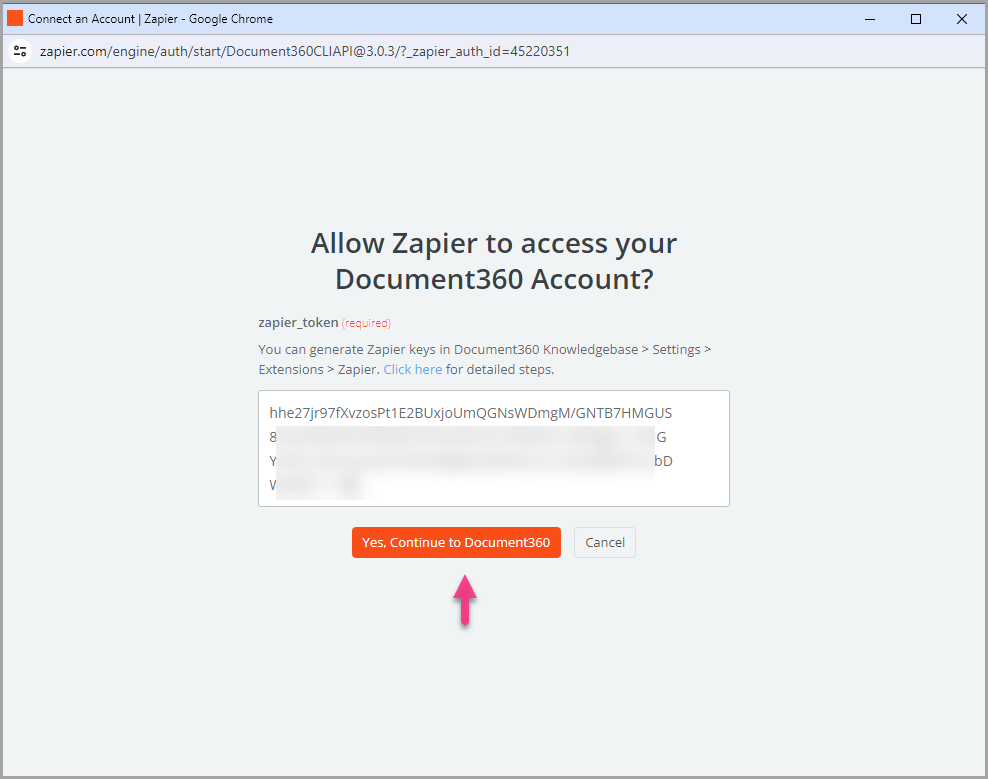
Vuelve al panel Zapier y pega el token API en el campo.
Haz clic en sí, continuar con Document360.
Puedes encontrar el proyecto Document360 conectado en la página de la cuenta Connect Document360 .
Si más adelante quieres configurar una cuenta diferente, puedes hacerlo haciendo clic en Cambiar.
Haz clic en continuar.
Paso 3: Personalizar Zap
Mapea los campos de Google Docs a Document360. Mapea todos los campos requeridos:
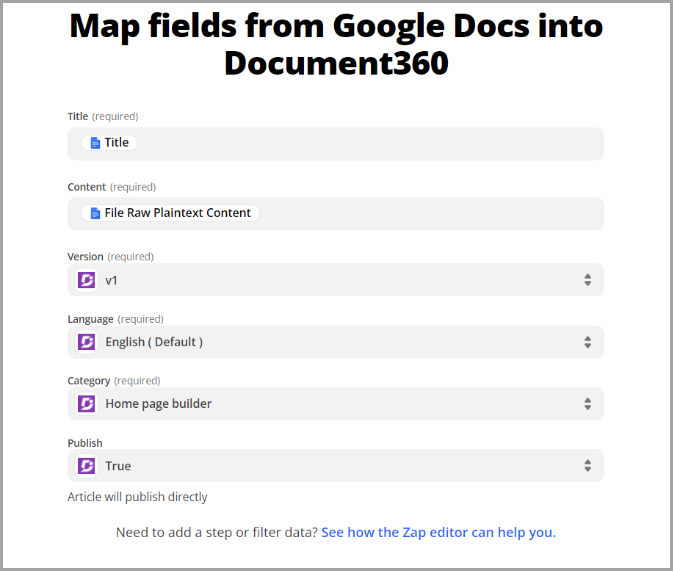
Título: Por defecto, el título en Google Docs está seleccionado aquí. Sin embargo, tendrás varias opciones disponibles según las necesidades de tu negocio.
Contenido: Por defecto, el contenido en Google Docs se selecciona aquí. Sin embargo, tendrás varias opciones disponibles según las necesidades de tu negocio.
Versión: Elige el espacio de trabajo deseado en el proyecto de la base de conocimientos donde deseas crear el artículo.
Lenguaje: Elige el idioma deseado en el espacio de trabajo seleccionado donde deseas crear el artículo.
Categoría: Elige la categoría deseada en el idioma seleccionado en el que quieres que se cree el artículo.
Publicar: Elige Verdadero para que el artículo se publique. Elige Falso para que el artículo esté en estado de borrador.
Una vez terminado, haz clic en Continuar.
NOTA
Solo después de asignar todos los campos necesarios, el botón Continuar estará activado.
Test Zap
En la sección de prueba, haz clic en Paso de prueba.
Si tiene éxito, recibirás el mensaje 'Se ha enviado un artículo a Document360'.
En tu portal de la base de conocimientos Document360, encontrarás el artículo titulado con el nombre del archivo Google Docs , ubicado en la carpeta que seleccionaste anteriormente.
Vuelve al panel de configuración Zapier .
Enciende Zap
Después de probar el Zap, revisa o edita los ajustes antes de activarlo.
Puedes editar la configuración configurada en el disparador Google Docs y la acción correspondiente del nuevo artículo en Document360.
Recibirías un mensaje de éxito que decía Tu Zap está encendido. Puedes hacer clic en el botón Gestionar tu Zap para ir a tu página de resumen Google Docs+Document360 Zap.
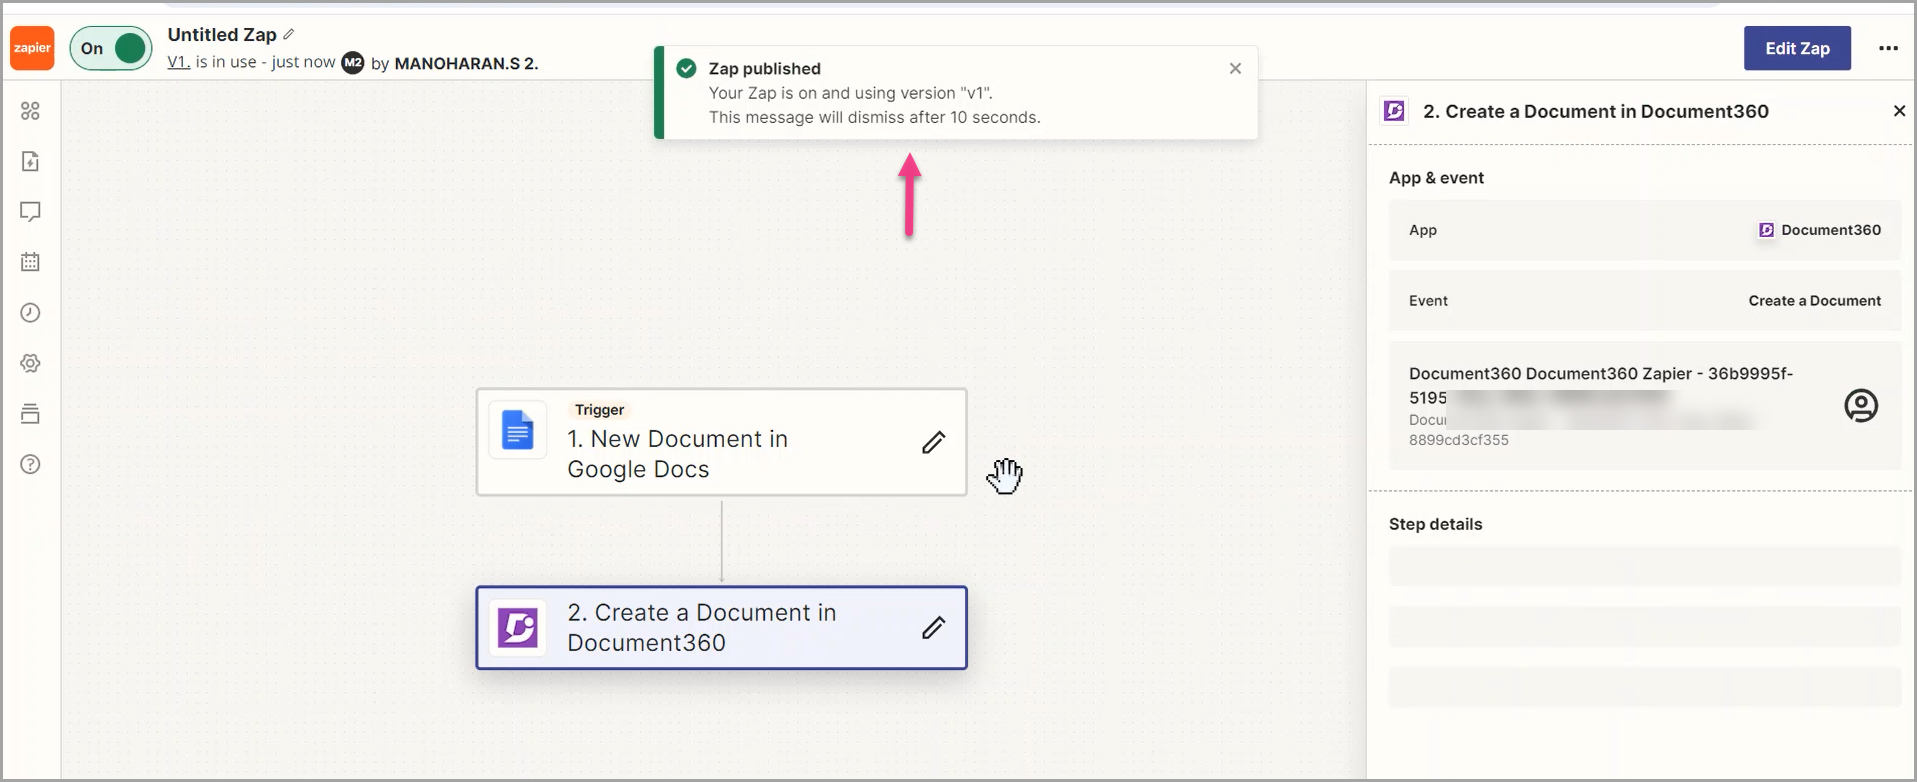
Resumen de Zap
Crear artículos en Document360 a partir de un nuevo archivo Google Docs
Puedes ver y editar la información sobre los Zaps creados en la página de resumen de Zap.

Eliminar un Zap
Navega hasta el panel Zapier. En la página de resumen se mostrará una lista de todos los Zaps existentes.
Haz clic en el icono de flecha (>) a la derecha del Zaps deseado y haz clic en Apagar y eliminar Zap.
El Zap seleccionado será eliminado.