Swagger is an interface description language that describes RESTful APIs expressed using JSON. It allows you to create interactive, machine and human-readable API documentation. It helps you visualize and interact with the API's resources without any implementation logic. It is a web-based application.
Swagger documentation site
Open the Swagger documentation site.
To authenticate the documentation, click Authorize.
The Available authorizations panel will appear.Enter the API token in the Value field.
NOTE
You can select an existing token, or you can generate a new token as per your requirement. To generate a new token, follow the below steps
Navigate to Settings () in the left navigation bar in the Knowledge base portal.
In the left navigation pane, navigate to Knowledge base portal > API Tokens.
Type a name for the API token in the Enter token name.
Select the required HTTP method(s). You have four methods under Allowed method(s): GET, PUT, POST and DELETE.
You can only use the generated token for the selected method(s). It cannot be used to perform other methods.
Click Copy to copy the API token.
Click the Authorize button.
Once done, click the Close button.
The authorization is done successfully.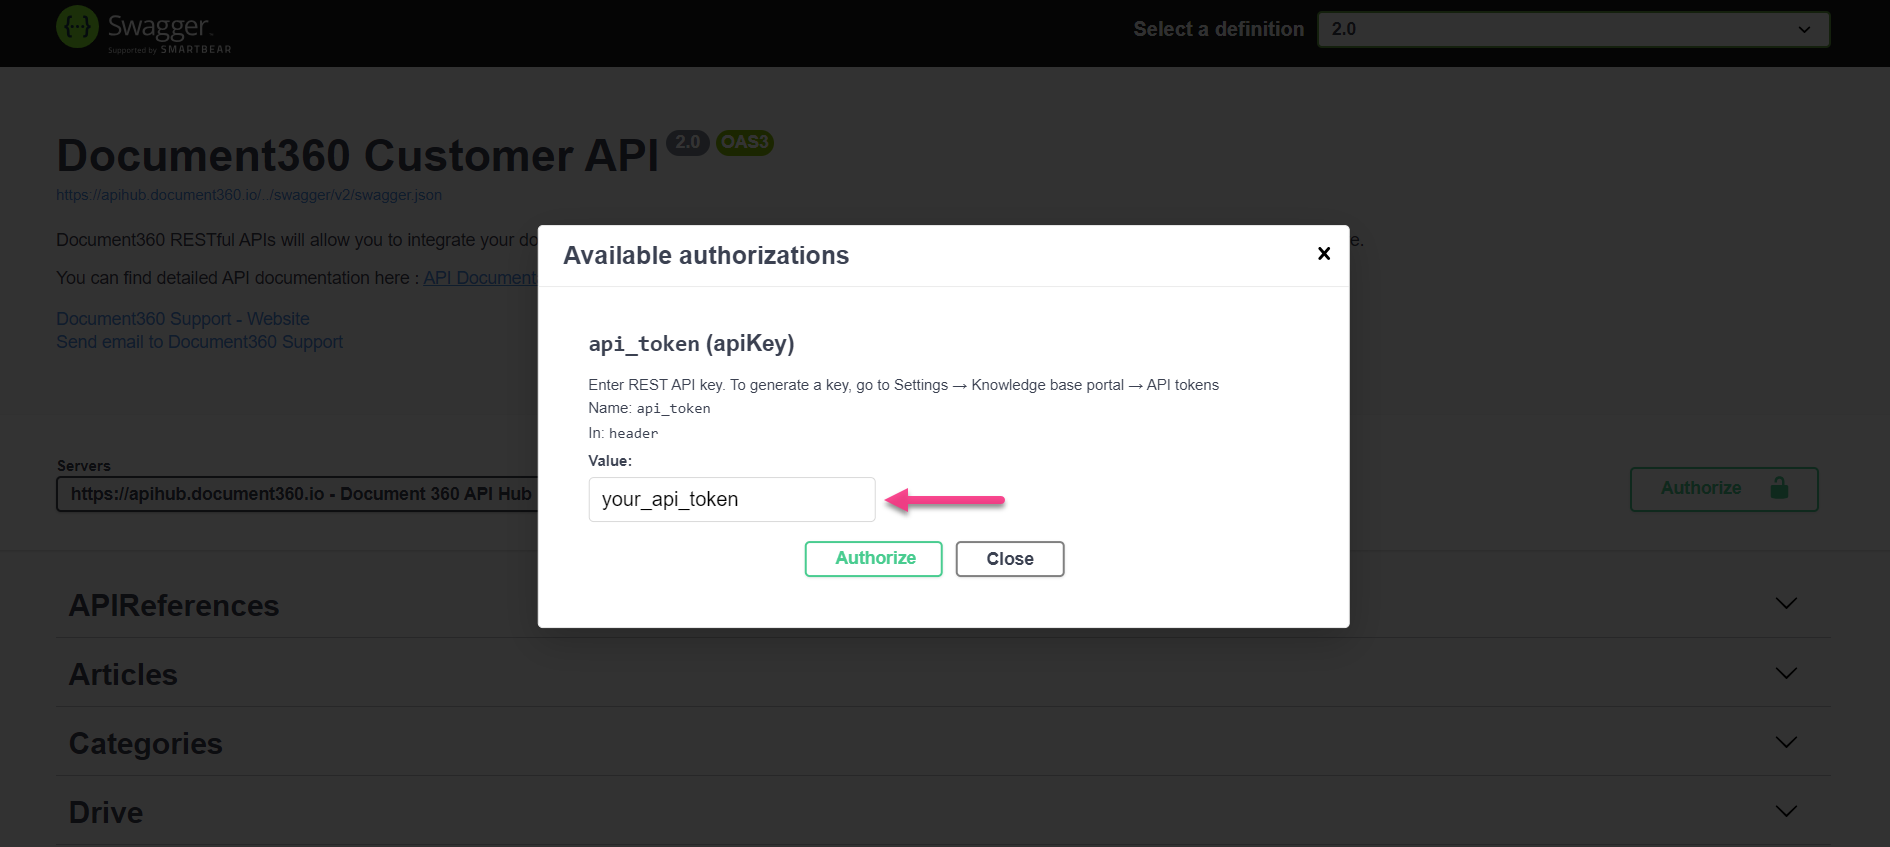
NOTE
If you wish to change to a different token, click Authorize > Logout > enter your API token > Authorize > Close.
GET
The GET method is used to retrieve information.
Below is an example of GET action, to retrieve all records about the user.
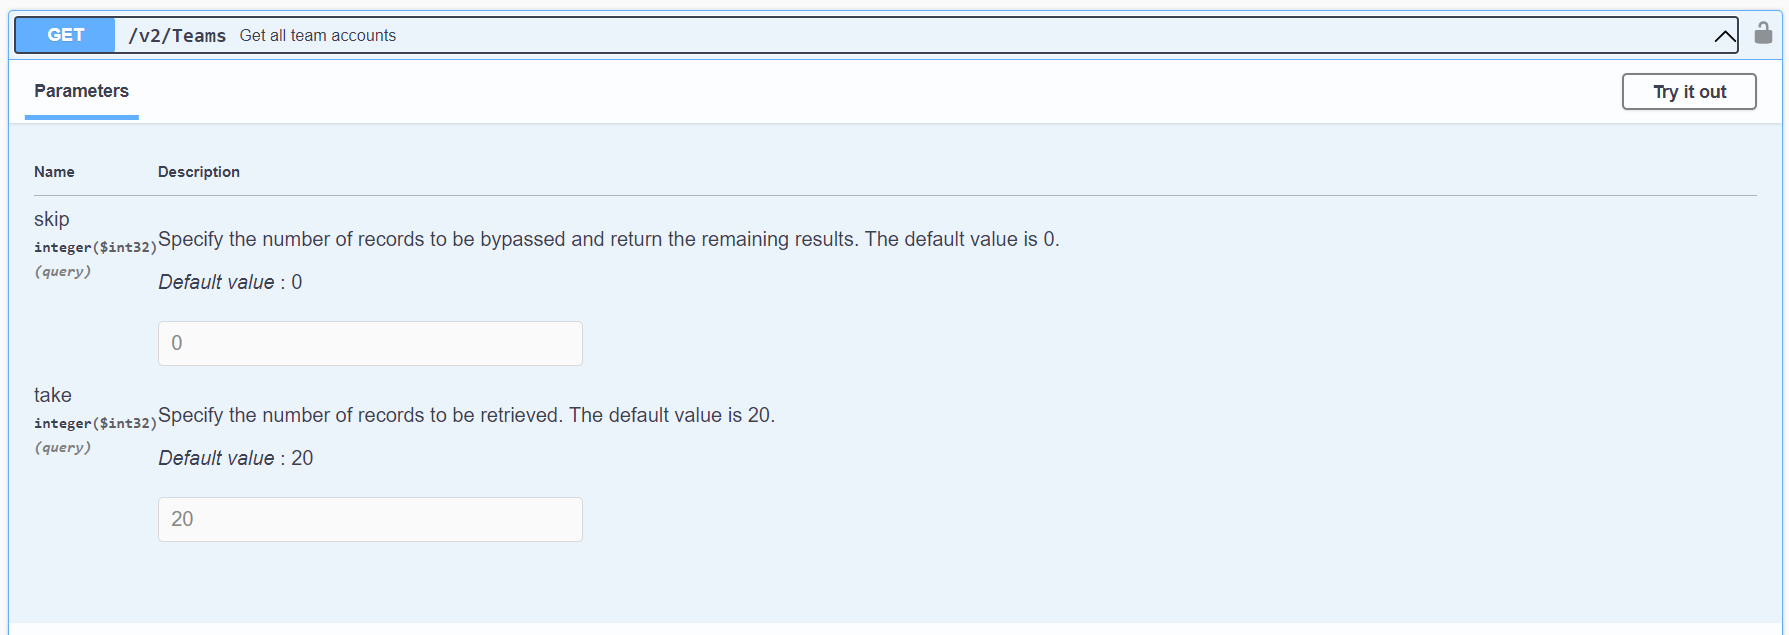
Fill the marked fields and click the Execute button.
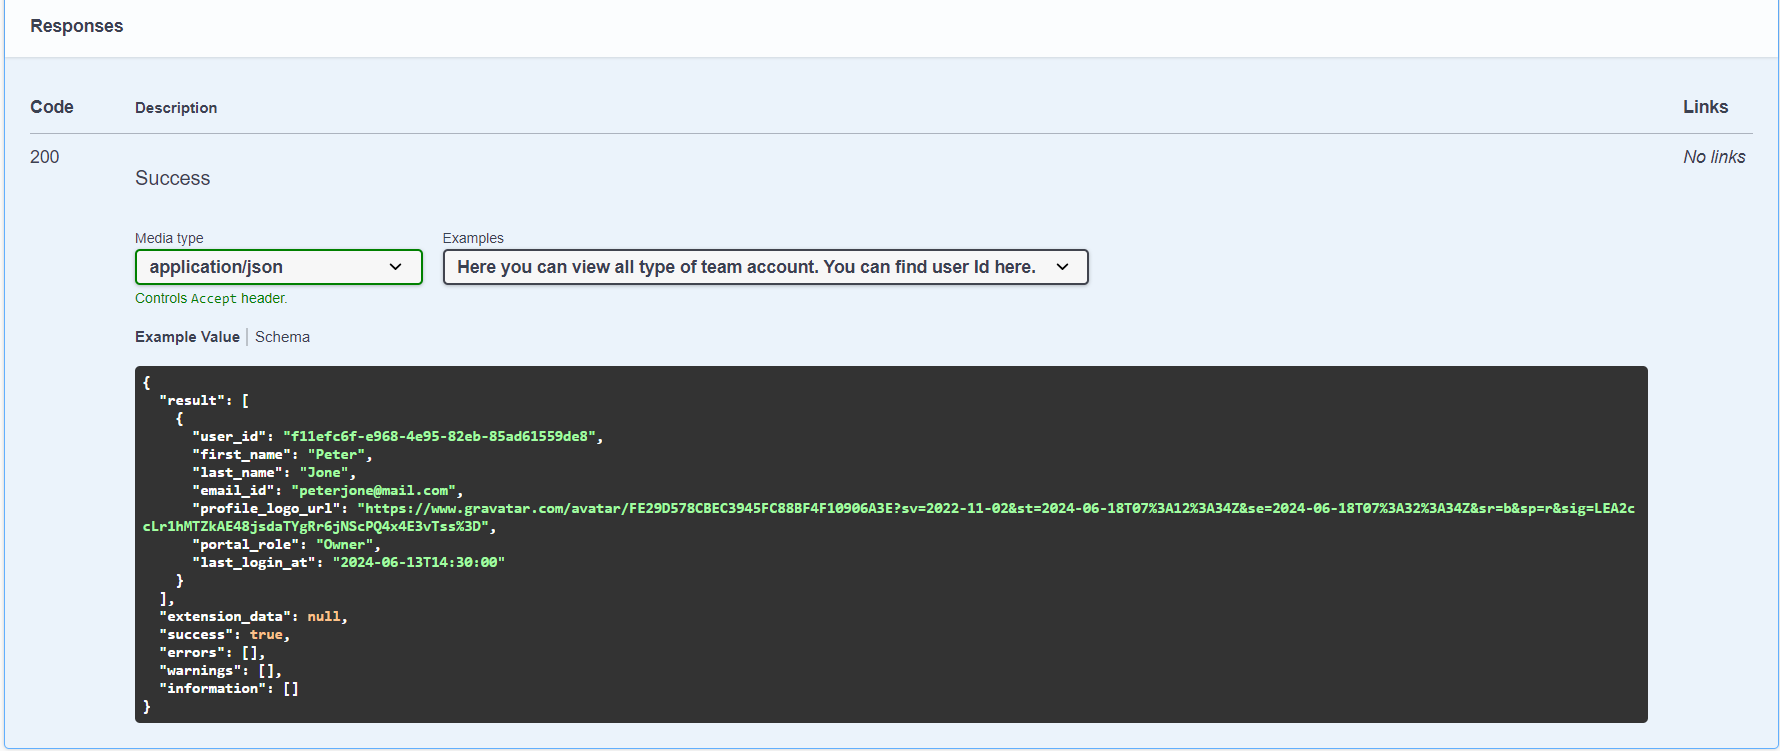
The information about the user will be available under the Responses section.
POST
The POST method is used to add an item.
Below is an example of a POST action, to add a user to a project.
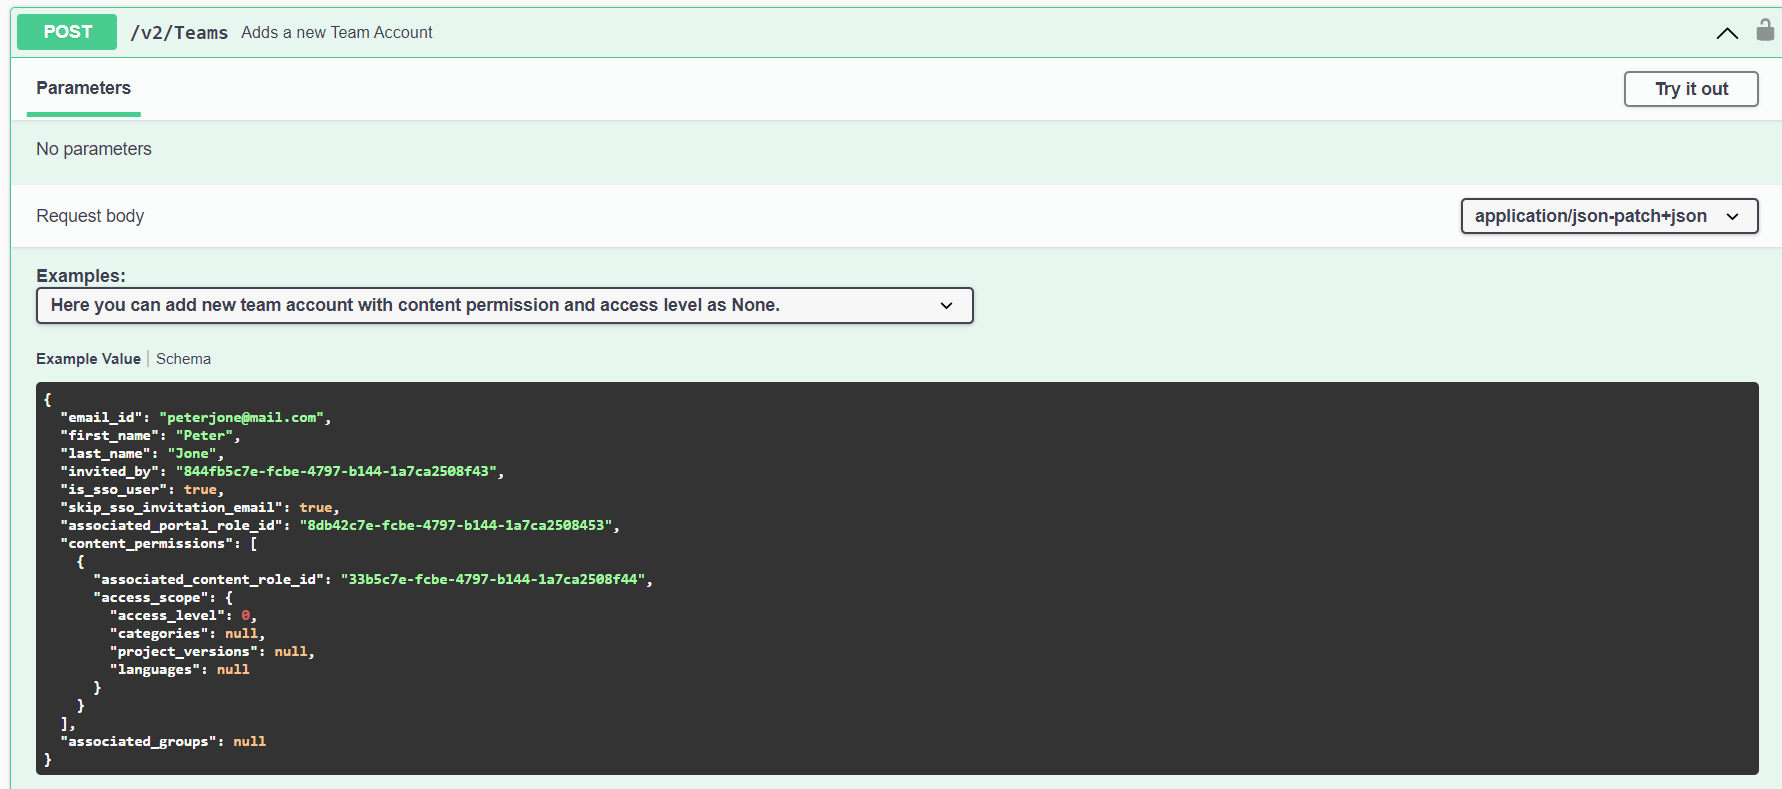
You should add the user information such as email_id, first_name, and last_name to add a user to the project.
The user will be added to the project.Click the Execute button.
The addition of the user will be successful if the status is 200 and the success is true.
PUT
The PUT method is used to update an existing item.
Below is an example of PUT action, to update a user role in the project.
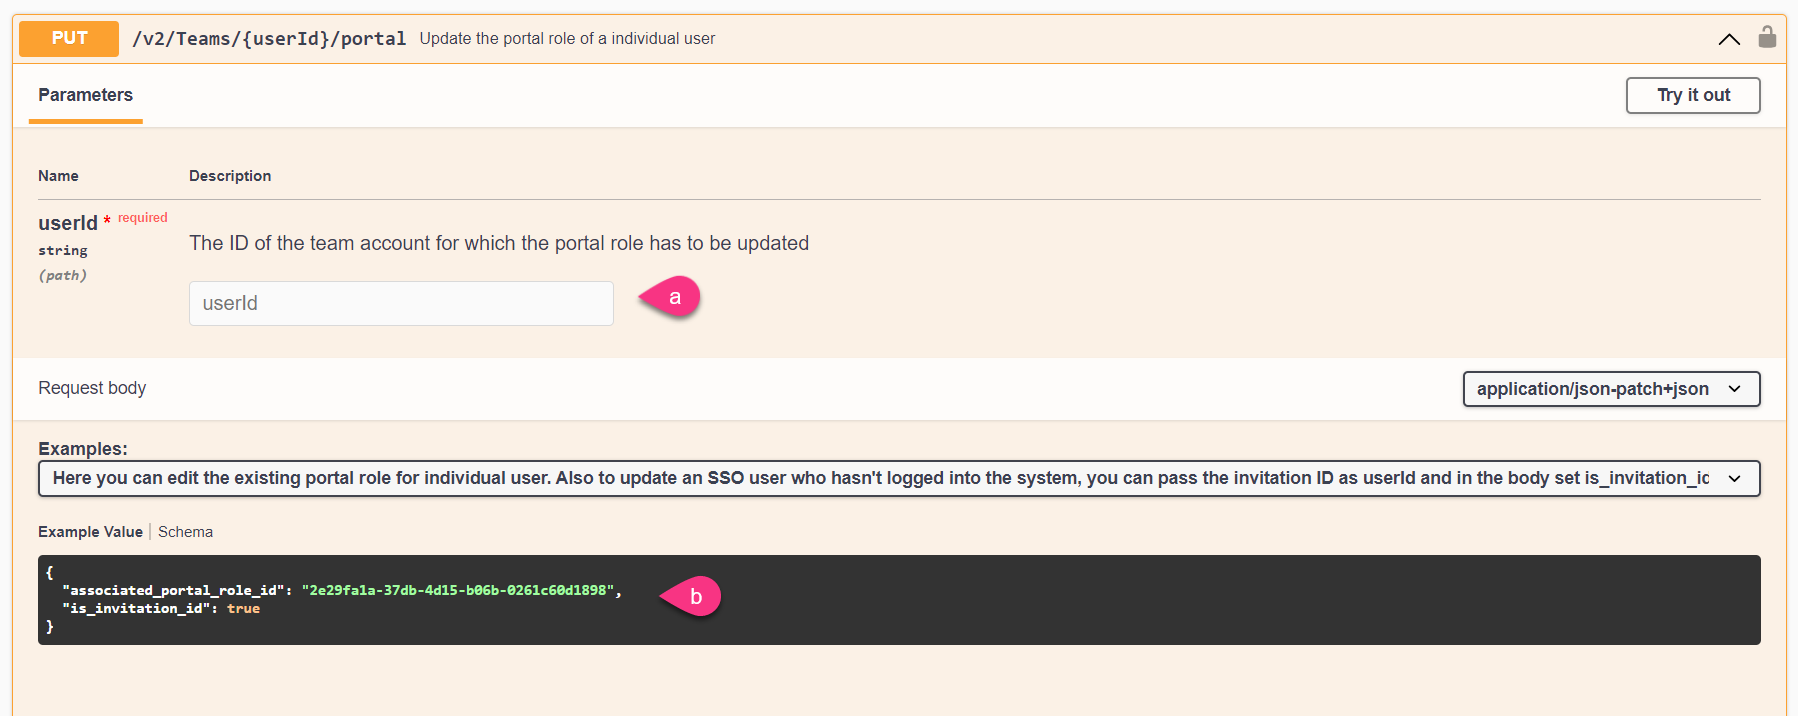
Enter the userId in the marked field.
Update the user role with the number mentioned for the user role syntax. The numbers for the respective roles are as follows:
1 → Administrator
2 → Editor
3 → Draft Writer
4 → Reader
7 → Owner
Once done, click on the Execute button.
The update of the user is successful if the status is 200 and the success is true.
DELETE
The DELETE method is used to delete an item.
Below is an example of a DELETE action, to delete a userId.
Enter the userId in the marked field.
Once done, click on the Execute button.
If the status is 200 and the success is true, the userId will be successfully deleted.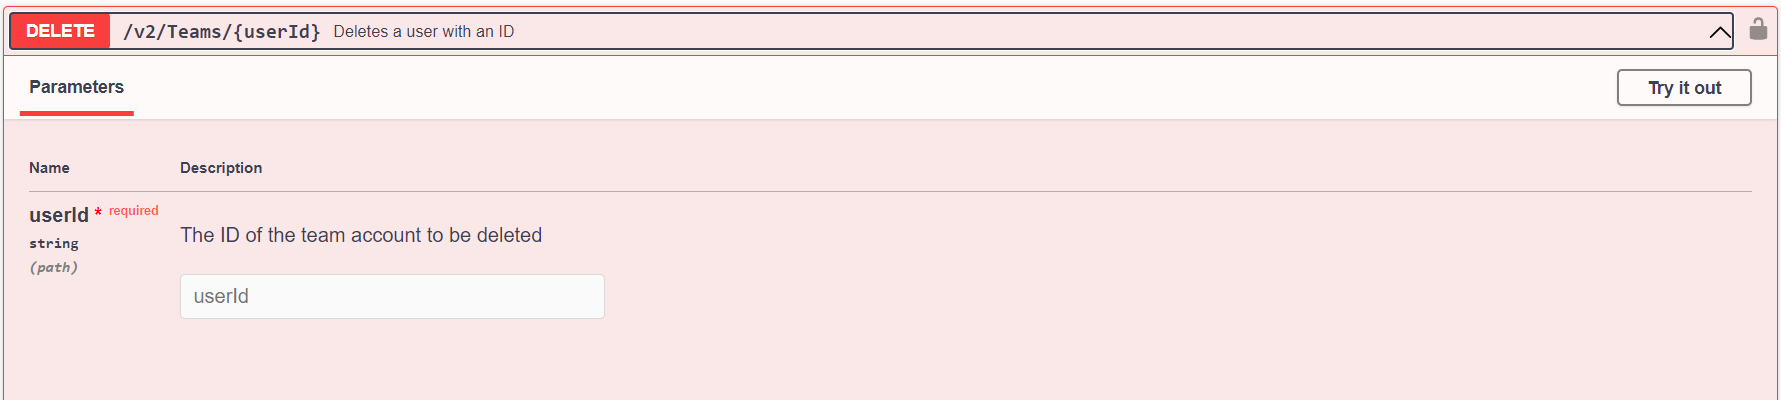
NOTE
It is mandatory to enter the content in the field that are marked *required.
For more information, refer to the following blogs
FAQs
What should I do if refreshing the page ends my session?
If you refresh the page, the session might end, and you will have to authenticate again. Follow the steps provided for authentication.
How should I format fields that require a specific character?
You must use an underscore wherever required. For example, use “email_id” instead of “email id.” Using spaces will result in an error.