Asana is a versatile platform for organizing, tracking, and managing work across teams. Documentation teams that use Asana to coordinate writing tasks with contributors and external agencies can integrate it with Document360 through Make — so that when tasks are created or updated in an Asana project, Make automatically creates a corresponding article in Document360. This removes the manual step of transferring content between platforms and keeps your knowledge base in step with your project activity.
When to use this integration
- Your documentation team tracks writing assignments in Asana and wants new tasks to automatically generate draft articles in Document360, giving writers a pre-created article to work from.
- You collaborate with external contributors through Asana and want completed task content to flow into Document360 without a manual handoff.
- You want a scheduled, recurring automation that checks for new or updated Asana tasks at a set interval and creates articles in Document360 as they appear.
Before you begin
- You must have an active Make account.
- You must have an Asana account with access to the workspace and project you want to monitor.
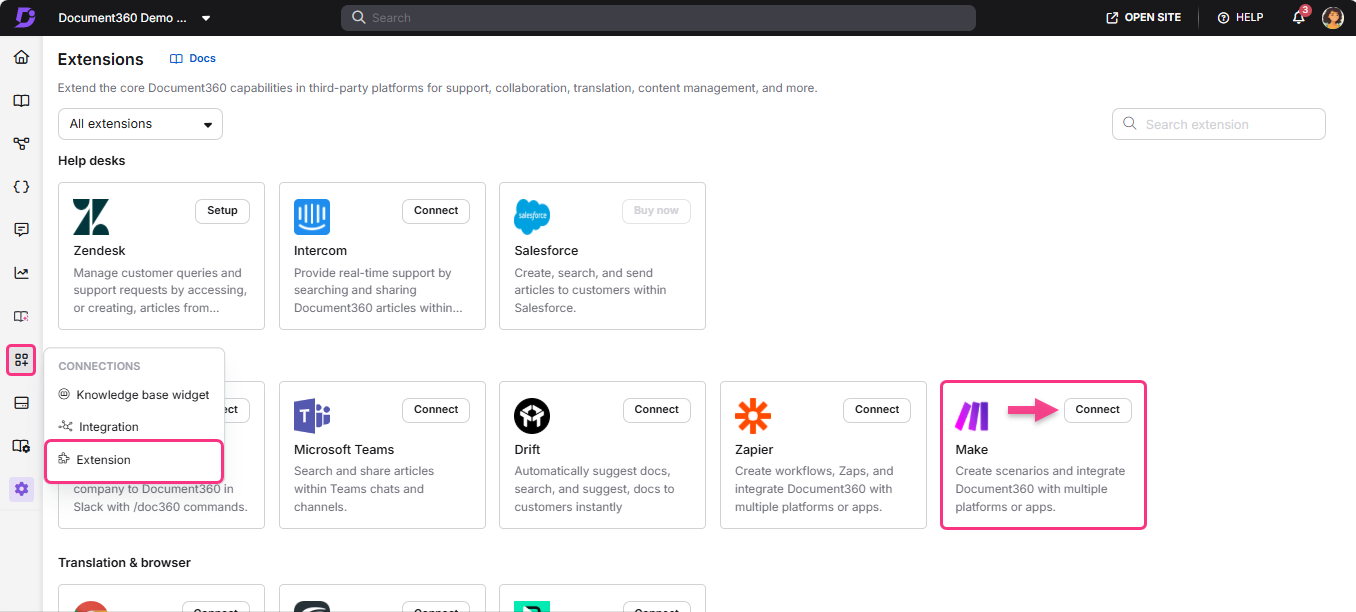
- You must have your Document360 API token ready. To generate one, navigate to Connections > Extensions , locate the Make tile, and click Connect to copy the token.
How to set up the Scenario
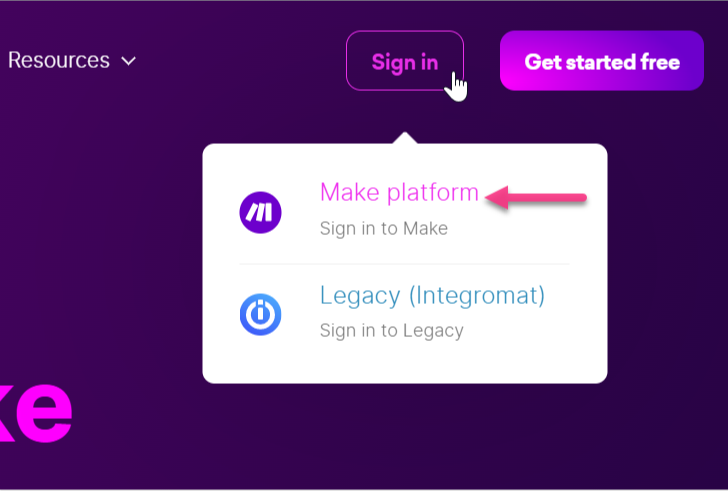
Step 1 — Sign in and create a new Scenario
- Log in to your Make account. The Make dashboard appears.
- Click Create a new scenario at the top right.
- Click the add (+) icon — a list of available applications appears.
- In the Search field, type Asana.
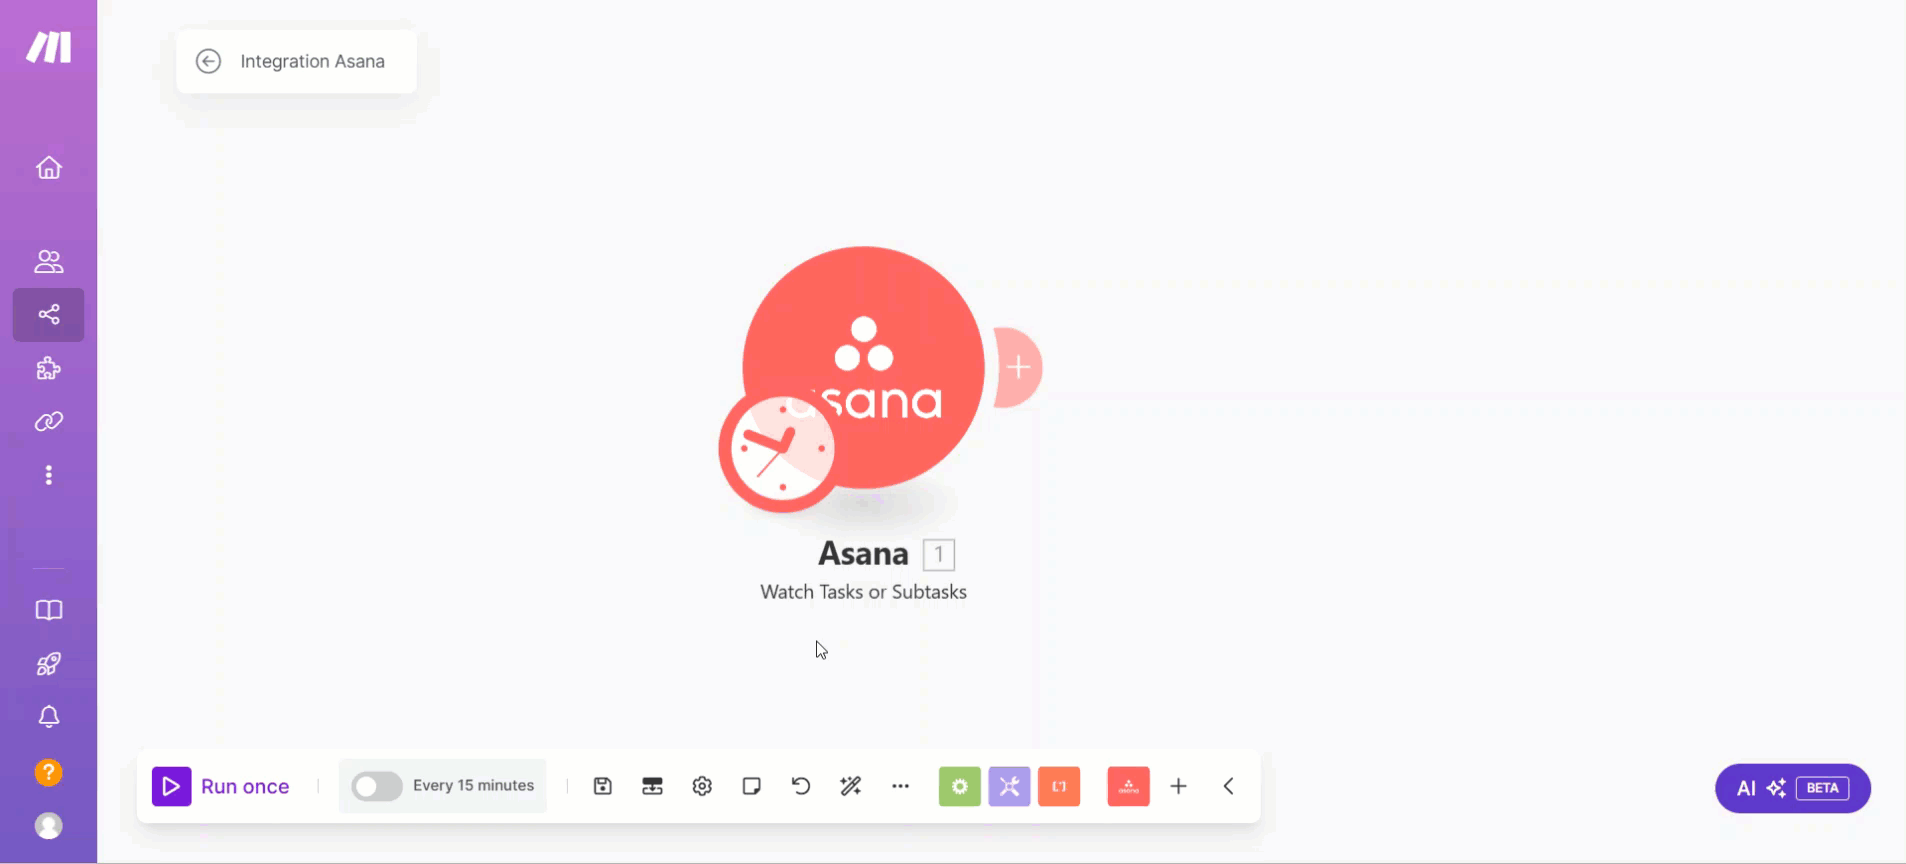
- Select Asana and choose the task you want to use as the trigger. For example, select Watch Tasks or subtasks to get updates on new tasks.
- Click Create a connection and enter a connection name.
- Click Save.
- Click Allow to let Asana access your Make account.
- Click OK.
Step 2 — Configure the Asana module
Connect your Asana account and configure the trigger settings in the Asana module.
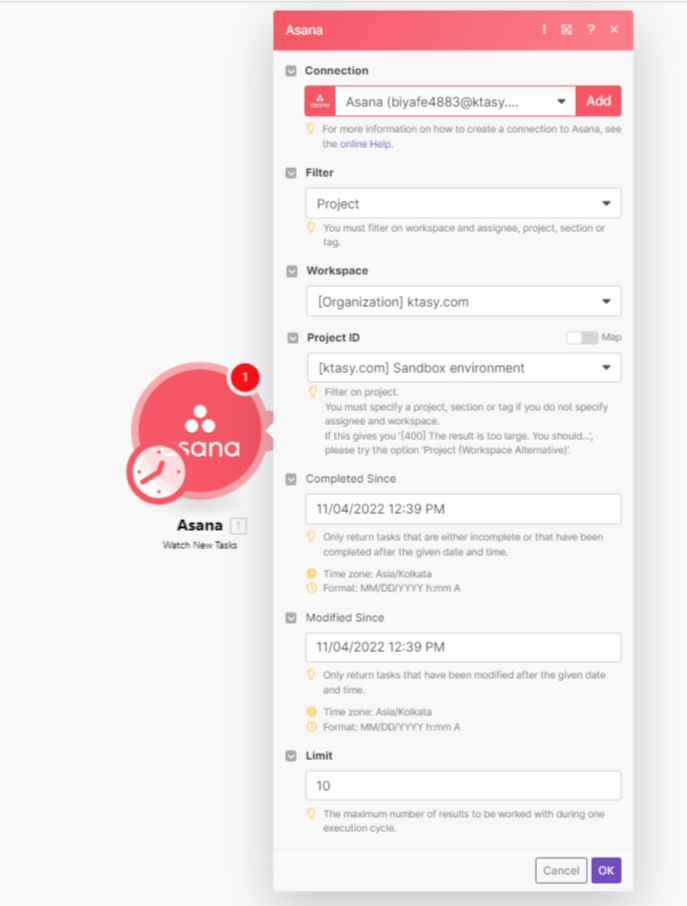
- In the Connection field, select your Asana connection. If you have already connected Asana with Make, select it from the dropdown.
- Click the Filter dropdown and select Project.
- Click the Workspace dropdown and select the desired workspace.
- Click the Project ID dropdown and select the project you want to monitor.
- In the Completed Since field, enter a date in
MM/DD/YYYY HH:MMformat to only return tasks that are incomplete or completed since that time. - In the Modified Since field, enter a date in
MM/DD/YYYY HH:MMformat to only return tasks modified since that time. - In the Limit field, enter the maximum number of tasks Make will return per execution cycle.
- Click OK.
- In the Choose where to start popup, select the date and time from which you want to start watching for new tasks.
- Click OK.
Your Asana account is now connected with Make.
Step 3 — Connect Document360 as the action
Once Asana is connected, add Document360 as the next module in the Scenario.
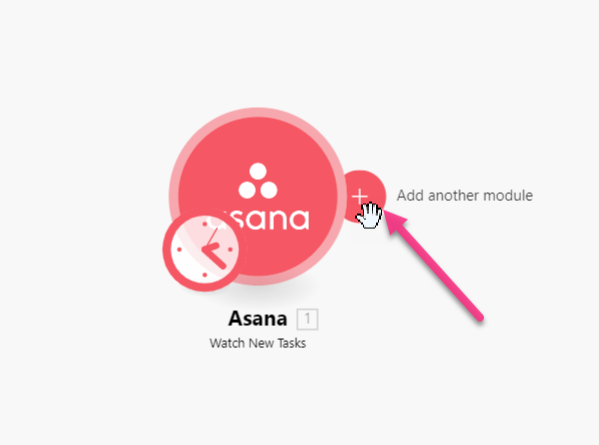
- On the Scenario editor page, click the Add another module (+) option.
- In the Search field, enter Document360.
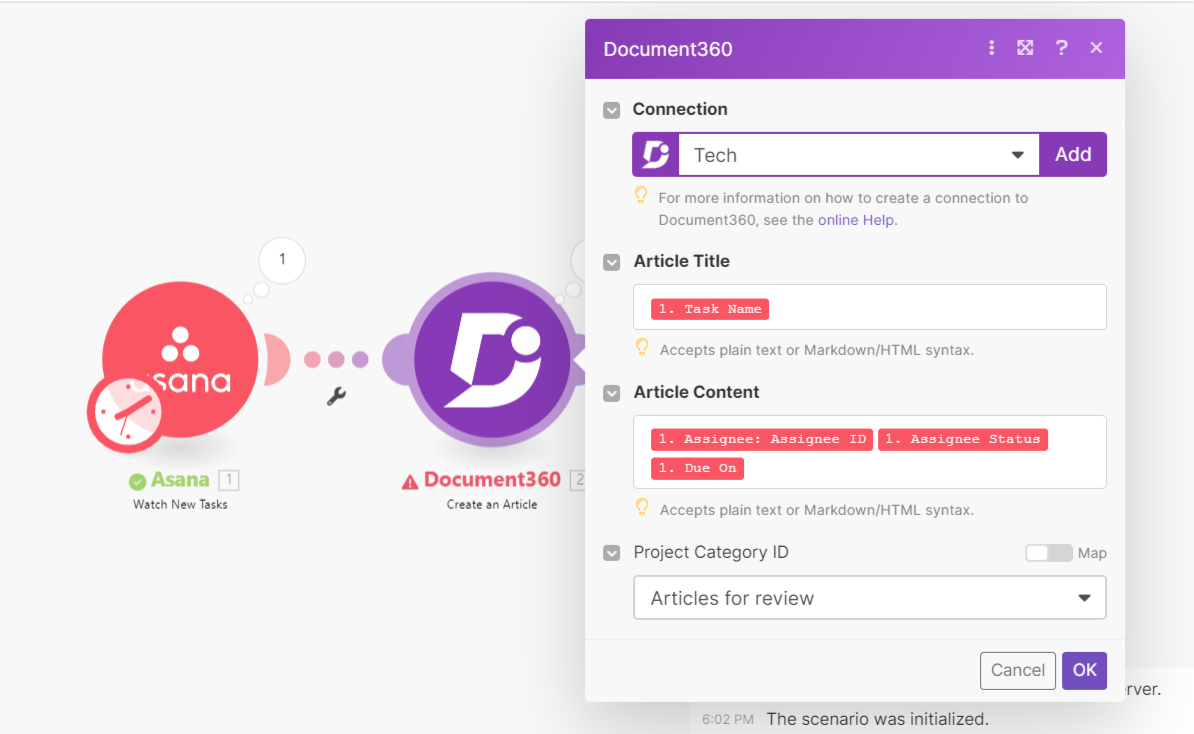
- Select Document360 and choose the action you want to perform. For example, select Create an article to create a draft article.
- In the Document360 panel, select an existing connection. To create a new connection:
- Click Create a connection and enter a Connection name.
- Enter your Document360 API token and click Save.
To generate the API token from Document360:
- Navigate to Connections > Extensions in the left navigation bar of the Knowledge base portal.
- On the Make extension tile, click Connect.
- Click the Copy icon to copy the token.
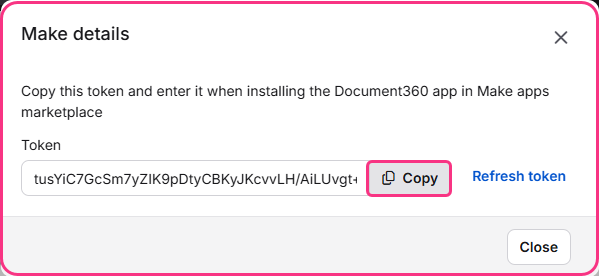
- Head back to the Make panel and paste the API token into the field.
- In the Article Title field, select the Asana parameters you want to use as the article title. For example, select the Task name parameter.
- In the Article Content field, select the parameters you want as the article content. For example, select Assignee Name, Resource Type, and Due On.
- From the Project Category ID dropdown, select the category where the new article should be created.
- Click OK.
Step 4 — Test the Scenario
- Click the Run once button at the bottom left to test the Scenario. Test details appear at the bottom of the page.
- To trigger the test, create a new task in the associated Asana project.
- Once the task is created, a new article is created in the associated Document360 category. You can verify this in the test details panel or by navigating directly to your Document360 project.
Step 5 — Schedule the Scenario
- Enable the toggle at the bottom left to schedule the Scenario. By default, this runs the Scenario every 15 minutes.
- Click OK to save.

Step 6 — Activate the Scenario
- Click the Exit editing () icon at the top. The integration dashboard appears.
- Turn on the ON/OFF toggle near the Edit option to activate the Scenario.
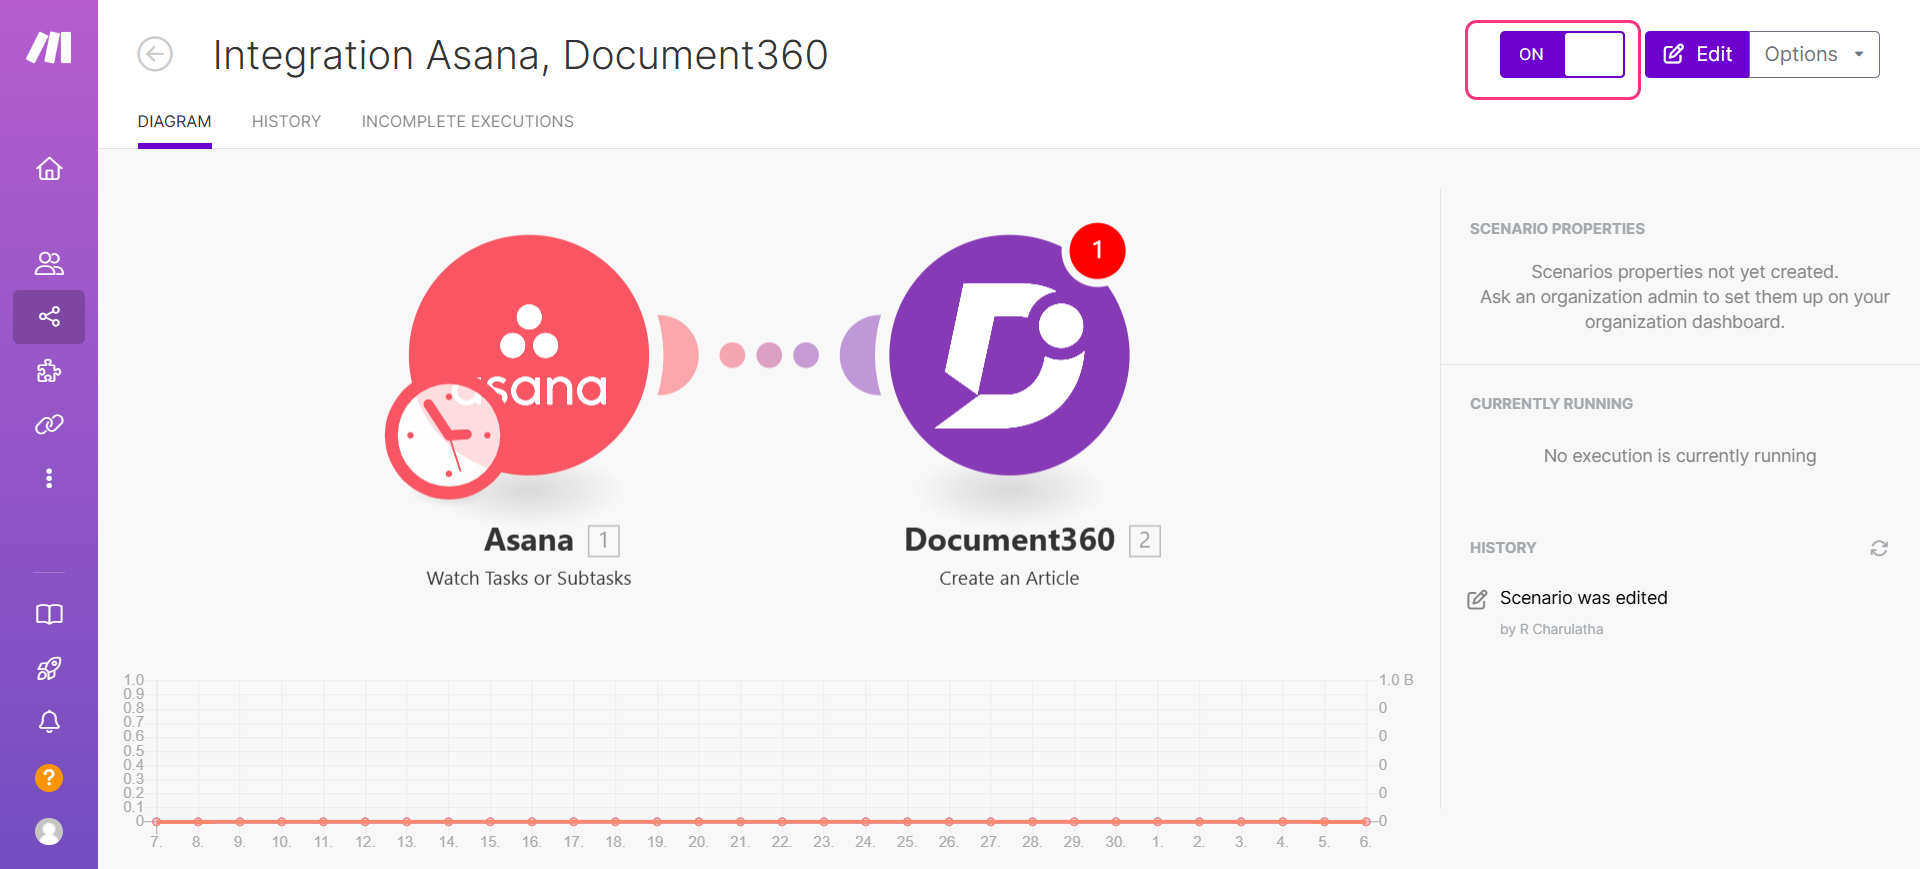
Once activated, the Scenario runs automatically according to the schedule you set.
Best practices
- Use the Filter and Project ID fields to scope the Scenario to a specific Asana project rather than your entire workspace. This prevents unrelated task activity from generating unwanted articles in Document360.
- Map meaningful task fields to the Article Title — the Asana task name is a good default, but consider whether other fields like a custom "Doc title" field better represent what the article should be called.
- Adjust the execution limit in the Limit field to match your team's task volume. Setting it too low may cause the Scenario to miss tasks between runs; setting it too high on a busy project may create more articles than expected in a single cycle.
- Use the Run once button to verify the Scenario is working correctly before activating it on a schedule. Confirm that the test article appears in the right Document360 category with the right title and content before going live.