Plans supporting this feature: Business Enterprise
Many organizations use Asana to organize, track, and manage their work across teams. Integrating Asana with Document360 allows you to streamline task management and ensure alignment between your documentation efforts and Knowledge base updates.
Integrating Asana with Document360
Using Document360 as your Knowledge base platform and Asana for managing content collaboration with external vendors, you may encounter a need to streamline the process of adding articles created in Asana to your Document360 Knowledge base. While this can be done manually, it is time-consuming, effort-intensive, and prone to errors. Automating this process ensures efficiency and accuracy, reducing the risk of mishaps while maintaining a seamless content workflow.
To establish a connection between Asana and Document360, follow the below steps:
Ensure that you have logged into your Zapier account.
From the left navigation menu, click Create and then click Zaps from the options available.
Zap will be created with Trigger and Action flow.

Connecting Asana and Document360 in Zapier
To establish a connection between Asana and Document360, follow the below steps:
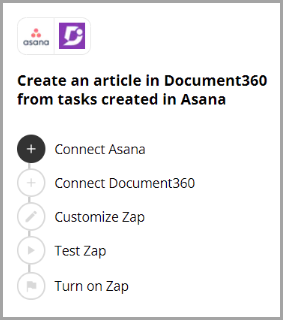
Step 1: Setting up the Trigger: Connecting Asana
In the Trigger field, choose Asana.
In the Trigger event field, select the required Event to trigger in the Asana.
If you wish to configure a different app later, you can do that by clicking on Change.
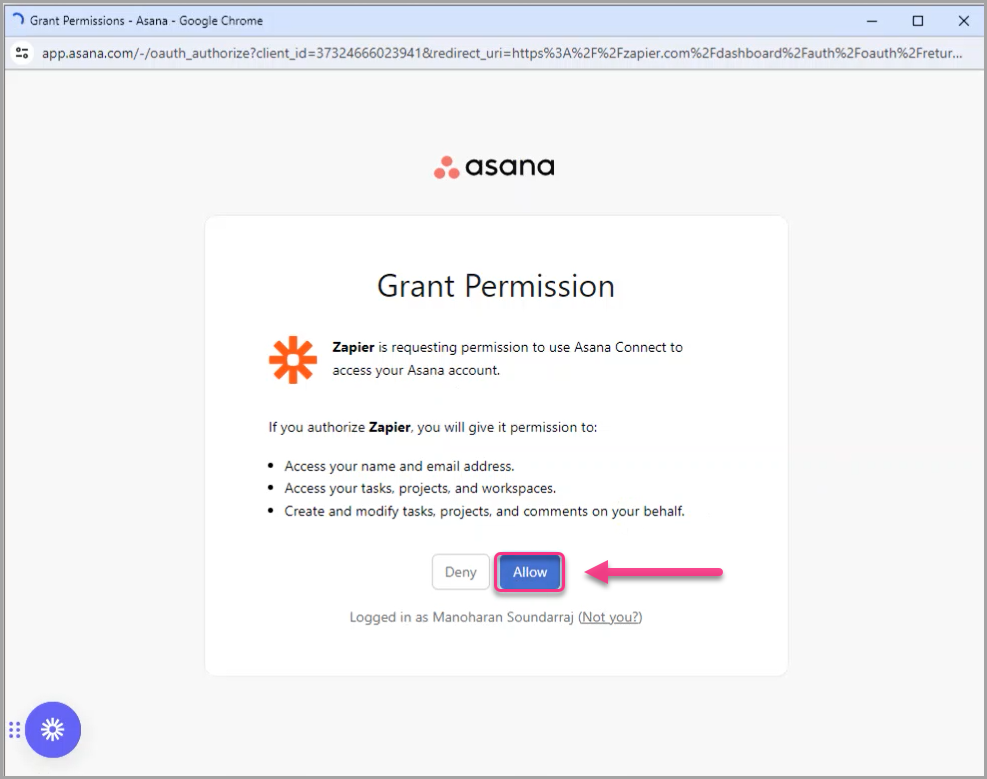
Click the Account field, and a Sign-in panel will appear.
Enter your sign-in credentials and click Allow.
Zapier runs a test to make sure the trigger is correctly configured.
If your account is already linked to Asana, you can directly select your account in the Sign-in panel.Select your Asana account and click Next.
Select the desired Workspace and click Next.
Select the desired Project and click Next.
Step 2: Setting up action: Connecting Document360
In the Action field, choose Document360.
On the Setup panel that appears on the right, select a desired event in the Event field.
Click the Account field and a Sign-in panel appears.
Enter your sign-in credentials and click Allow.
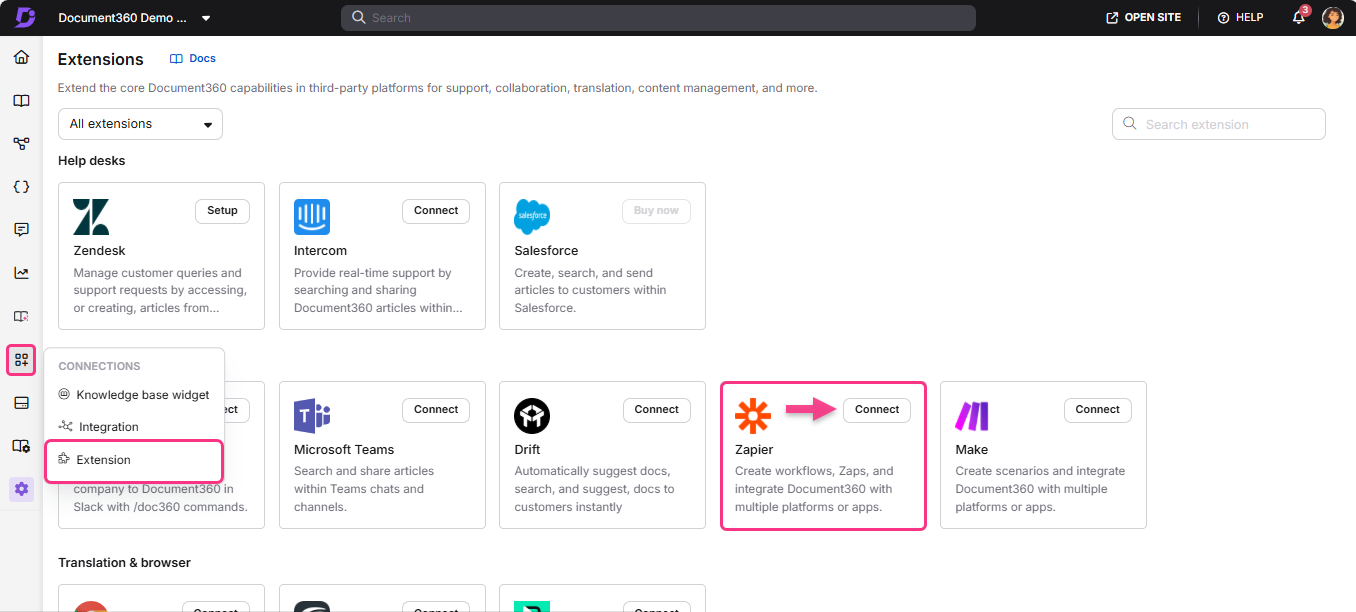
To generate the API token from the Document360 portal,Navigate to Connections () > Extensions in the left navigation bar in the Knowledge base portal.
On the Zapier extension tile, click Connect.
Click the Copy () icon to copy the token.
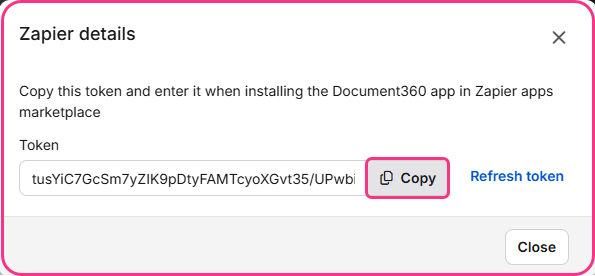
Head back to the Zapier panel and paste the API token in the field.
Click Yes, Continue to Document360.
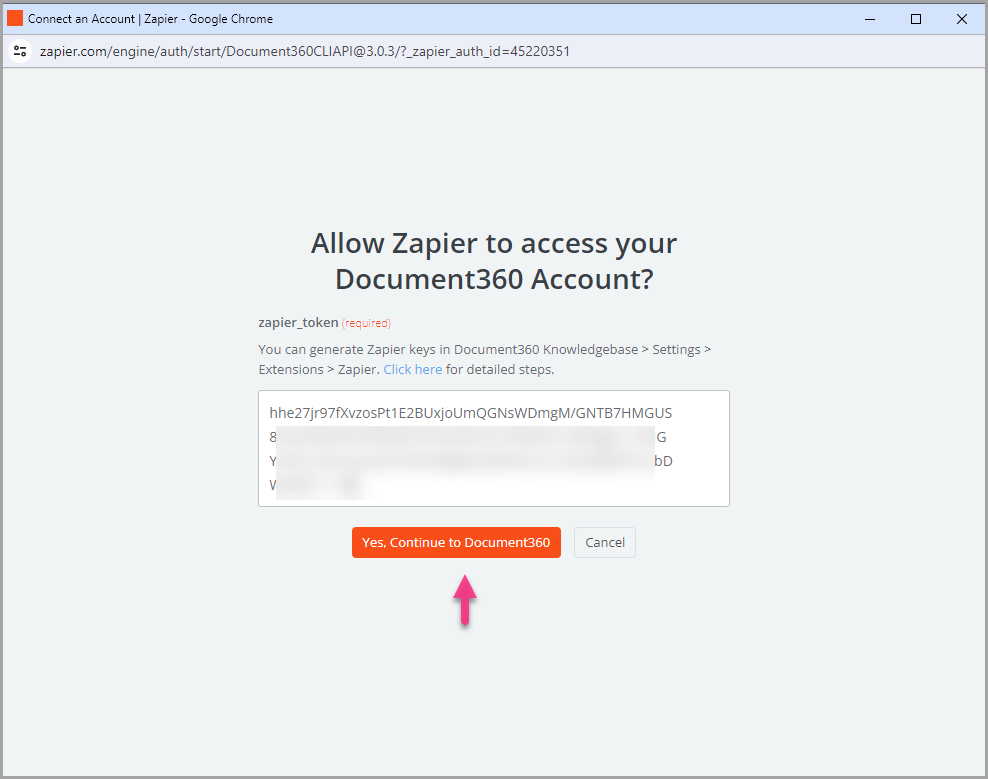
You can find the connected Document360 project on the Connect Document360 account page.
Click Continue.
Step 3: Customize Zap
Map all the required fields:
Title: Choose a suitable title from the options available.
Content: Choose suitable content based on your business requirements.
Version: Select the workspace in your Knowledge base project where the article should be created.
Language: Choose the language for the article within the selected workspace.
Article: Choose the article within the selected category.
Once done, click Continue. The button enables only when all the fields are filled.
Step 4: Test Zap
In the test section, click Test step.
If it is successful, you will get the message ‘A Document was sent to Document360.’
In your Document360 Knowledge base portal, you'll find the article located in the folder you previously selected.
Head back to the Zapier setup panel and click Next.
Once done, click Publish.
Turn on Zap
To turn on a Zap once it is tested and published, follow the below steps:
After testing the Zap, review or edit the settings before turning on the Zap.
You can edit the settings configured on the Asana trigger and the corresponding action of the new article in Document360.
You would get a success message stating Your Zap is on. You can click on the Manage your Zap button to go to your Zap overview page.
Zap overview
Create articles in Document360 from new Asana tasks
You can view and edit the information about the Zaps created on the Zap overview page.
Deleting a Zap
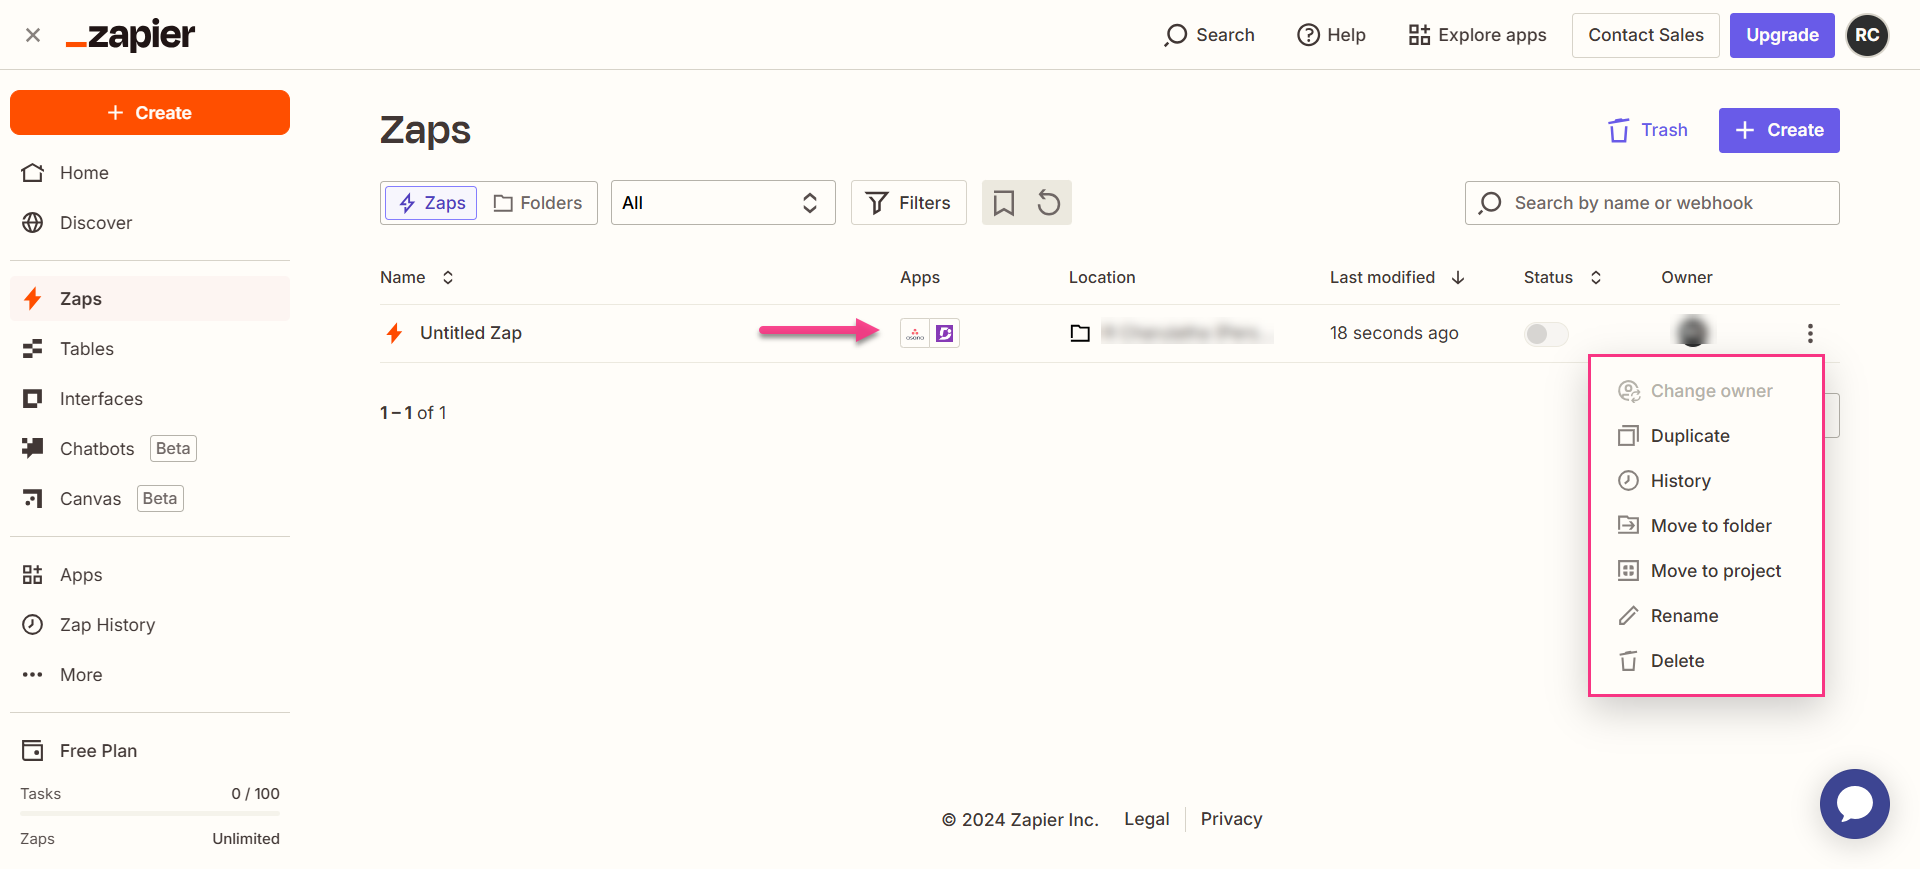
To delete a Zap that you have created,
Navigate to the Zapier dashboard. On the overview page, a list of all existing Zaps will be displayed.
Click the Zap actions () icon to the right of the desired Zap and click Delete.
The selected Zap will be deleted.