If your team uses Zoho CRM to manage leads and contacts, keeping your knowledge base updated with relevant information about those leads — such as onboarding documentation, account-specific articles, or product guides — requires manual effort every time a new record is added. By connecting Zoho CRM and Document360 through Zapier, you can automate this: whenever a new lead or contact is created in Zoho CRM, Zapier automatically creates a corresponding article in Document360.
You can set up this integration from scratch or use the pre-built Zapier template:
When to use this integration
- Your sales or support team adds new leads or contacts in Zoho CRM and a corresponding knowledge base article — such as a customer profile, an onboarding guide, or a product brief — needs to be created in Document360 each time.
- You want to ensure that documentation relevant to each new CRM record is created automatically so your team doesn't have to switch between Zoho CRM and Document360 manually.
- You're building a documentation workflow where CRM events trigger content creation, keeping your knowledge base aligned with your sales pipeline.
Before you begin
- You must be logged into your Zapier account.
- You must have a Zoho CRM account with permission to connect to Zapier.
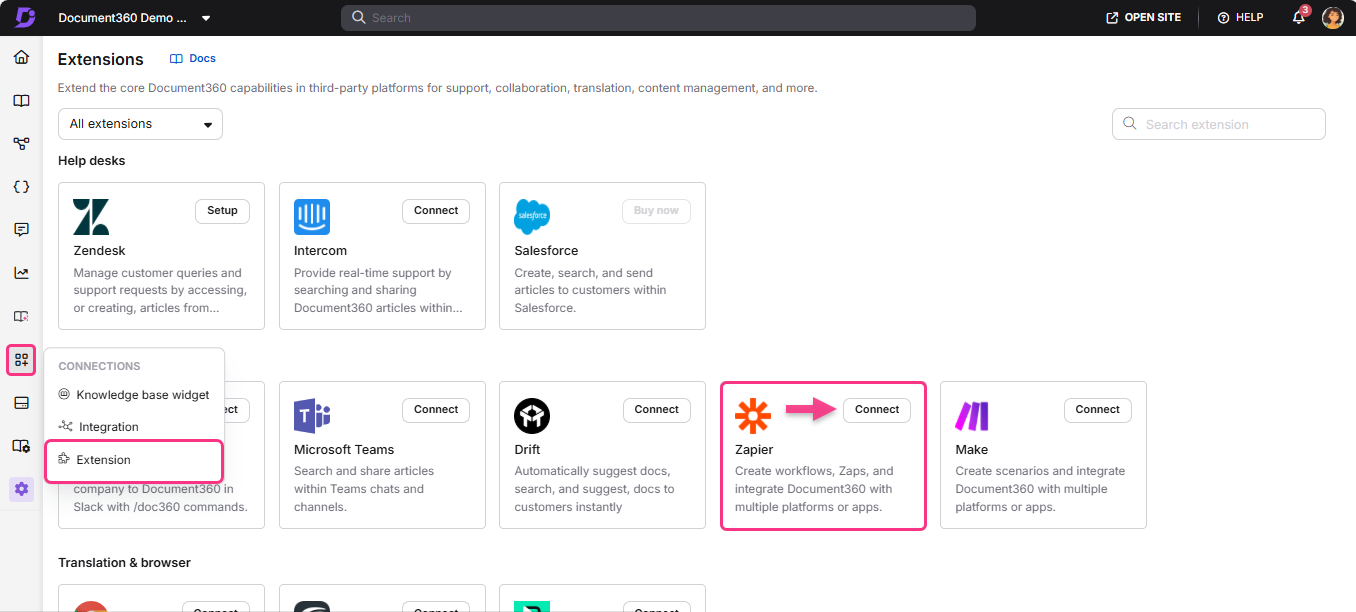
- You must have your Document360 API token ready. To generate one, navigate to Connections > Extensions , locate the Zapier tile, and click Connect to copy the token.
Set up the Zap
Step 1 — Create a new Zap
- Log in to your Zapier account.
- From the left navigation menu, click Create then select Zaps.
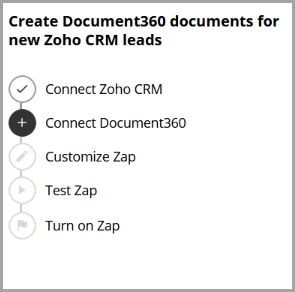
- A new Zap is created with a Trigger and Action flow.

Step 2 — Connect Zoho CRM as the trigger
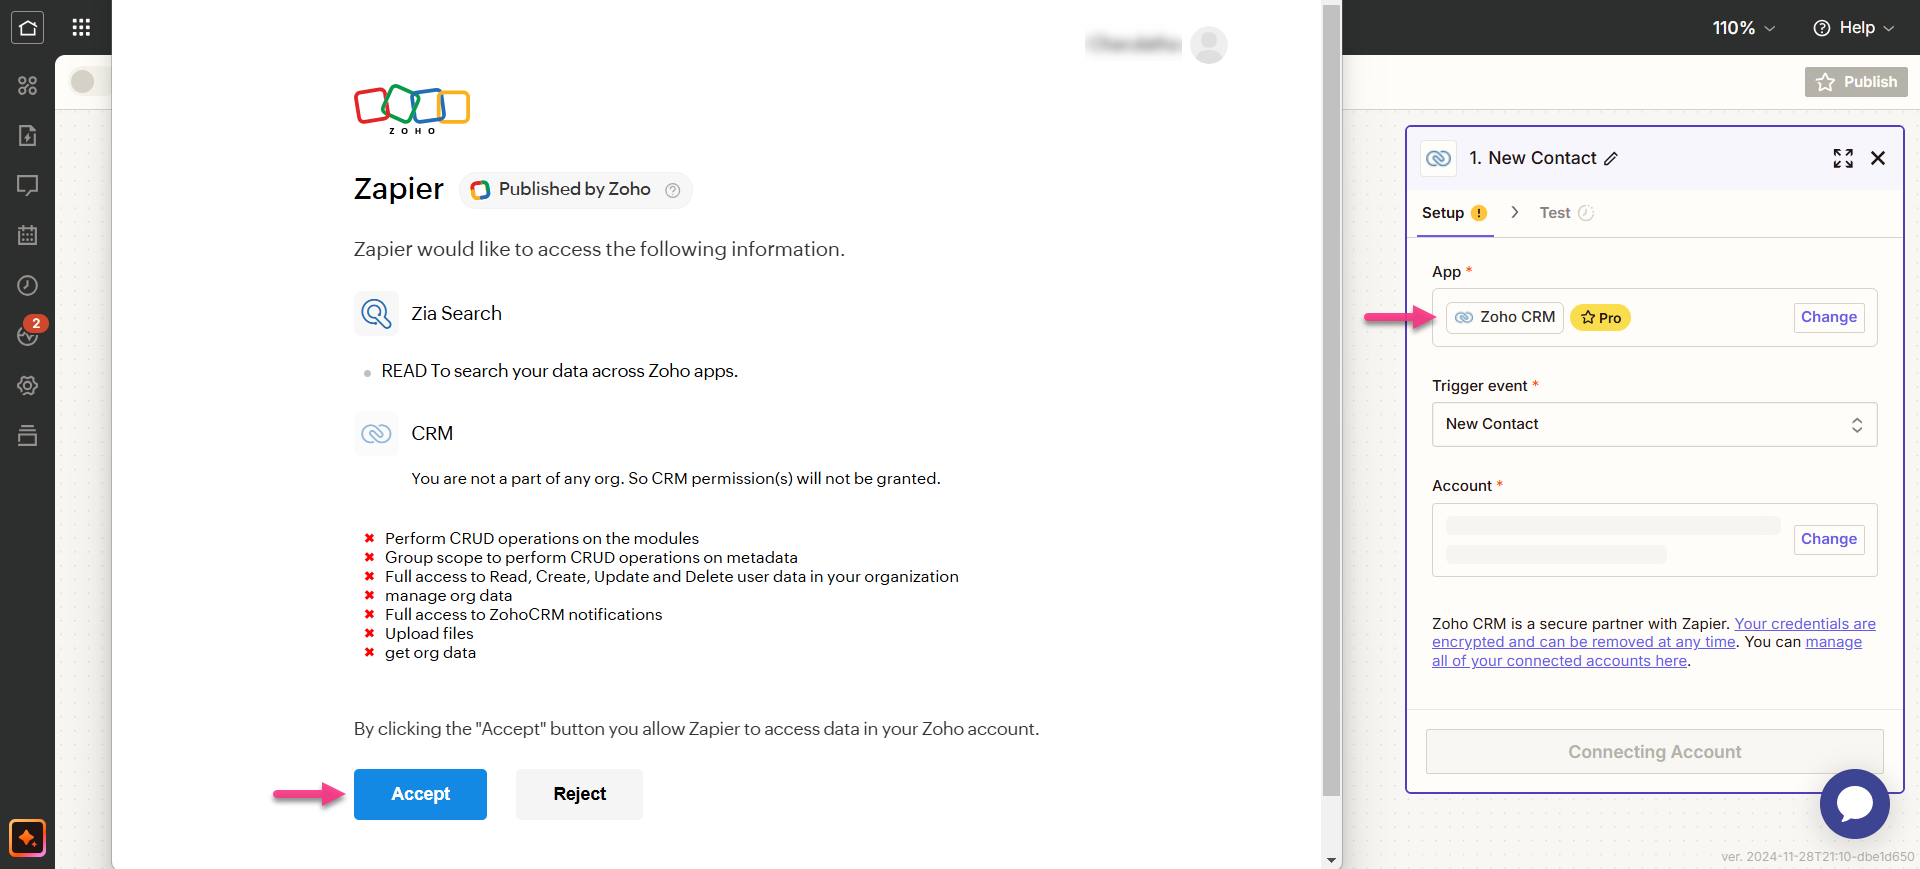
- In the Trigger field, choose Zoho CRM.
- In the Trigger event field, select the event that should trigger the Zap.
To change the trigger app later, click Change in the Trigger field.
- Click the Account field — a Sign-in panel appears.
- Select the Zoho domain your account belongs to. The domain field is optional — select it only if your Zoho account is on a specific regional domain.
- Click Yes, Continue to Zoho CRM.
- Enter your Zoho CRM credentials and click Accept.
- Click Continue. Zapier runs a test to confirm the trigger is correctly configured.
Step 3 — Connect Document360 as the action
- In the Action field, choose Document360.
- On the Setup panel, select the desired event in the Event field.
- Click the Account field — a Sign-in panel appears.
- Enter your sign-in credentials and click Allow.
To generate the API token from Document360:
- Navigate to Connections > Extensions in the left navigation bar of the Knowledge base portal.
- On the Zapier extension tile, click Connect.
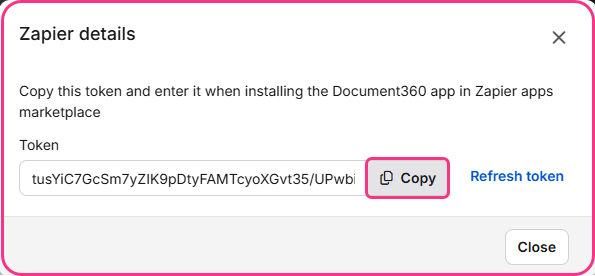
- Click the Copy icon to copy the token.
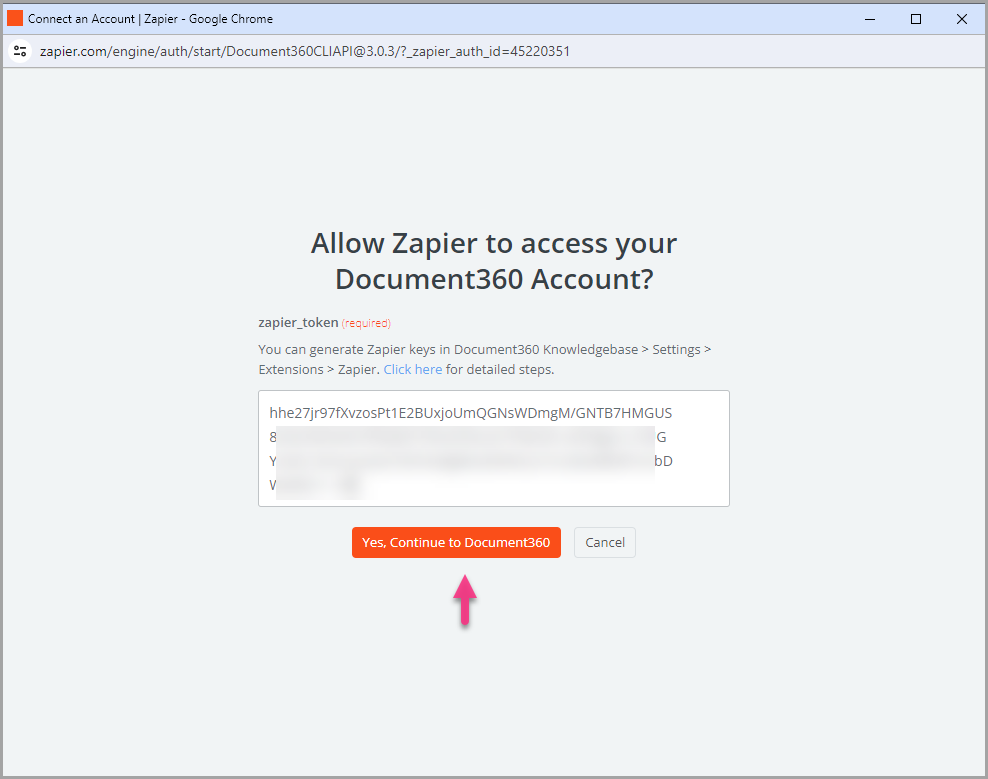
- Head back to the Zapier panel and paste the API token into the field.
- Click Yes, Continue to Document360.
- You can find the connected Document360 project on the Connect Document360 account page. To use a different account later, click Change.
- Click Continue.
Step 4 — Map the fields
- Map the required fields from Zoho CRM to Document360:
| Field | Description |
|---|---|
| Version | Select the workspace in your Document360 project where the article should be created. |
| Language | Choose the language within the selected workspace. |
| Article | Choose the desired article from the desired category. |
| Publish | Set to True to publish the article immediately. Set to False to save it as a draft. |
- Click Continue.
Step 5 — Test and publish the Zap
- In the test section, click Test step.
- If successful, you will get the message A Document was sent to Document360.
- In your Document360 portal, you'll find the article titled "Lead Source in Zoho CRM" in the category you selected.
- Head back to the Zapier setup panel and click Continue, then click Publish.
- Review or edit the trigger and action settings as needed, then turn on the Zap toggle.
- You will see a success message: Your Zap is on. Click Manage your Zap to go to the Zap overview page.
Zap overview
Once active, you can view and manage the Zap from the Zapier dashboard. The overview page shows the trigger, action, and run history for the Zap.
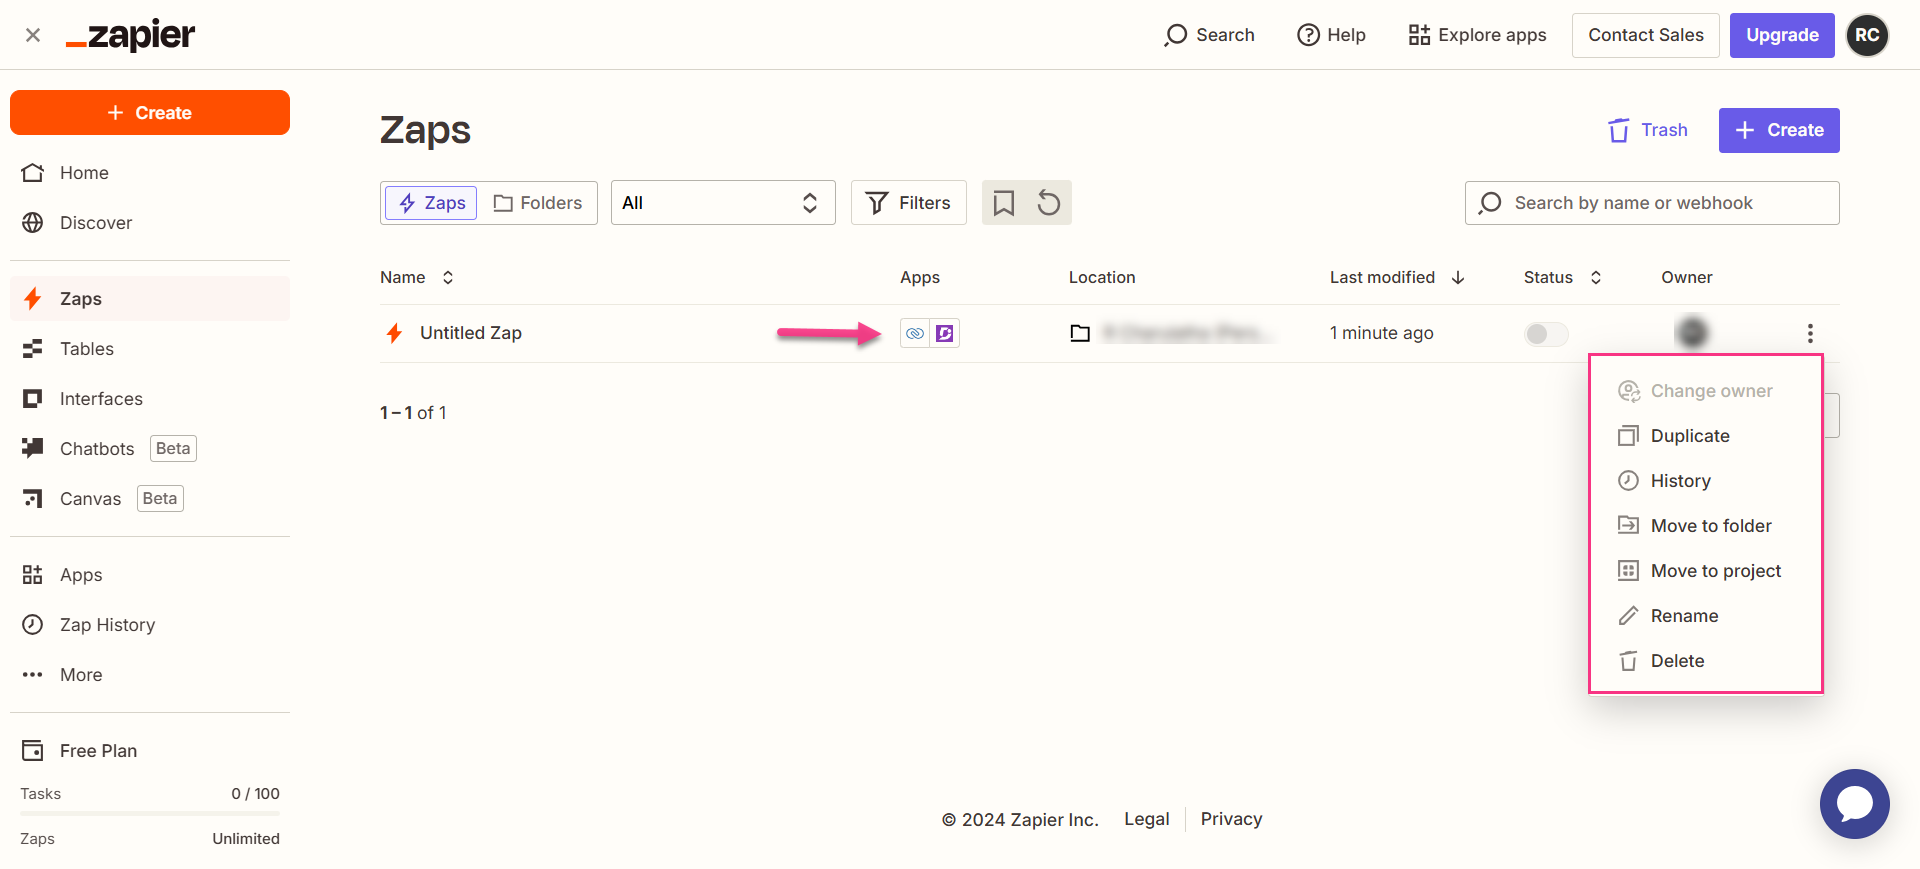
Delete a Zap
- Navigate to the Zapier dashboard. A list of all existing Zaps is displayed on the overview page.
- Click the arrow (>) icon to the right of the Zap you want to remove and click Turn off and delete Zap. The Zap is permanently deleted.
Best practices
- Set Publish to False when mapping fields so that Zoho CRM-triggered articles land in Document360 as drafts. This gives your team a chance to review and tailor the content to the specific lead or contact before it goes live.
- Use a dedicated category in Document360 for CRM-triggered articles — for example, "Customer Profiles" or "Lead Documentation" — so this automated content stays organized and doesn't mix with hand-authored articles.
- Choose a specific trigger event in Zoho CRM that matches the right point in your sales workflow — for example, triggering on a new lead rather than any contact update — to avoid creating unnecessary articles for every CRM activity.