Self-registration allows readers to create their own accounts on a Document360 knowledge base site without needing an invitation. If your project has self-registration enabled, you can sign up directly from the knowledge base login screen using your name and email address.
Before you begin
- Self-registration must be enabled by the project team. If you do not see a Sign up option on the login screen, self-registration is not available for that knowledge base.
- Self-registration is only available on knowledge bases with reader access set to Private or Mixed.
How to self-register on a knowledge base site
-
Go to your knowledge base site.
-
Click Sign up at the bottom of the login screen.
.png)
-
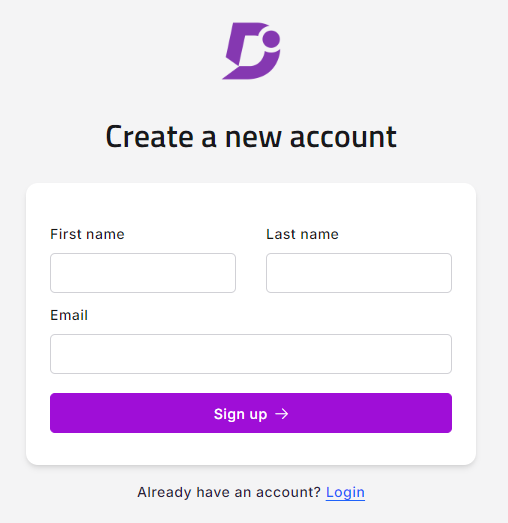
Enter your First name, Last name, and Email.
-
Click Sign up.
You will get a confirmation message saying Account created successfully.
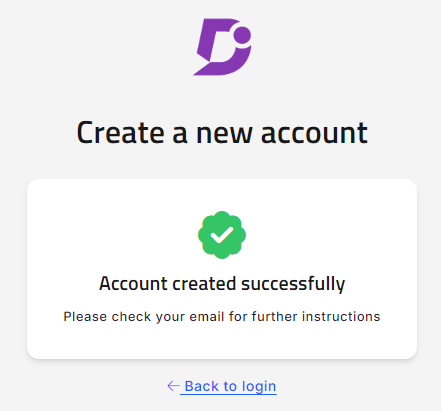
You will receive an invitation email. Once verified, you can set a password and log in to the knowledge base site.
NOTE
An email only needs to be verified once. After that, it can be used across multiple projects.
What happens after registration
Once registered, your reader account is automatically added to the Readers list in the knowledge base portal. Project members with access to User & permissions settings can edit or remove your account as needed.
Self registration requirements
| Requirement | Detail |
|---|---|
| Email verification | Each email address must be verified before the account can be used. |
| Verification reuse | An email only needs to be verified once and can then be used across multiple projects. |
| Domain restrictions | If your email domain is on a Block list for the project, you will not be able to self-register. Contact the project owner for access. |