Plans supporting this feature: Business Enterprise
Integrating Google Drive with Document360 enables seamless access to your files directly within your Knowledge base portal. This integration allows you to easily link, manage, and share Google Drive files, for easy collaboration and documentation workflows.
Integrating Document360 with Google Drive
Using Document360 as your knowledge base platform, you can efficiently manage and share documents across your team. However, manually linking and organizing files from Google Drive to Document360 can be a time-consuming task.
You can automate file management by integrating Google Drive with Document360 through Zapier. This ensures a smooth workflow between these platforms. To set up the integration between Google Drive and Document360, follow the steps below:
Log into your Zapier account.
From the left navigation menu, click Create and then click Zaps from the options available.
Zap will be created with Trigger and Action flow.
Connecting Google Drive and Document360 in Zapier
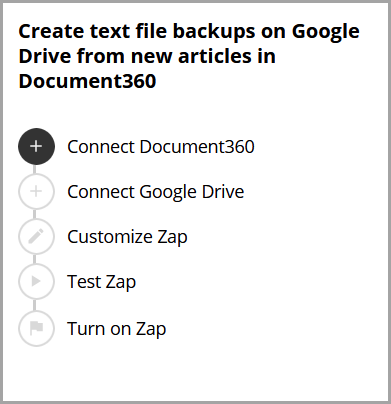
1. Setting up the trigger: Connecting Document360
In the Trigger field, choose Document360.
On the Setup panel that appears on the right, select a desired event in the Event field.
Click the Account field, and a Sign-in panel will appear.
Enter your sign-in credentials and click Allow.
To generate the API token from the Document360 portal,Navigate to Settings () in the left navigation bar in the Knowledge base portal.
In the left navigation pane, navigate to Knowledge base portal > Extensions > Team collaboration.
On the Zapier extension tile, click Connect.
Click the Copy () icon to copy the token.
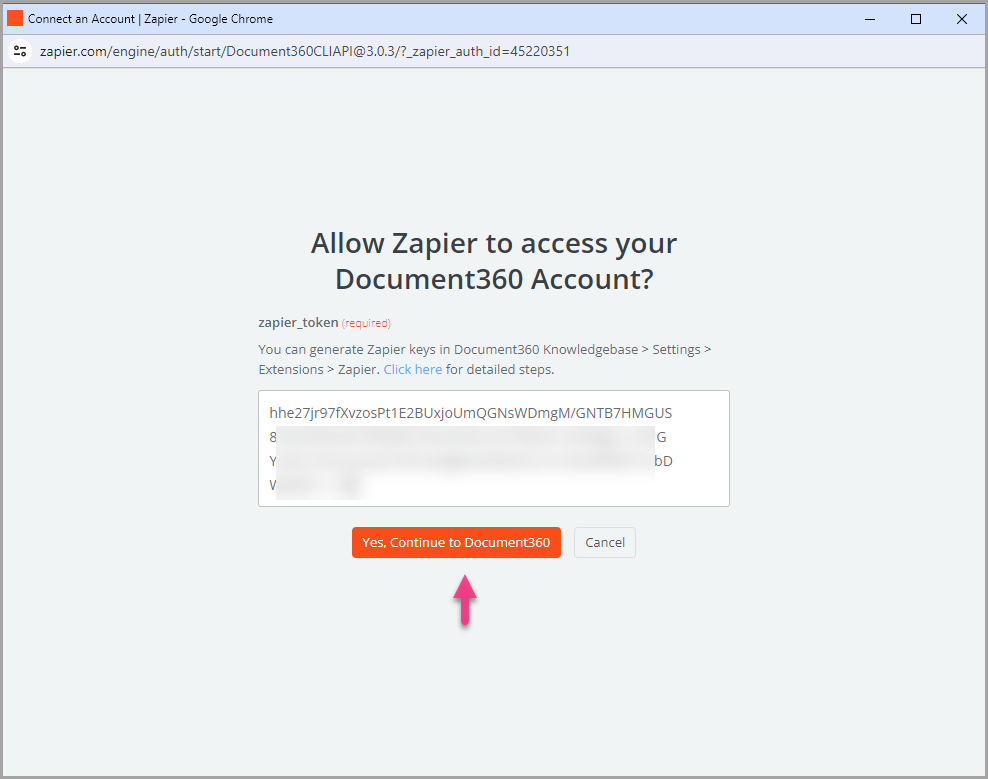
Head back to the Zapier panel and paste the API token in the field.
Click Yes, Continue to Document360.
You can find the connected Document360 project on the Connect Document360 account page.
If you wish to configure a different account later, click Change.
Click Continue.
2. Setting up the action: Connecting Google Drive
In the Action field, choose Google Drive.
On the Setup panel that appears on the right, select a desired action from the available options in the Event field.
Click the Account field and a Sign-in panel appears.
Enter your sign-in credentials and click Allow.
Click Continue.
In the Configure panel, update the following fields:
Drive - The default option is My Google Drive or choose the drive from the list.
Folder - Select the desired folder from the dropdown.
File - Select the desired file from the dropdown. This is a mandatory field.
Convert to Document - Choose True or False based on your requirements.
File Name - Enter a suitable file name.
File Extension - Enter a suitable extension for the file.
NOTE
The configurations details differ based on the Action event you choose. The above mentioned fields are required if select upload actions.
Once done, click Continue.
Go to the Test section and click Test step.
If successful, you will get the message ‘Test item sent! Check your Google Drive account to view it.’
Once done, click Publish.
A Zap published popup confirms the Zap is on.
Click Manage your Zap to go to the Google Drive+Document360 Zap overview page.

Zap overview
You can view and edit the information about the Zaps created on the Zap overview page.
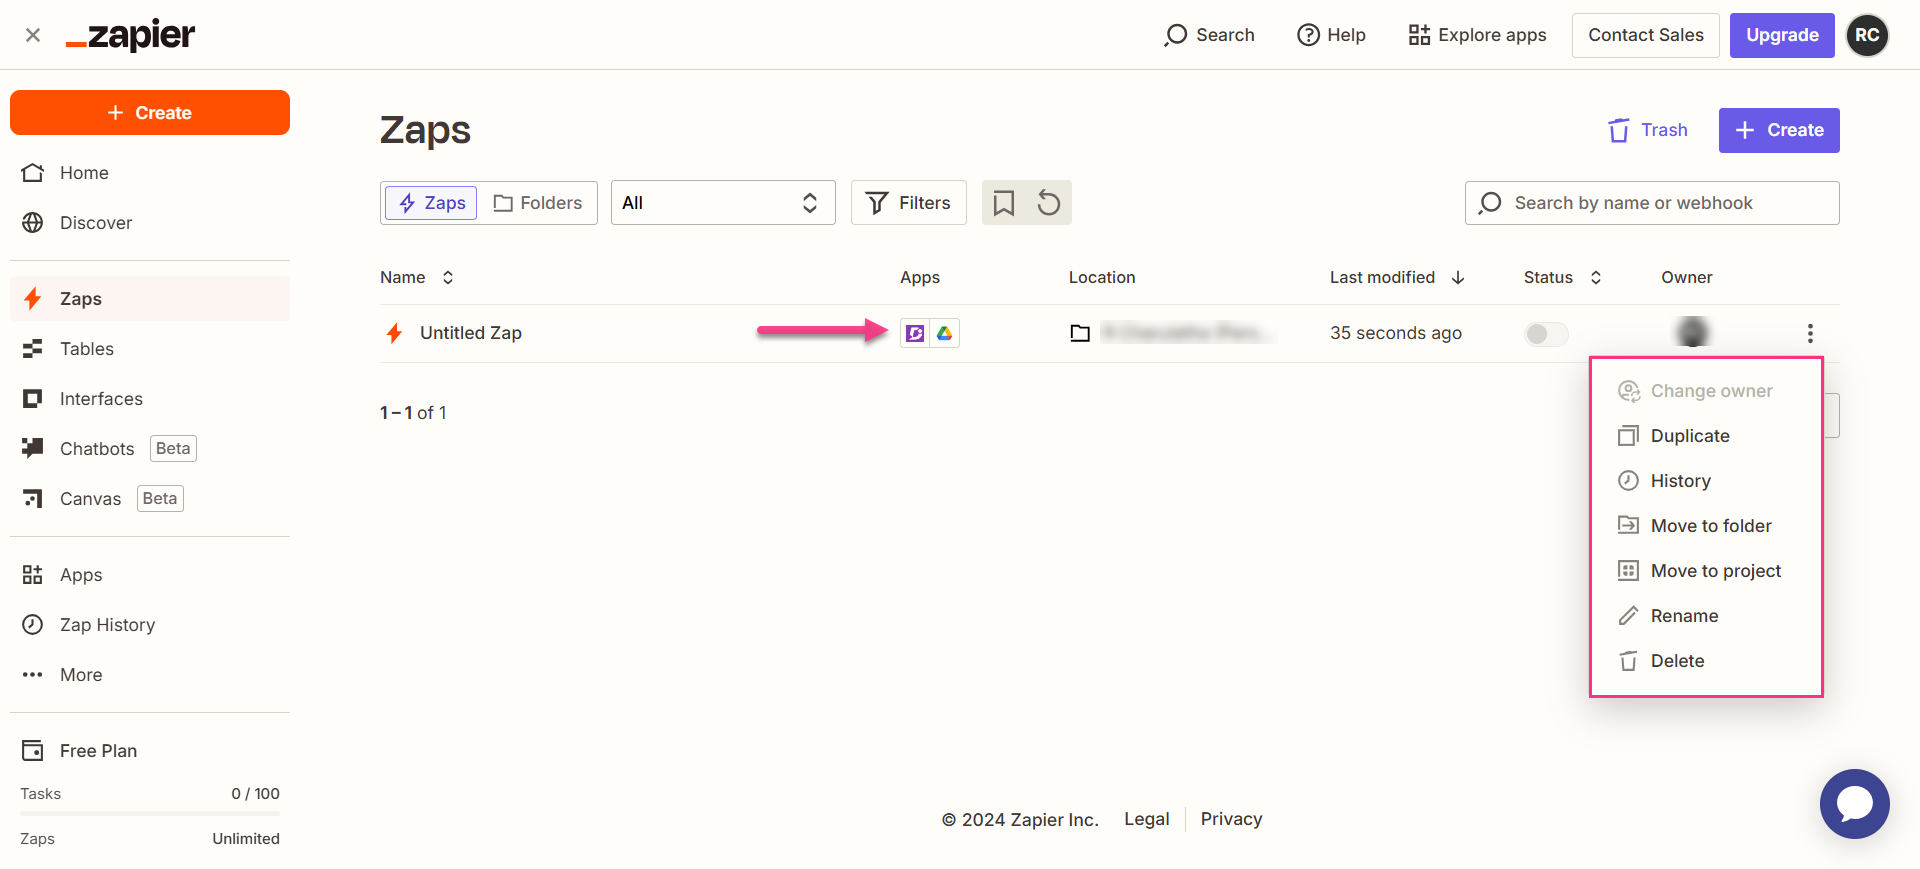
Deleting a Zap
If a Zap is no longer needed or is outdated, you can delete it to keep your Zapier dashboard organized. To delete a Zap,
Navigate to the Zapier dashboard. On the overview page, a list of all existing Zaps will be displayed.
Click the arrow (>) icon to the right of the desired Zaps and click Turn off and delete Zap.
The selected Zap will be deleted.