Enhance your Knowledge base site’s home page with the Image with text block, a versatile option that combines text and an image to effectively showcase features, descriptions, or announcements. Unlike the Rich text block, this feature allows you to visually enrich your content with imagery.
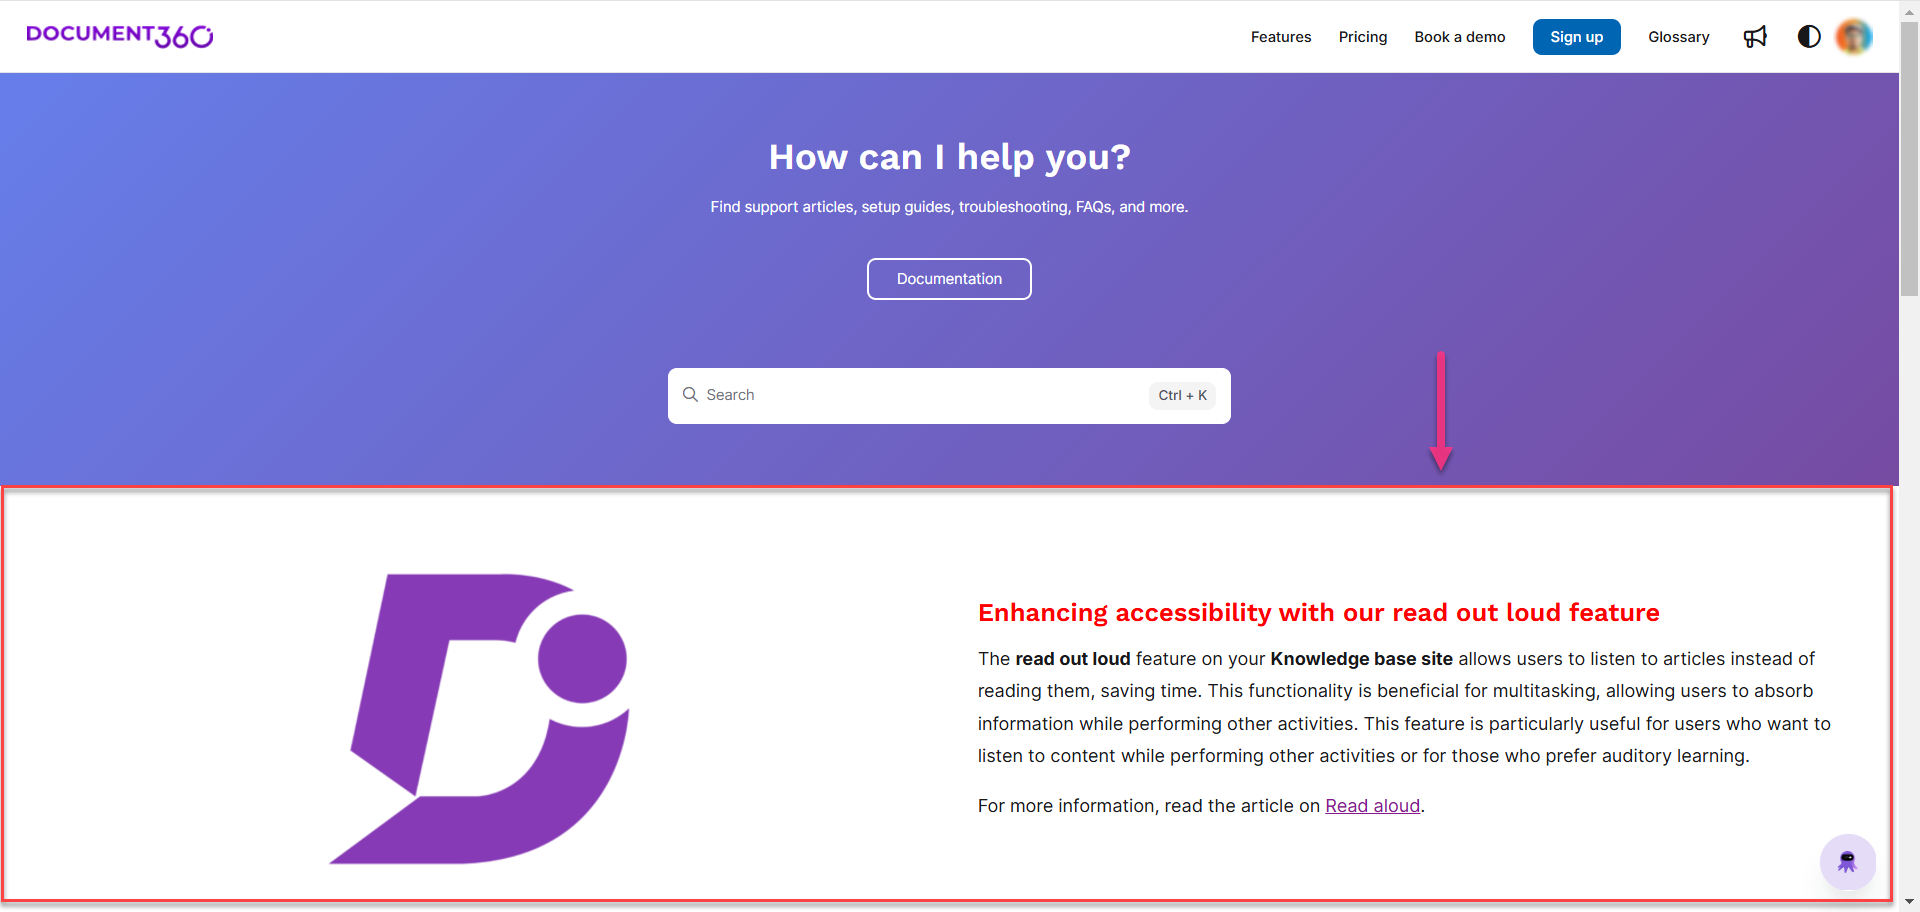
Example: Using Image with text block, you can showcase your latest feature and its description with dynamic artifacts in your Knowledge base site’s home page.
Adding an Image with text block
To add a Image with text block to your Knowledge base site’s home page, follow the steps below:
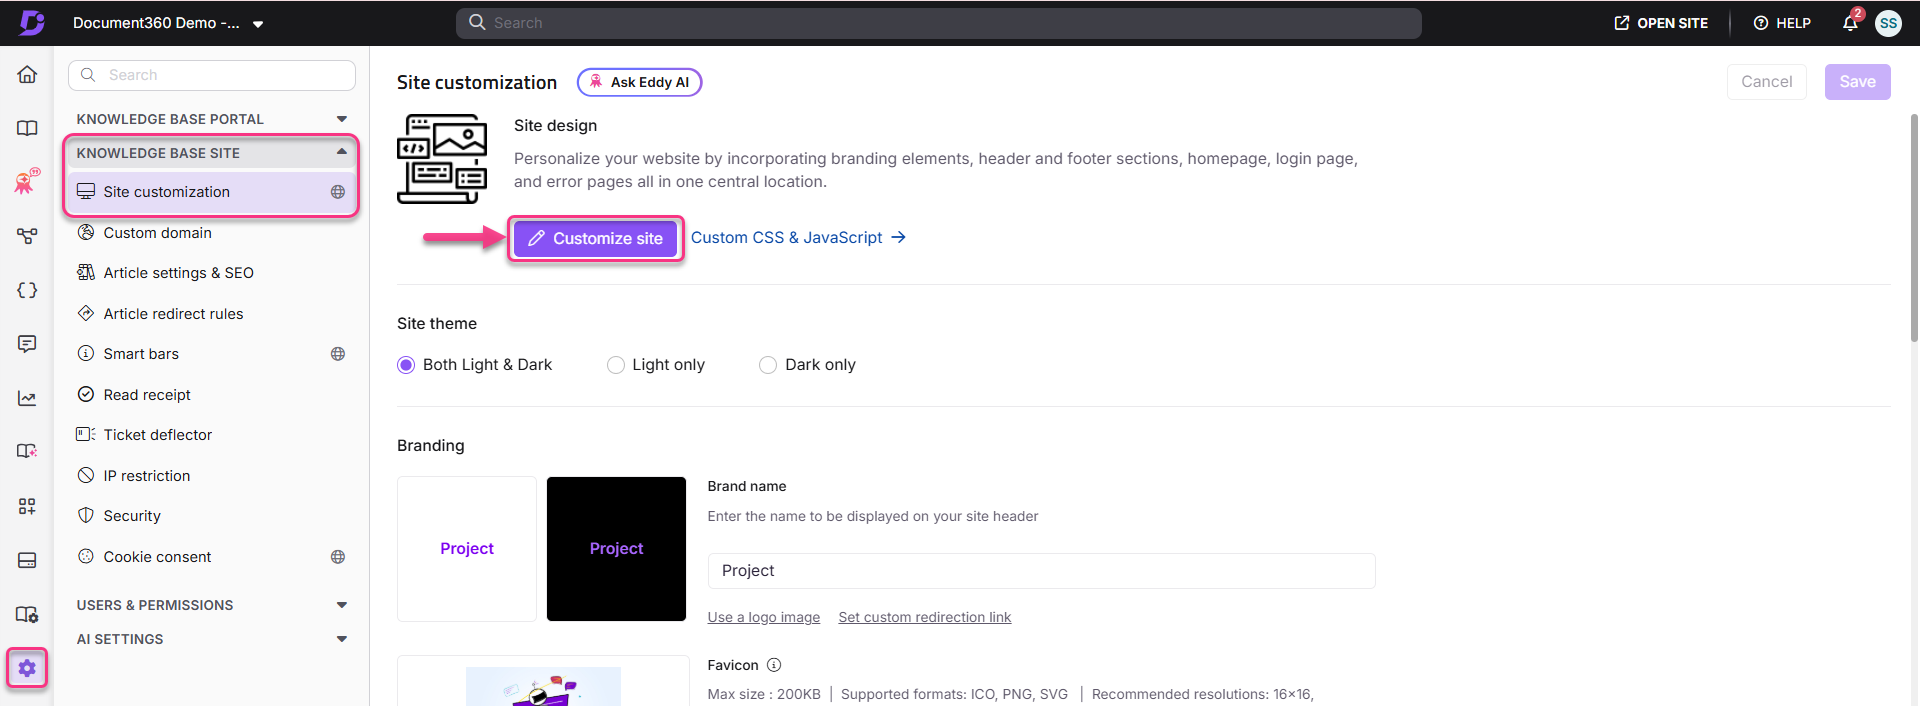
Navigate to Settings () in the left navigation bar in the Knowledge base portal.
In the left navigation pane, navigate to Knowledge base site > Site customization.
Click Customize site to access the design configurations.
From the left dropdown, select Home page.
The Body section will display a list of body blocks.Click Add section and select Image with text.
The Image with text block is added to the list.Use the Reorder () icon to rearrange elements.
Click the Hide () icon to toggle the visibility of elements.
The Reorder () and the Hide () appears when you hover over any body blocks in the Body section.Expand the Image with text dropdown to access the Image, Heading and Paragraph elements.
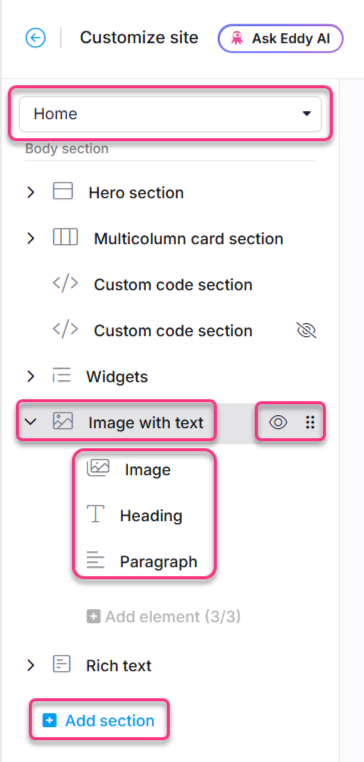
Available options
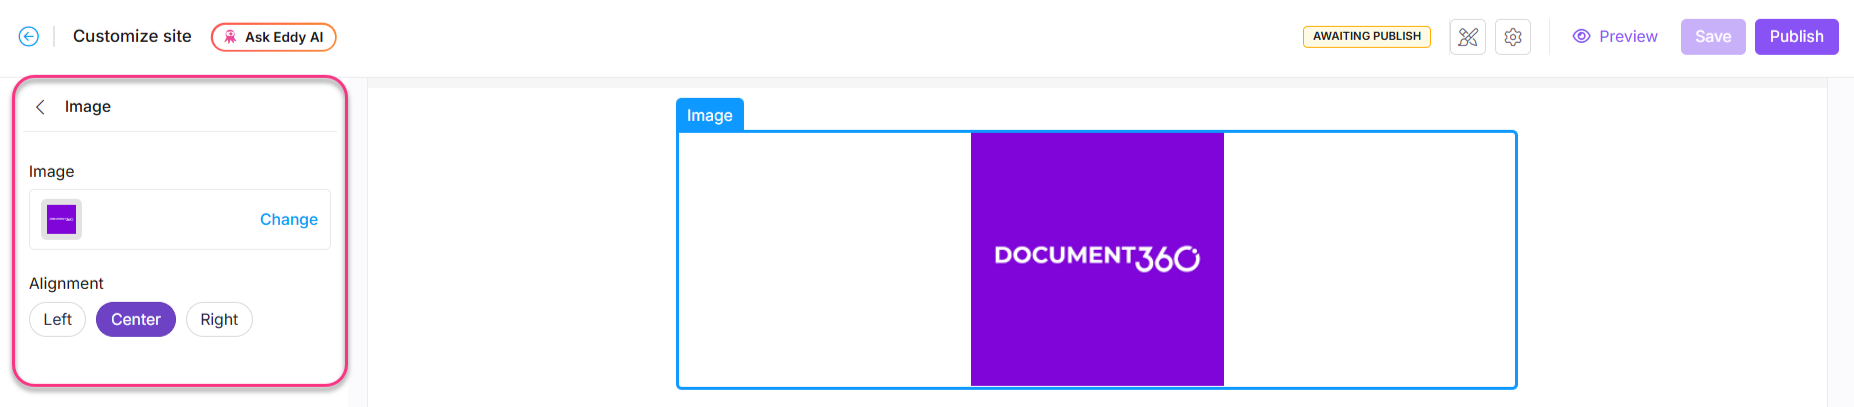
Click the Image to edit the image.
The Image panel will appear.
Click Change to upload or update the image.
In the Image tab, enter the image URL or upload one from your Drive.
In the Alignment section, select one of the following options:
Left: Aligns the image to the left.
Center: Aligns the image to the center.
Right: Aligns the image to the right.
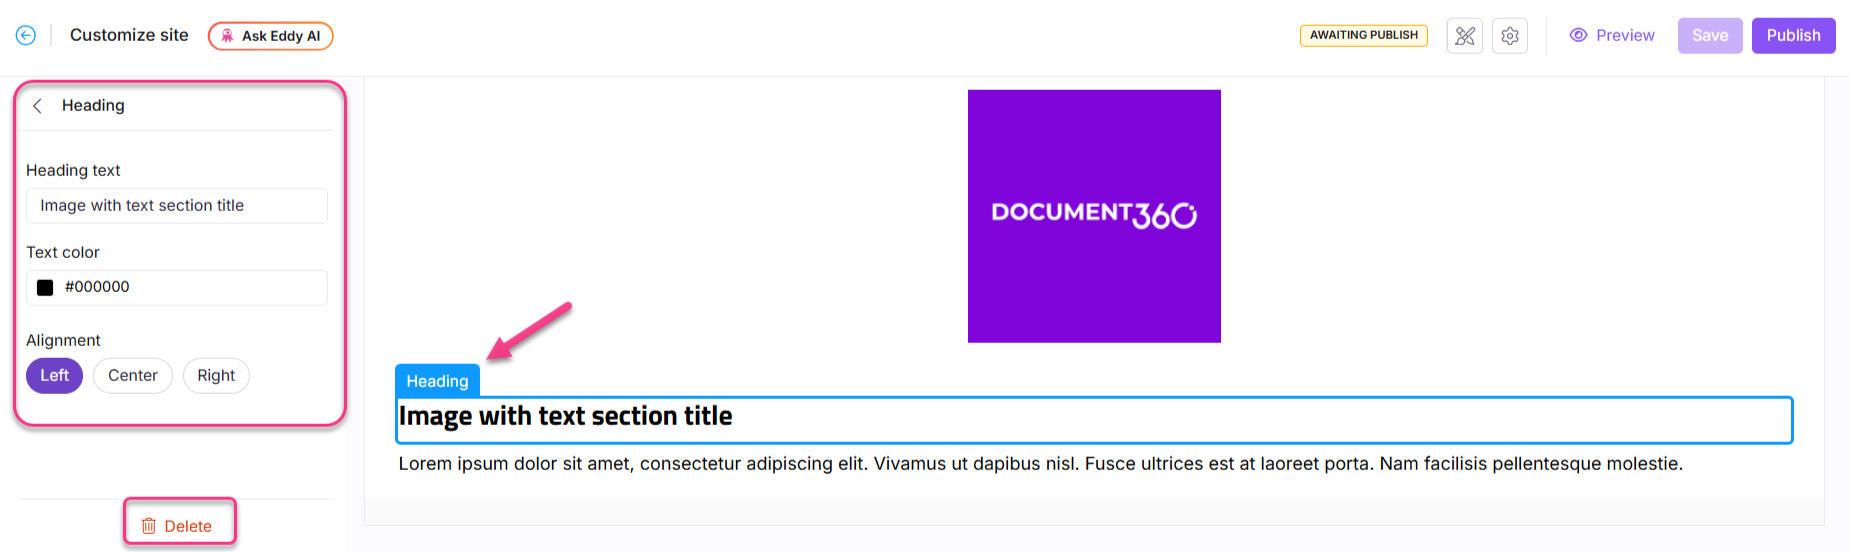
Click Heading to edit the heading content.
The Heading panel will appear.Enter the desired text in the Heading text field.
Use the Text color palette to choose a color for your heading.
In the Alignment section, choose an alignment option: Left, Center, or Right.
Click Delete to remove only the Heading element.
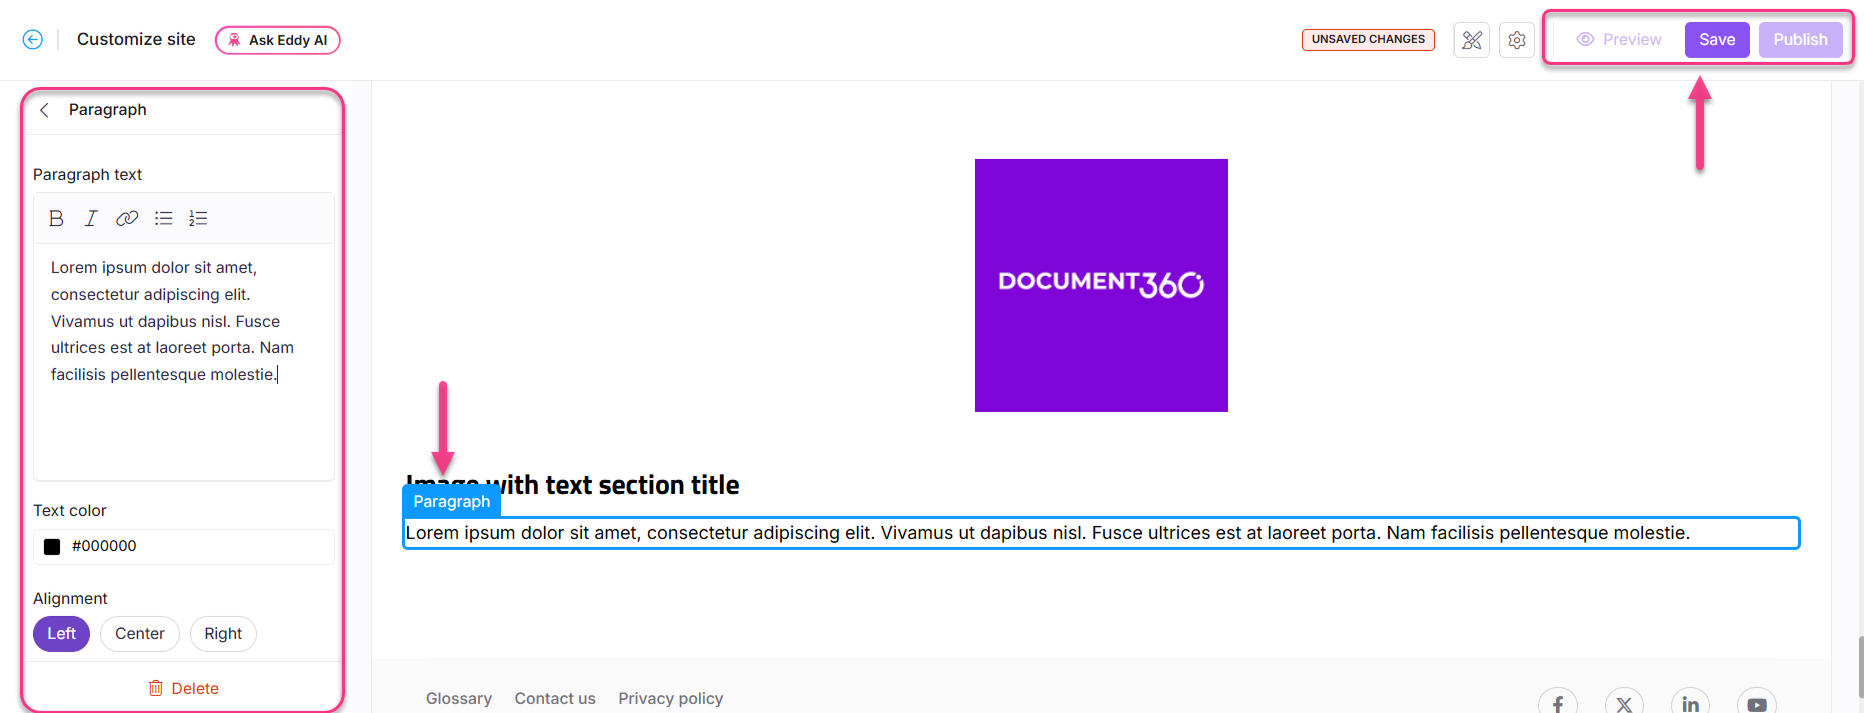
Click Paragraph to add a paragraph text block.
Enter your content in the Paragraph text field.
Format the paragraph using the following options:
Bold (): Apply bold formatting to text.
Italic (): Apply italic formatting to text.
URL/Link (): Add URLs or hyperlinks within the text.
Unordered list (): Add a bulleted list.
Ordered list (): Add a numbered list.
NOTE
Markdown syntax is supported for formatting Paragraph text block.
Choose the Text color palette to set the desired text color.
In the Alignment section, choose an alignment option: Left, Center, or Right.
Click Delete to remove only the Paragraph element.
Click Save to save your changes without applying them immediately.
Click Preview to see how your changes will appear on the knowledge base site.
Click Publish to make your recent changes visible to readers.
Click the More () icon and select Reset to published version to discard all saved and unsaved customizations and revert to the last published version.
NOTE
The Reset to published version feature is available only for new Knowledge base site 2.0 projects created after March 29, 2025.
FAQ
How do I delete an Image with text block from my Knowledge base site’s home page?
Follow these steps to delete an Image with text block:
Navigate to Settings () in the left navigation bar in the Knowledge base portal.
In the left navigation pane, navigate to Knowledge base site > Site customization > Customize site.
From the left-side dropdown, select Home page.
The list of body blocks appear will in the Body section.Click the desired Image with text block.
The Image with text panel will appear.Click Delete and confirm by clicking Yes in the Delete confirmation prompt.