Plans supporting this feature: Business Enterprise
Mailchimp is a marketing platform used by organizations worldwide for effective email communication and audience engagement. It offers an all-in-one solution for creating, sharing, and managing emails, advertisements, and other messages tailored to your audience's preferences. With powerful tools, Mailchimp enables users to maintain an up-to-date contact list, track subscriber interactions, and gain insights into audience behavior, ensuring data-driven marketing strategies.
Integrating Document360 with Mailchimp
Using Document360 as your knowledge base platform and Mailchimp as your marketing tool, you may encounter a need to keep your audience informed about updates to your knowledge base. The Document360-Mailchimp integration streamlines this process by automatically creating or updating campaigns in Mailchimp whenever new content is added or updated in your Document360 knowledge base. This ensures timely communication, reduces manual effort, and keeps your audience engaged with the latest information.
To establish a connection between Mailchimp and Document360, follow the below steps:
Ensure that you have logged into your Zapier account.
From the left navigation menu, click Create and then click Zaps from the options available.
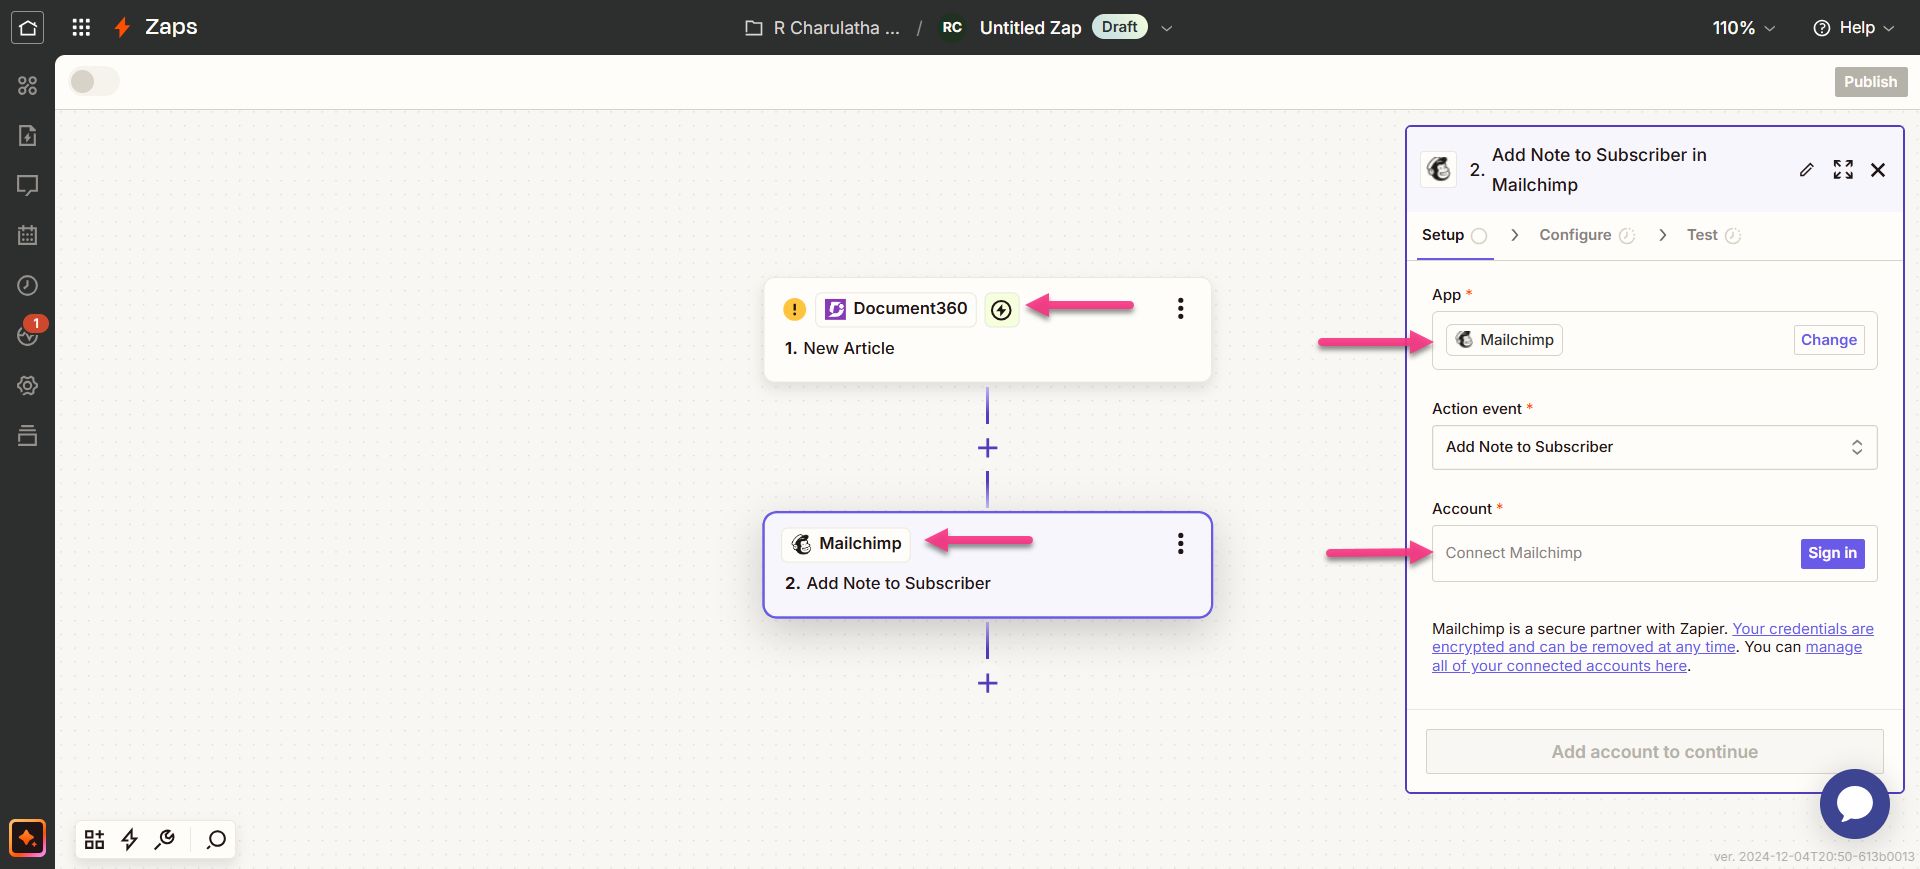
Zap will be created with Trigger and Action flow.

Connecting Mailchimp and Document360 in Zapier
To establish a connection between Mailchimp and Document360, follow the below steps:
Step 1: Setting up trigger: Connecting Document360
In the Trigger field, choose Document360.
On the Setup panel that appears on the right, select a desired event in the Event field.
Click the Account field, and a Sign-in panel will appear.
Enter your sign-in credentials and click Allow.
To generate the API token from the Document360 portal,
Navigate to Settings () in the left navigation bar in the Knowledge base portal.
In the left navigation pane, navigate to Knowledge base portal > Extensions > Team collaboration.
On the Zapier extension tile, click Connect.
Click the Copy () icon to copy the token.

Head back to the Zapier panel and paste the API token in the field.
Click Yes, Continue to Document360.

You can find the connected Document360 project on the Connect Document360 account page.
If you wish to configure a different account later, you can do that by clicking on Change.
Click Continue.
Step 2: Setting up action: Connect Mailchimp
In the Action field, choose Mailchimp.
On the Setup panel that appears on the right, select the desired event in the Event field.
Click the Account field and a Sign-in panel appears.
Enter your sign-in credentials and click Allow.
Click Continue.

Step 3: Customize Zap
Map all the required fields:
Audience: Choose the audience group you want to target for the campaign.
Segment or Tag: Specify the segment or tag to filter your audience. If left blank, the campaign will be sent to the entire selected audience.
Email Subject: Enter the subject line for your email.
Preview Text: Add a snippet that will appear alongside the subject line in recipients' inboxes.
From Name: Set a custom sender name (must be associated with the connected email address).
From Email address: Select the email address or alias from your connected Gmail account.
Template: Choose a template or supply HTML content for the email. If both options are left blank, the campaign draft will not include any content.
Email content (HTML): Choose a template or provide HTML content. Only one option can be selected; if both are left blank, the campaign draft will have no content.
NOTE
Fields marked as required (*) must be filled in.
Step 4: Test Zap
In the test section, click Test step.
If it is successful, you will get the message ‘A Draft was sent to your mail.’
In your Document360 Knowledge base portal, you'll find the article located in the category you have previously selected.
Head back to the Zapier setup panel and click Next.
Once done, click Publish.
Turn on Zap
To turn on a Zap once it is tested and published, follow the below steps:
After testing the Zap, review or edit the settings before turning on the Zap.
You can edit the settings configured on the Mailchimp trigger and the corresponding action of the new article in Document360.
You will get a success message stating Your Zap is on. You can click on the Manage your Zap button to go to your Zap overview page.
Zap overview
Create campaigns in Mailchimp from new articles in Document360
You can view and edit the information about the Zaps created on the Zap overview page.
Deleting a Zap
To delete a Zap that you have created,
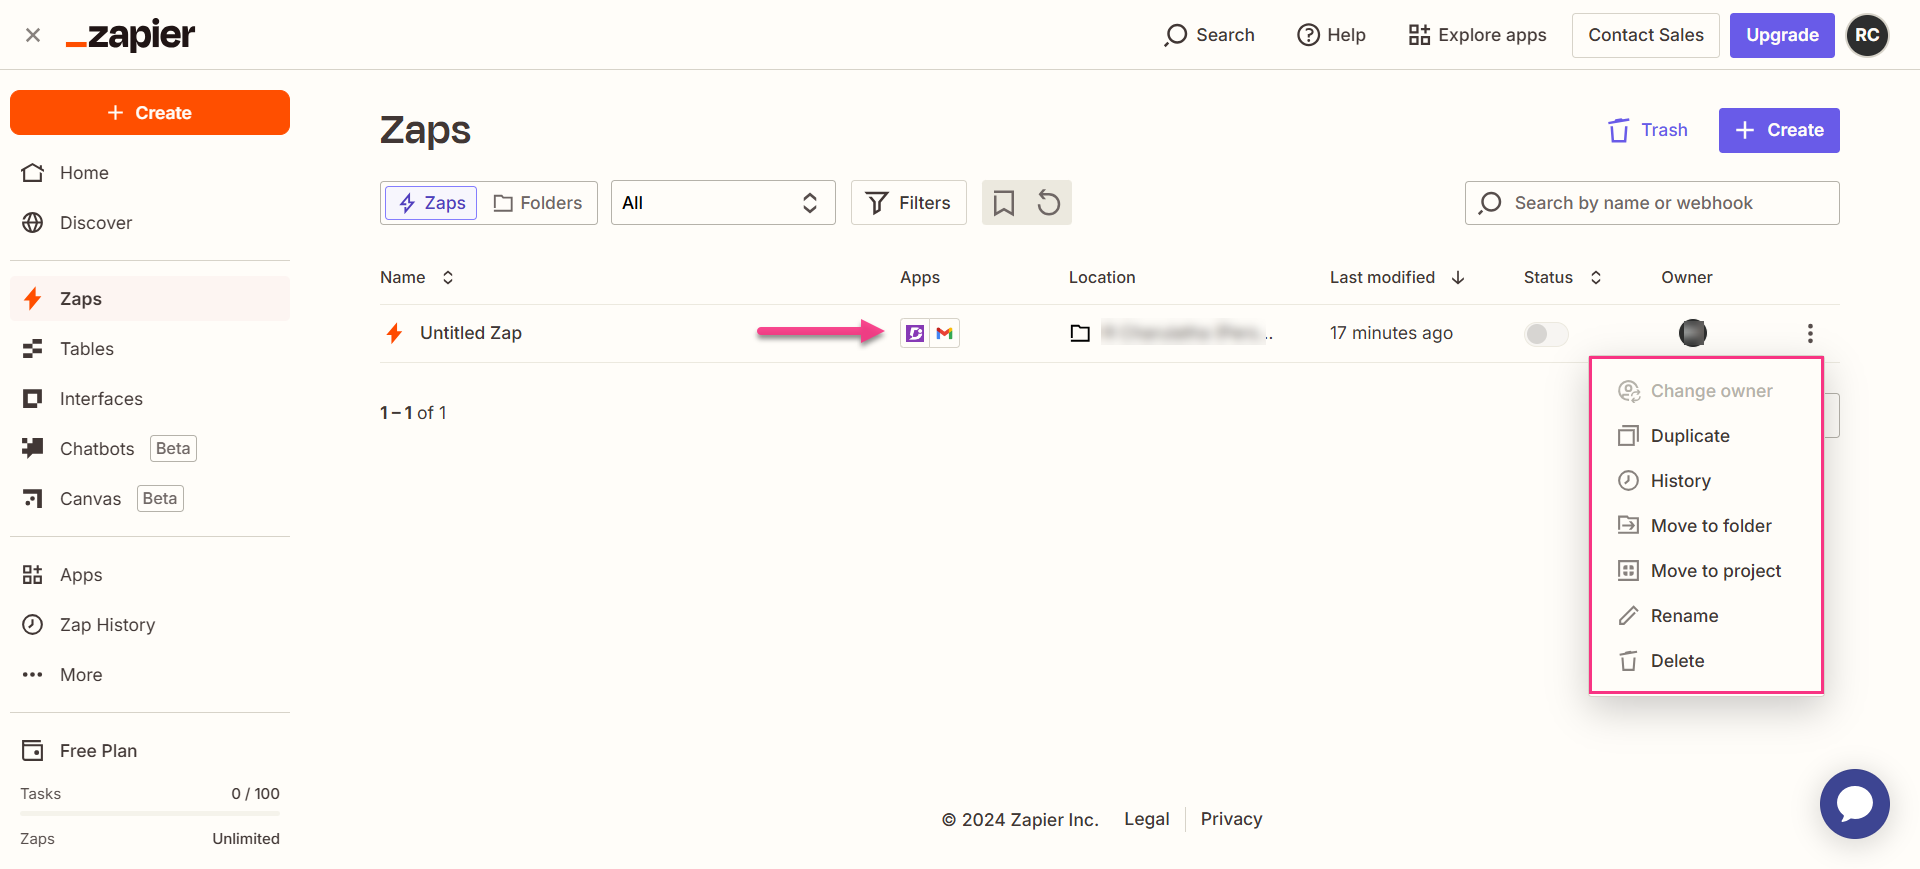
Navigate to the Zapier dashboard. On the overview page, a list of all existing Zaps will be displayed.
Click the Zap actions () icon to the right of the desired Zap and click Delete.
The selected Zap will be deleted.