Typeform is a platform for creating interactive forms, surveys, and quizzes in a conversational format. When customers or prospects submit responses through your Typeform forms, that information often contains valuable content — questions, feedback, or data — that belongs in your knowledge base. By connecting Typeform and Document360 through Make, you can automate this: whenever a new response is submitted to a Typeform form, Make automatically creates a corresponding article in Document360, turning form submissions into documentation without manual effort.
When to use this integration
- You use Typeform to collect frequently asked questions from customers or prospects and want each submission to automatically generate a draft article in Document360 so your team can turn answers into published documentation.
- You run feedback surveys through Typeform and want responses that reveal knowledge gaps to flow directly into your knowledge base workflow for follow-up.
- You want to build a documentation pipeline where form submissions — filtered by specific fields or completion status — drive new article creation in Document360 on a regular schedule.
Before you begin
- You must have an active Make account.
- You must have a Typeform account with the form you want to use as a trigger.
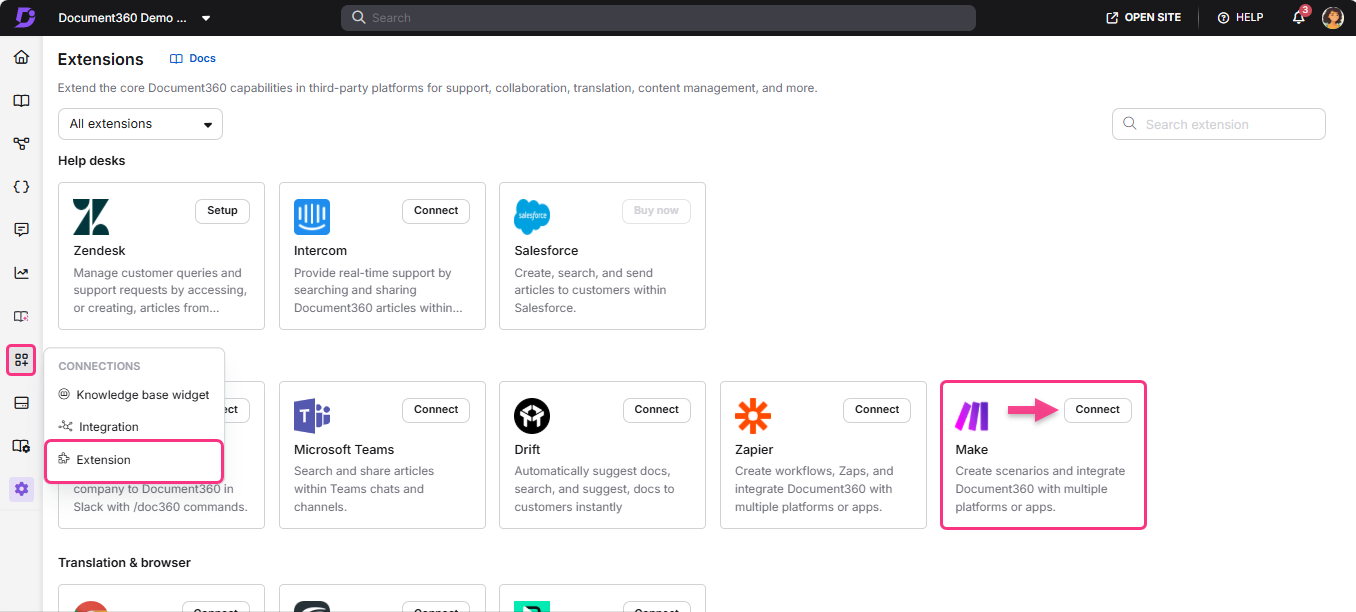
- You must have your Document360 API token ready. To generate one, navigate to Connections > Extensions , locate the Make tile, and click Connect to copy the token.
How to set up the Scenario
Step 1 — Sign in and create a new Scenario
- Log in to your Make account. The Make dashboard appears.
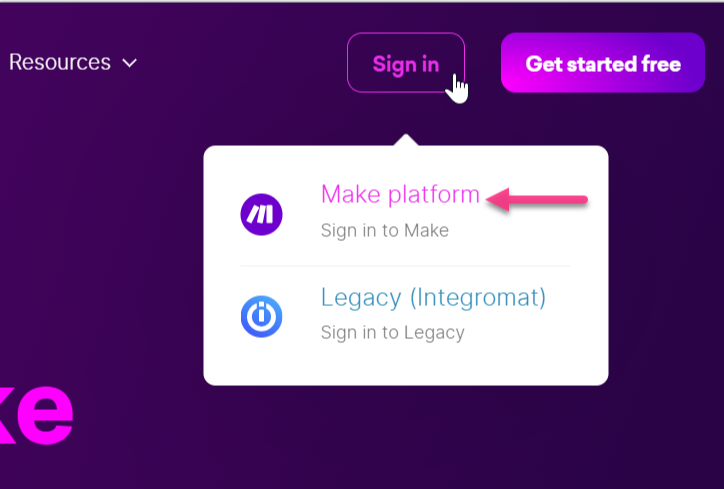
- Click Create a new scenario at the top right.
- Click the add (+) icon — a list of available applications appears.
- In the Search field, type Typeform.
- Select Typeform and choose the trigger you want to use. For example, select Watch Responses to trigger the Scenario when a new response is submitted.
Step 2 — Configure the Typeform module
Connect your Typeform account and configure the trigger settings.
- Click Create a connection and enter a Connection name.
- Click Save.
- Click Accept to allow Typeform to access your Make account. Your Typeform account is now connected to Make.
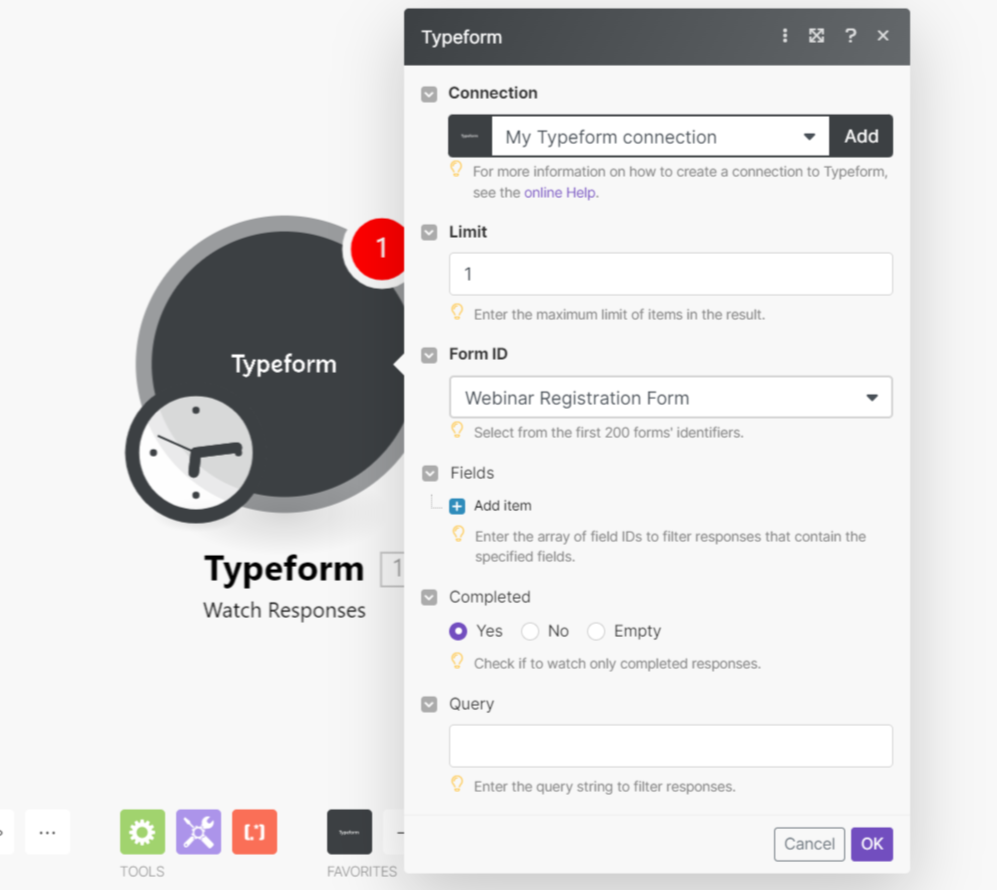
- In the Limit field, enter the maximum number of responses Make will return per execution cycle.
- Click the Form ID dropdown and select the form you want to watch.
- If you want the Scenario to trigger only when specific fields are filled, add the desired fields using Add item in the Fields section.
- In the Completed section, select the appropriate option:
- Yes — watch only forms that have been fully submitted.
- No — watch only forms that have not been submitted.
- Empty — watch only forms with empty responses.
- In the Query field, enter a text string to watch only responses that contain that text.
- Click OK.
- In the Choose where to start popup, select the date and time from which you want to start watching for new responses.
- Click OK.
Step 3 — Connect Document360 as the action
Once Typeform is connected, add Document360 as the next module in the Scenario.
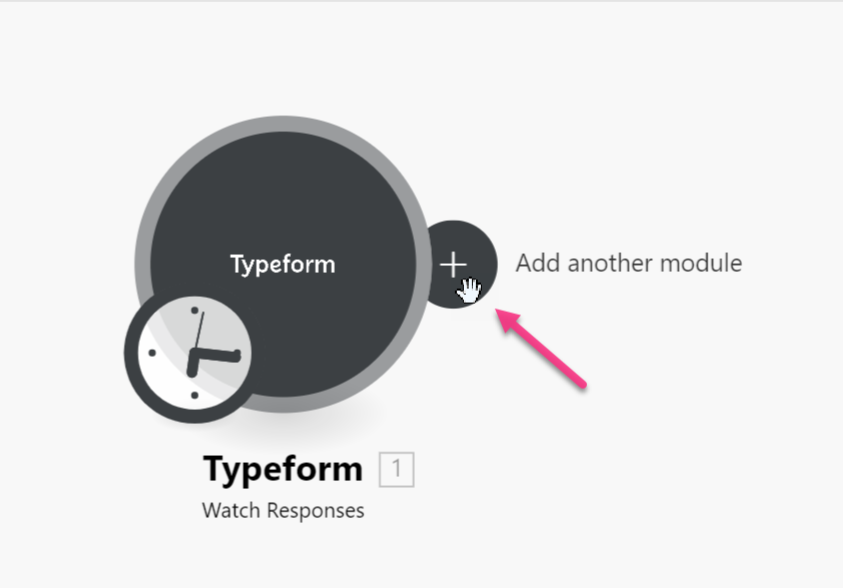
- On the Scenario editor page, click the Add another module (+) option.
- In the Search field, enter Document360.
- Select Document360 and choose the action you want to perform. For example, select Create an article to create a draft article.
- In the Document360 panel, select an existing connection. To create a new connection:
- Click Create a connection and enter a Connection name.
- Enter your Document360 API token and click Save.
To generate the API token from Document360:
- Navigate to Connections > Extensions in the left navigation bar of the Knowledge base portal.
- On the Make extension tile, click Connect.
- Click the Copy icon to copy the token.
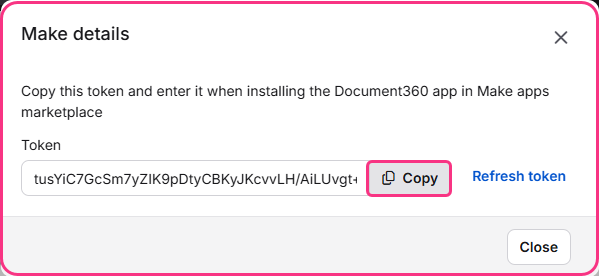
- Head back to the Make panel and paste the API token into the field.
- In the Article Title field, select the Typeform parameters you want to use as the article title. For example, select the Task name parameter.
- In the Article Content field, select the parameters you want as the article content. For example, select Assignee Name, Resource Type, and Due On.
- From the Project Category ID dropdown, select the category where the new article should be created.
- Click OK.
Step 4 — Test the Scenario
- Click the Run once button at the bottom left to test the Scenario. Test details appear at the bottom of the page.
- To trigger the test, submit a new response to the associated Typeform form.
- Once the response is submitted, a new article is created in the associated Document360 category. You can verify this in the test details panel or by navigating directly to your Document360 project.
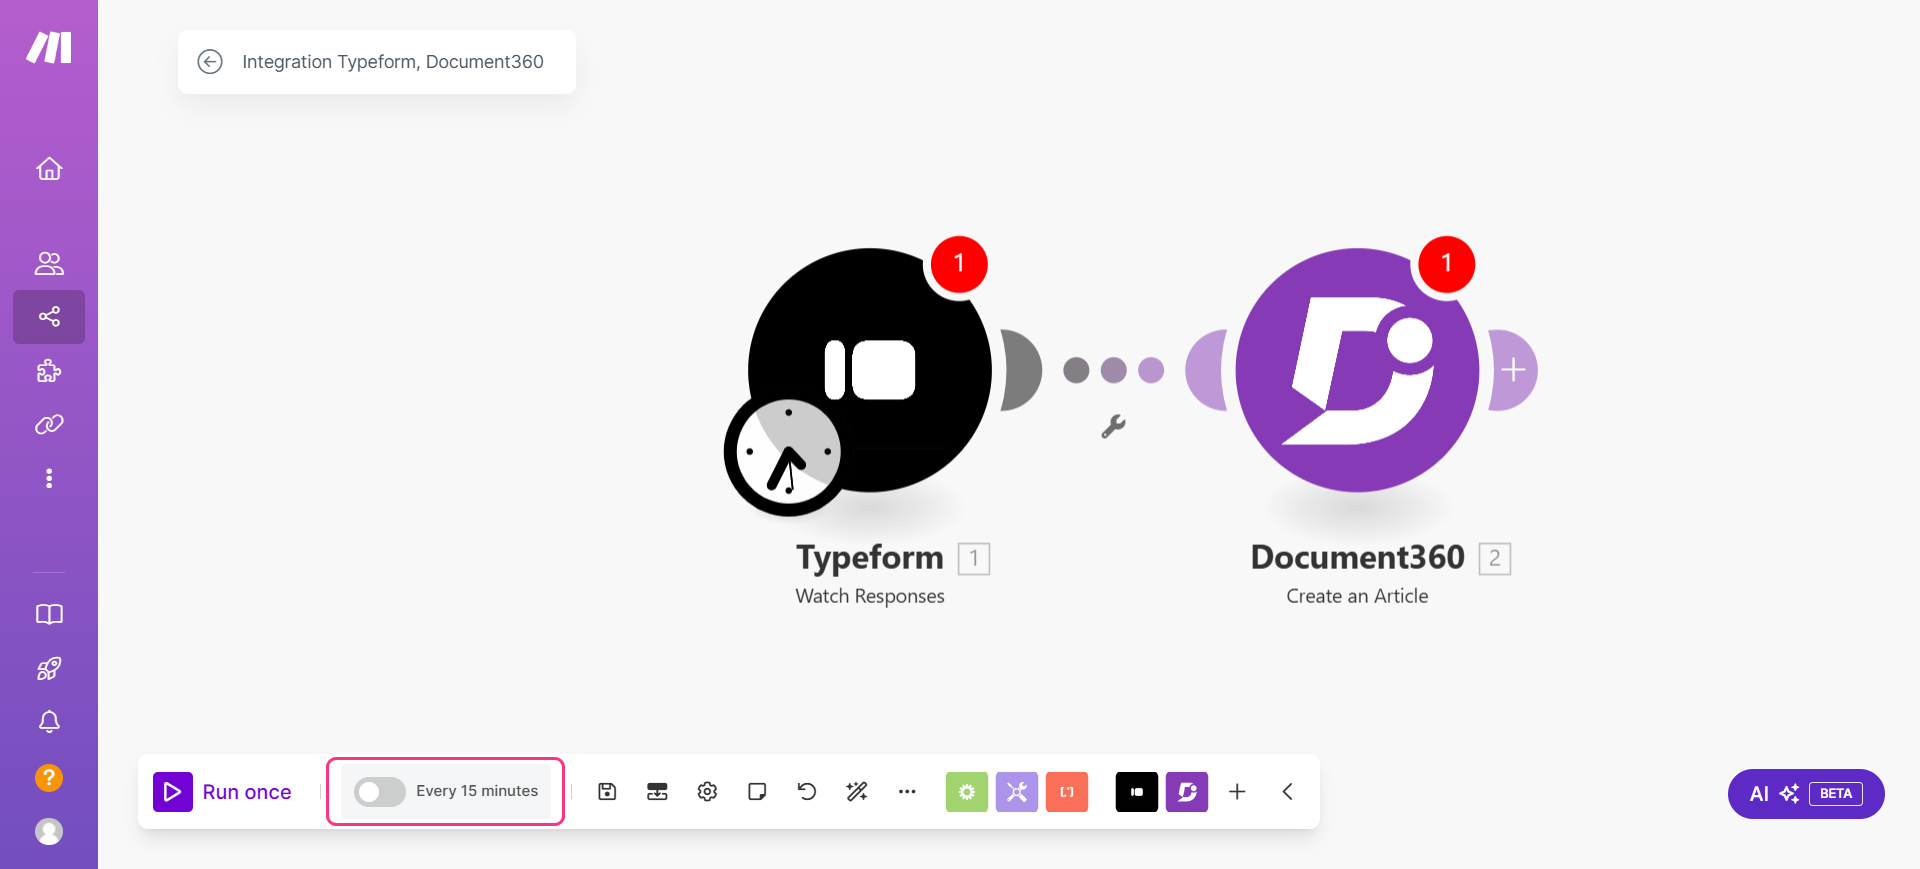
Step 5 — Schedule the Scenario
- Enable the toggle at the bottom left to schedule the Scenario. By default, this runs the Scenario every 15 minutes.
- Click OK to save.
Step 6 — Activate the Scenario
- Click the Exit editing () icon at the top. The integration dashboard appears.
- Turn on the ON/OFF toggle near the Edit option to activate the Scenario.
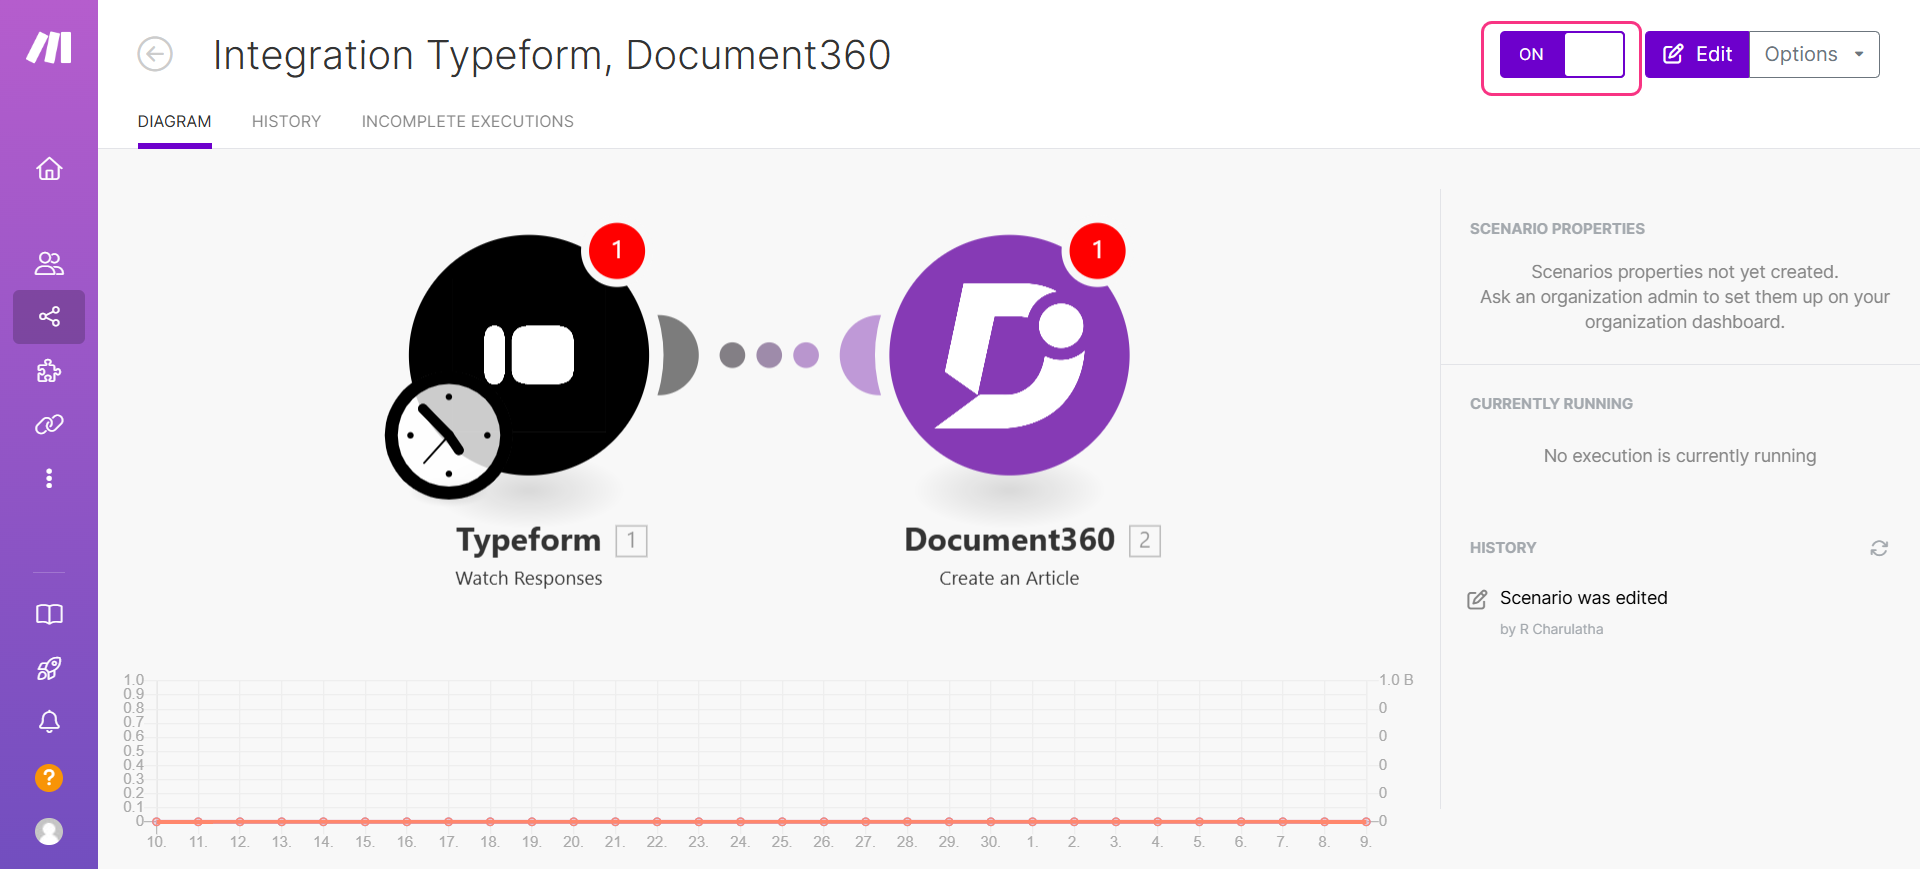
Once activated, the Scenario runs automatically every 15 minutes and creates articles from new Typeform responses.
Best practices
- Use the Completed filter to ensure the Scenario only triggers on fully submitted responses. Setting this to Yes prevents partial or abandoned form entries from generating incomplete articles in Document360.
- Use the Query field to narrow down which responses trigger the Scenario — for example, only responses that mention a specific product or topic. This keeps your Document360 content focused and avoids creating articles from irrelevant submissions.
- Map a specific Typeform question field to the Article Title rather than relying on a generic parameter. A question like "What is your main question?" produces a more useful article title seed than a response ID or submission timestamp.