Managing interactive decision trees in Document360 allows you to edit, organize, and maintain them to keep your content up-to-date and effective. This article explains how to edit, delete, clone, and organize interactive decision trees.
Editing a step in an Interactive decision tree
Use this when updates to steps, media, or actions are required to reflect new information. To edit an interactive decision tree,
Navigate to the Interactive decision trees section in the left navigation bar of the Knowledge base portal.
Locate the decision tree you want to edit from the Categories & Interactive decision trees pane.
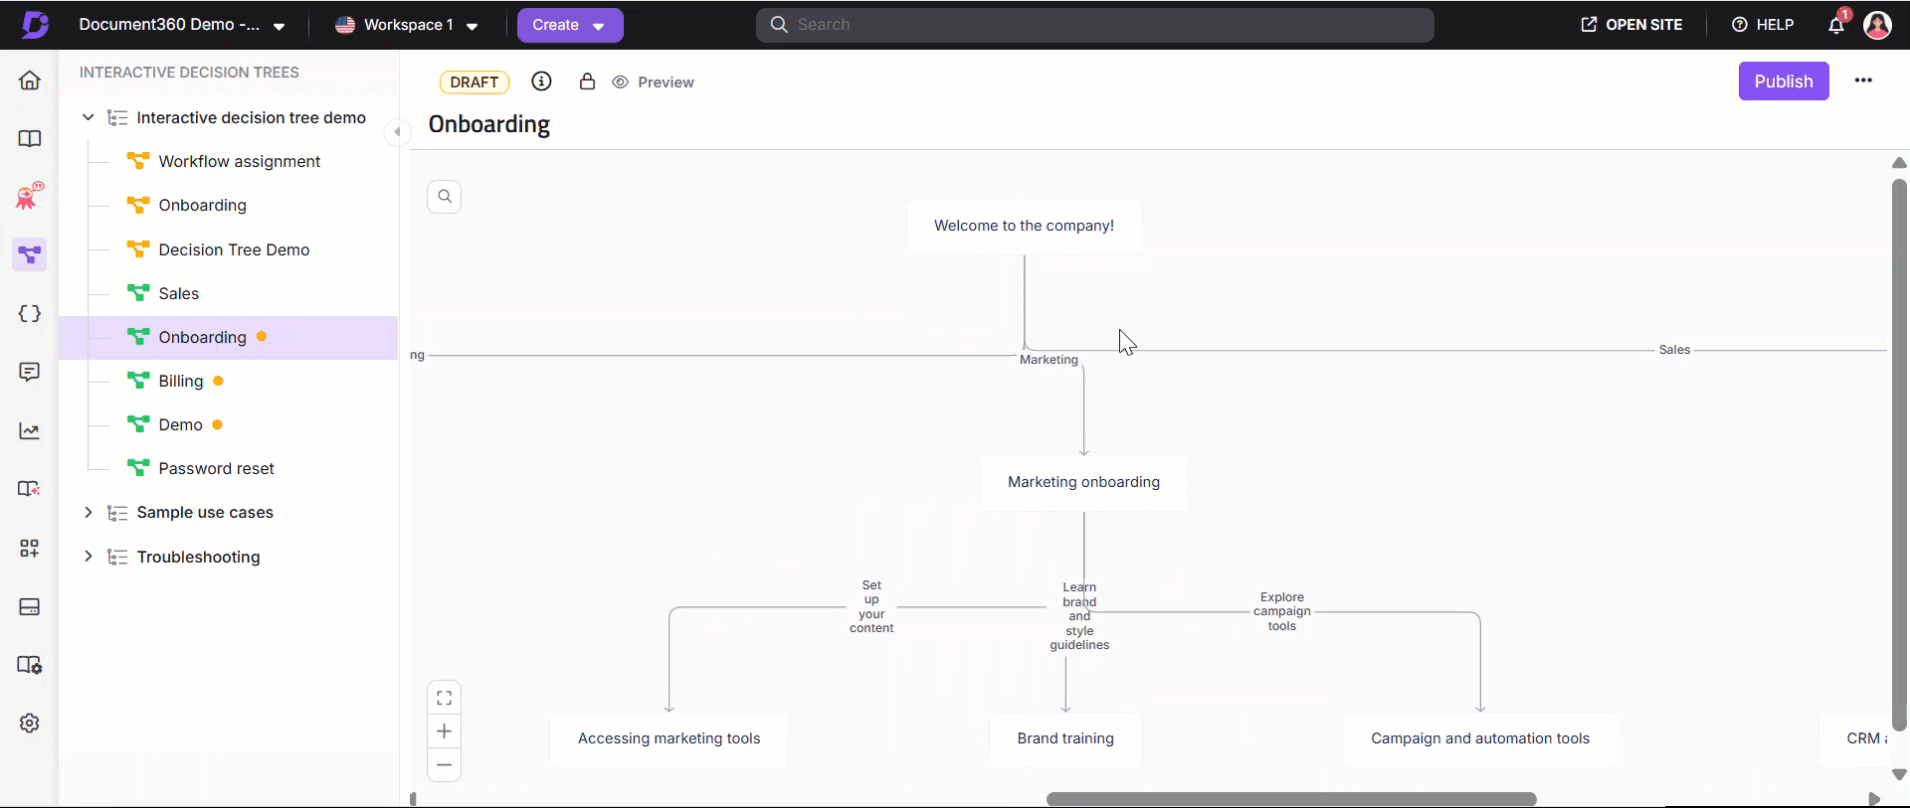
Click the step you wish to edit and click the Edit button from the floating menu in the editor.
Make changes to the steps, media, or actions as needed.
Steps: Add, remove, or rearrange steps using drag-and-drop functionality.
Media: Update images or videos to reflect the latest information.
Actions: Modify or add buttons, dropdowns, or other interactive elements.
Click Save to apply your changes.
NOTE
Use the Preview option to review your interactive decision tree before publishing updates to ensure everything works as intended.
Cloning a step in an Interactive decision tree
Cloning an interactive decision tree allows you to create a duplicate of an existing interactive decision tree, which can then be modified without affecting the original.
To clone an interactive decision tree:
Navigate to the Interactive decision trees section in the left navigation bar of the Knowledge base portal.
Locate the decision tree you want to edit from the Categories & Interactive decision trees pane.
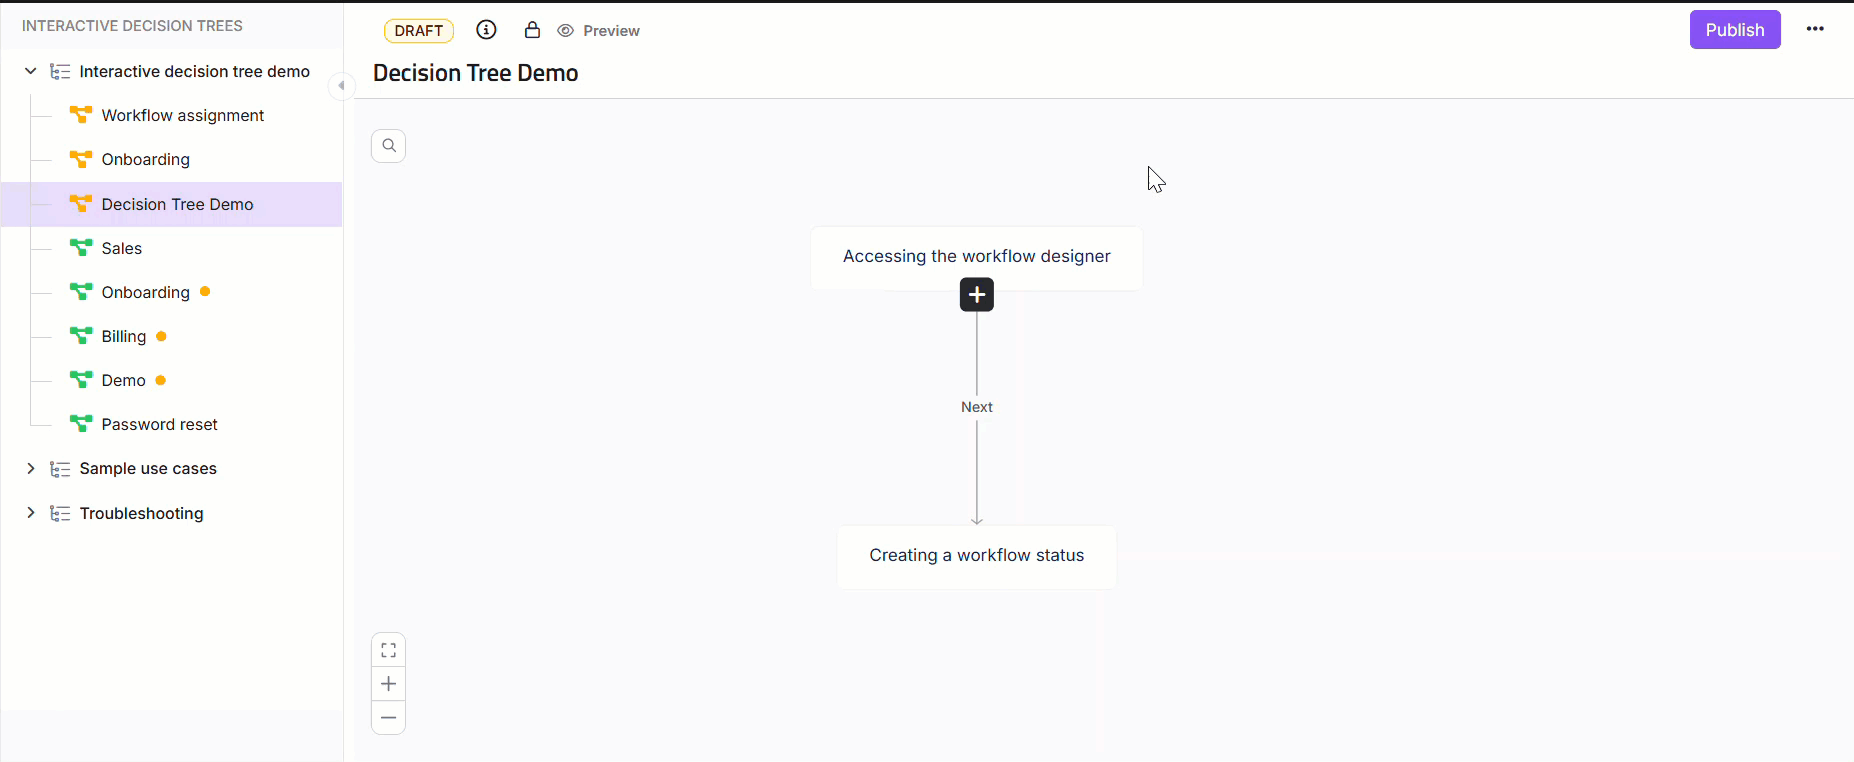
Click the step you wish to clone.
Click Clone to create a duplicate step with the actions and content of the existing step.
Deleting a step in an Interactive decision tree
Delete outdated decision trees to declutter your knowledge base. To delete an interactive decision tree:
Navigate to the Interactive decision trees section in the left navigation bar of the Knowledge base portal.
Locate the decision tree you want to edit from the Categories & Interactive decision trees pane.
Click the step you wish to delete.
Select the Delete icon from the floating menu.
Click Delete Step in the dialogto confirm the deletion.
.png)
CAUTION
Deleting a step in an interactive decision tree is permanent. Ensure you no longer need the step or have created a backup before proceeding.
Settings for Interactive decision trees
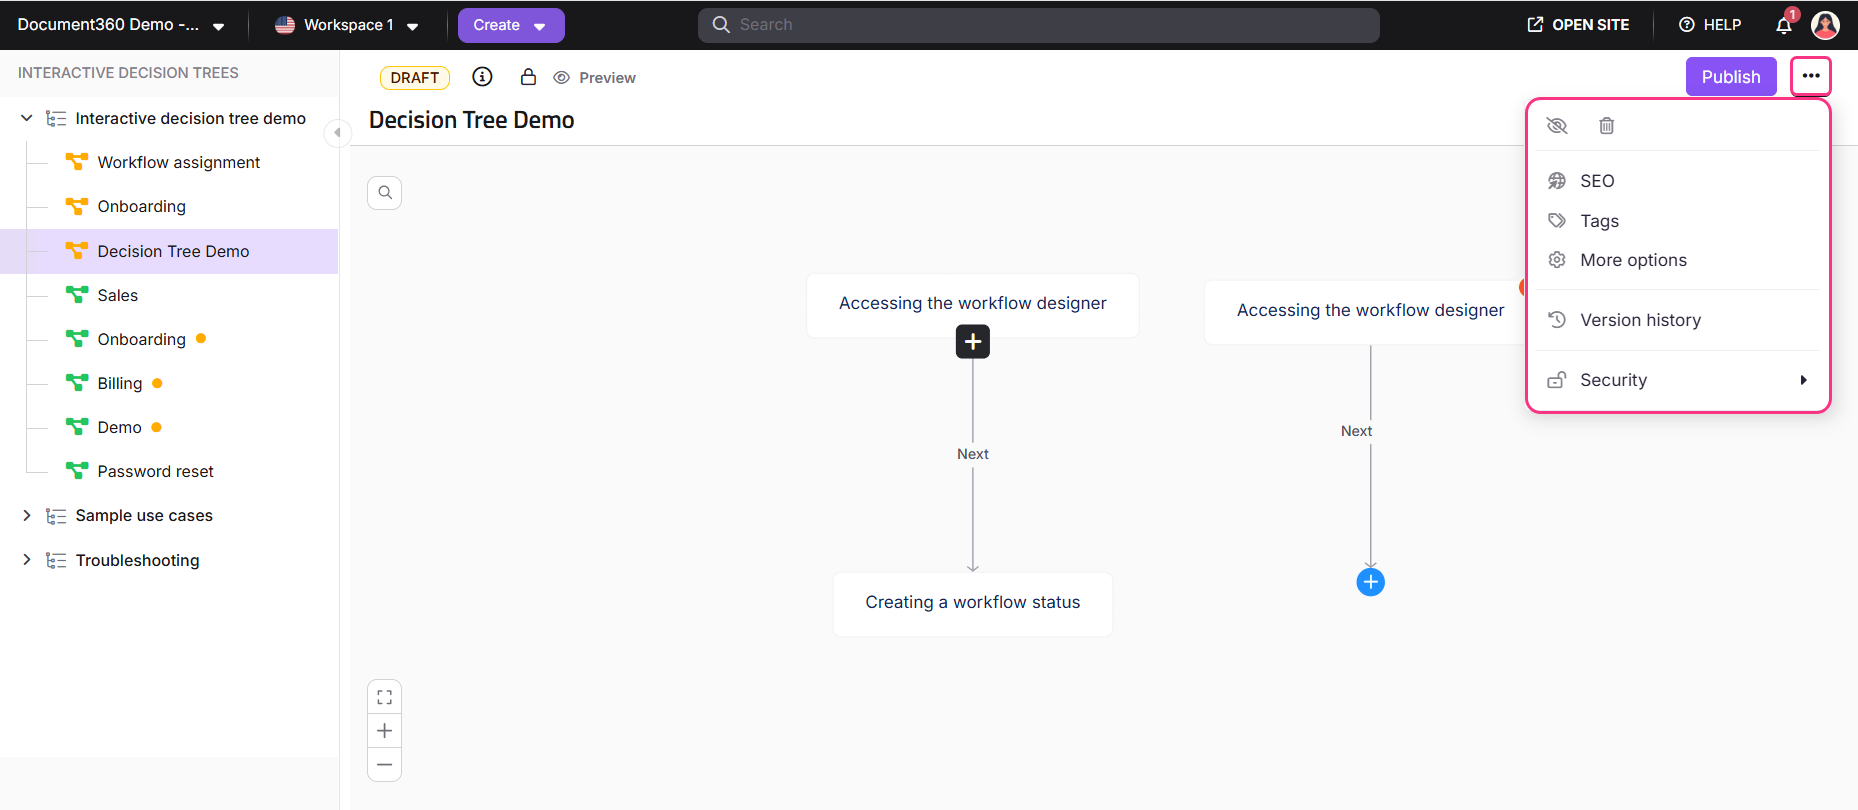
You can customize and manage individual interactive decision trees using the More options () menu in the top-right corner of the editor. These options allow you to control visibility, access, metadata, versioning, and more.
Accessing the More options menu
Navigate to Interactive decision trees in the left navigation bar.
Select the decision tree you want to manage.
Click the More options (⋯) button in the top-right corner of the editor.
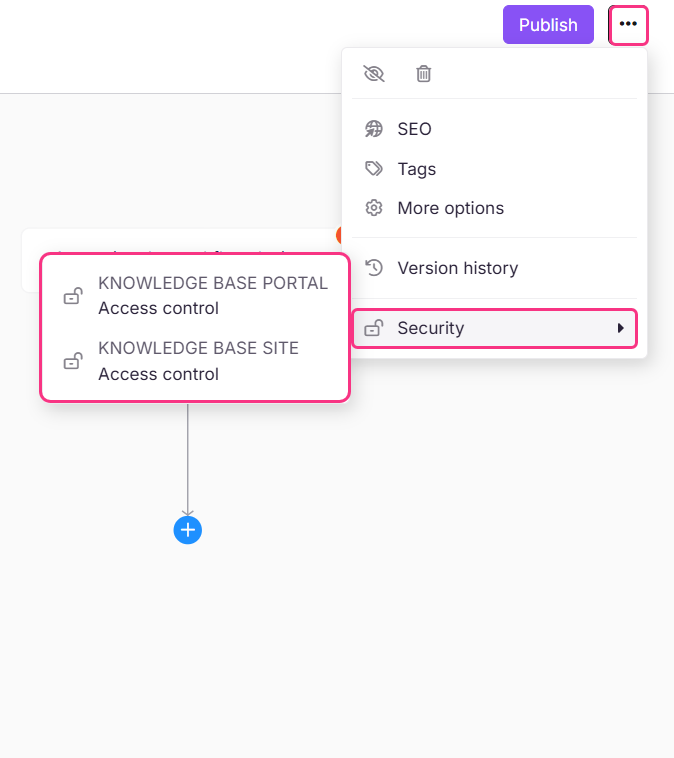
The More options (⋯) menu contains the following options:
Hide (): Temporarily removes the decision tree from the knowledge base site. It is not deleted and can be made visible again later.
Delete (): Permanently removes the decision tree. This action cannot be undone, so use with caution.
SEO (): Edit metadata to improve how the decision tree appears in search engine results.
Tags (): Add or update tags for organizing and filtering decision trees.
More options (): Opens the full Decision tree settings panel.
Version history (): View and manage older versions of the decision tree.
Security (): Configure access control settings for users and readers in the knowledge base portal and knowledge base site.
Decision tree settings dialog
Clicking More options (⋯) opens the Decision tree settings dialog. This dialog includes multiple sections where you can configure different aspects of the selected decision tree.
SEO
Customize how the decision tree appears in external search engines:
Exclude from external search engine results: Select this checkbox to prevent the decision tree from being crawled by search engines.
Meta title: This is the title shown in search results and browser tabs.
Slug: This is part of the decision tree URL and appears at the end of your URL after the backslash (“/”). (Example -
project-name.document360.com/en/decision-tree/decision-tree-slug)Description: This is an optional summary for indexing.
.png)
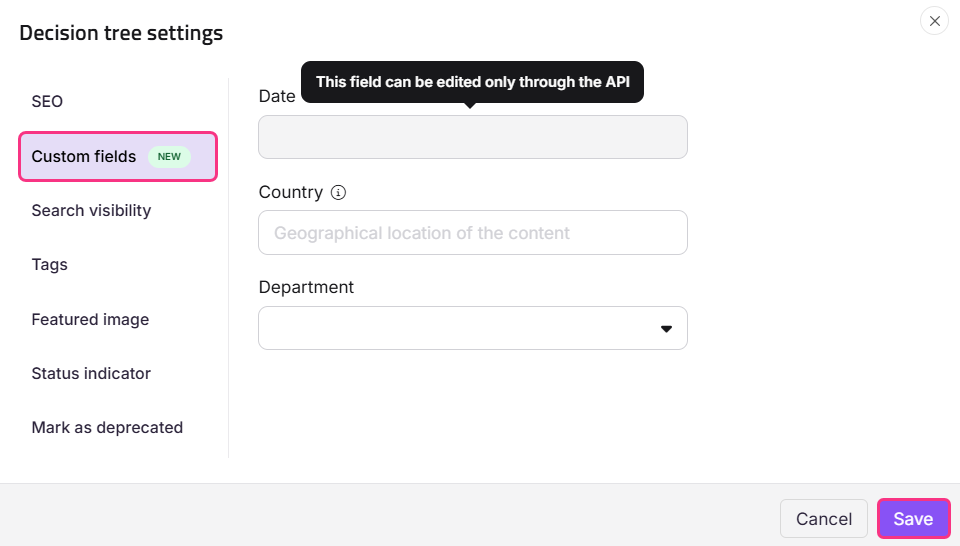
Custom fields
Manage additional metadata for articles and decision trees:
Use custom fields to store structured values such as text, dates, dropdown selections, or status-related information that helps organize and manage content more effectively.
Search visibility
Control visibility within the knowledge base site:
Exclude from Knowledge base search: Select this checkbox to hide the decision tree from appearing in search results in the knowledge base site. The decision tree will still be accessible via navigation or direct URL.
.png)
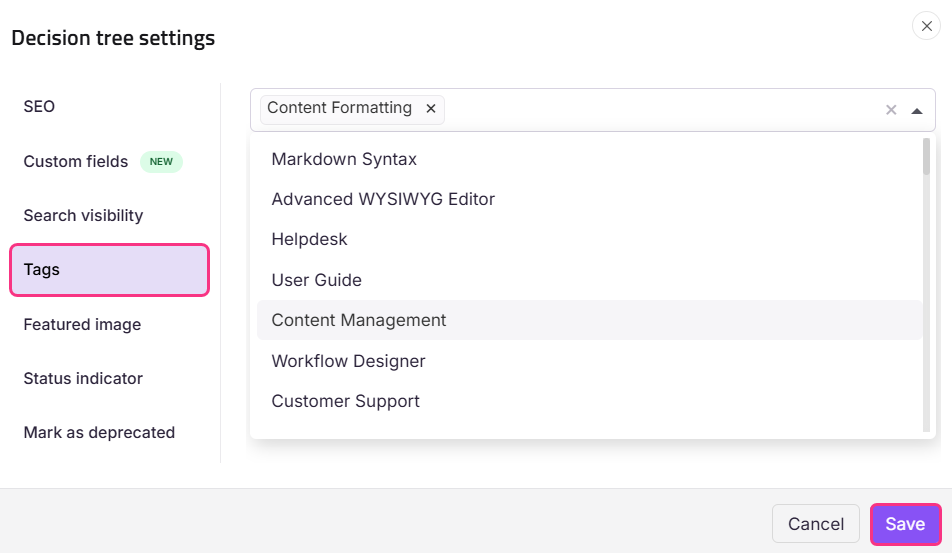
Tags
Use tags to organize, filter, and manage decision trees:
Select existing tags from the dropdown or create new ones to improve searchability and categorization of decision trees in the knowledge base site.
Featured image
Upload a featured image to visually represent the decision tree in listings or previews. The featured image will appear as part of the link preview, or when shared on other platforms, along with the SEO title.

Status indicator
Display a status label to highlight the decision tree’s state in the knowledge base site:
Select status: Choose from None, New, Updated, or Custom from the Select status dropdown menu.
Show status for: Specify how long the label should remain visible in days.

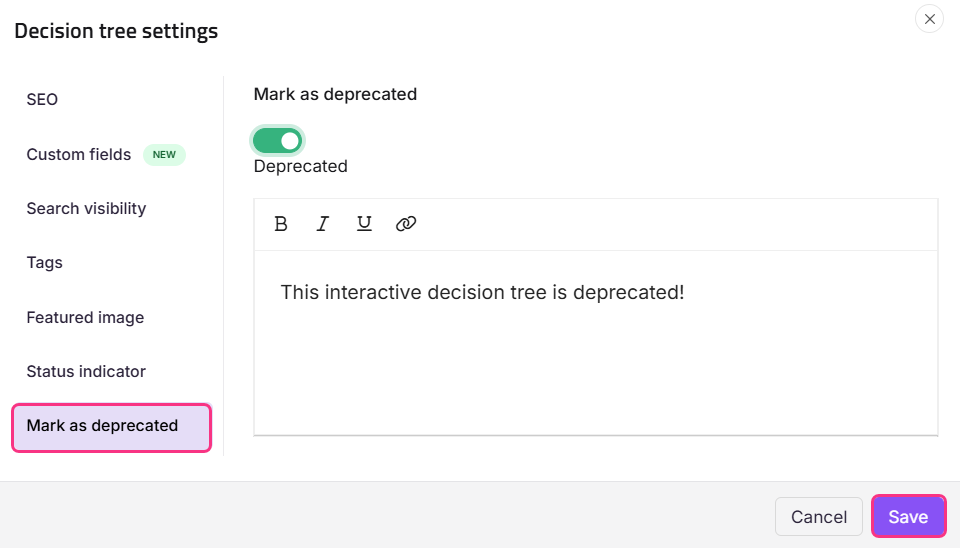
Mark as deprecated
Indicate that the decision tree is outdated but still accessible:
Enable the toggle to deprecate the decision tree and display the Deprecated label in the knowledge base site.
Add a custom message to inform readers why the decision tree is deprecated.
NOTE
Remember to click Save after making any changes in the Decision tree settings dialog.
Security settings
Use the Security option in the More options (⋯) menu to manage content access for both internal users and external readers.
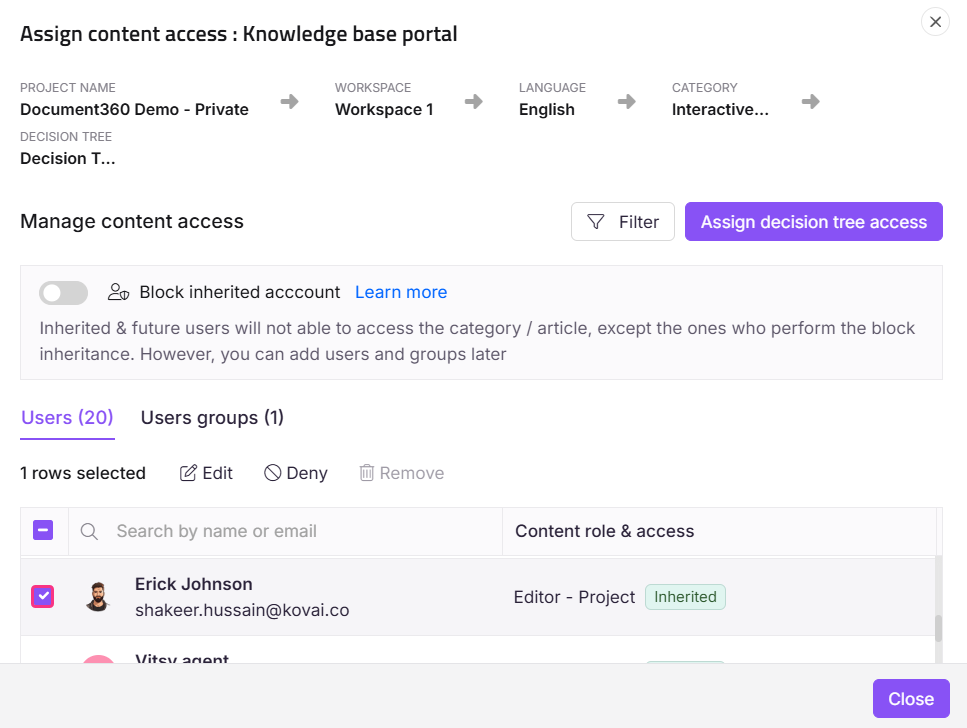
Knowledge base portal (user access)
To change the decision tree access on the portal, select the Knowledge base portal access control.
The Assign content access: Knowledge base portal dialog appears with the list of existing users.
If no accounts are listed, click Assign article access to assign team members.
Select the desired user and click Apply.
Enable the Block inherited account toggle to override inherited access.
In the user section, you can perform operations such as Edit and Deny. Although, you cannot remove inherited users from this settings.
Once done, click Reader access.
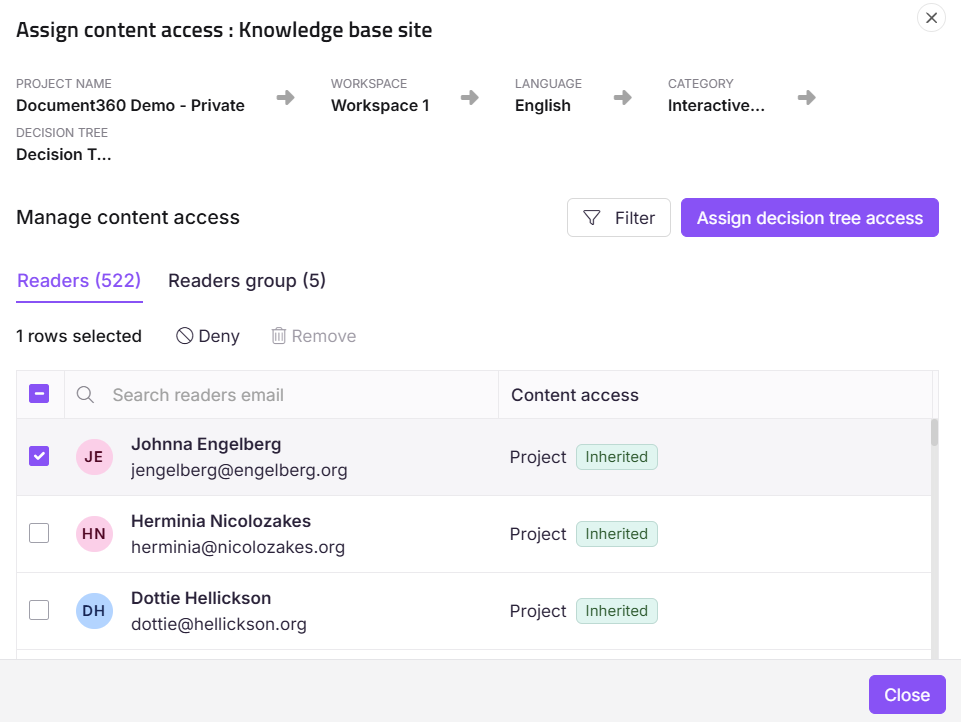
Knowledge base site (Reader access)
To change the decision tree access on the site, select the Knowledge base Reader access control.
The Assign content access: Knowledge base site panel appears with the list of existing readers.
If no readers are listed, click Assign article access to assign reader accounts.
Select the desired reader account and click Apply.
In the Readers section, select desired reader and click Deny to deny content access to readers.
Once done, click Reader access.
NOTE
This option will be inactive (grayed out) if the knowledge base Reader access is set as Public.
Version history
Document360 keeps a history of all previous versions of your decision tree, so you can review or restore previous iterations when required.
Accessing version history
To access your decision tree’s version history,
Click More options (⋯) from the editor.
Select Version history.
Actions available
Open: Preview the decision tree as it existed in any previous version.
Copy to current version: Restore an older version of the decision tree as the latest working draft. This option overwrites the existing content in the editor.
Delete version forever: Permanently delete a version. Once an older version of a decision tree is deleted, it cannot be restored.
The latest Published version is labeled for easy identification.
Organizing Interactive decision trees
Proper organization ensures that decision trees are easy to find and manage.
Categorizing Interactive decision trees
Assign decision trees to relevant categories during creation or editing.
Creating a new category
To create a new category,
Navigate to the Interactive decision trees section in the left navigation bar.
Click the Create button from the header menu and select Category.
Enter a name for the new category and its location in the Create a new category dialog.
Click Create to add the category.
Assigning a Category to an interactive decision tree
You can assign a category to a decision tree in two ways:
While creating a decision tree: During the decision tree creation process, select the desired category from the dropdown menu in the "Create a new interactive decision tree" window.
While editing a decision tree: Open the decision tree for editing, navigate to the category field, and select a new category from the dropdown menu.
Reordering Interactive decision trees
Navigate to the Interactive decision trees section in the left navigation bar.
Use the drag handles in the Category & Interactive decision trees page to drag and drop interactive decision trees within the list to reorder them as needed.
Viewing interactive decision trees in the Knowledge base site
To view your interactive decision trees in the knowledge base site, you must add a navigational item to the Primary navigation of your Header.
To add decision trees to your header,
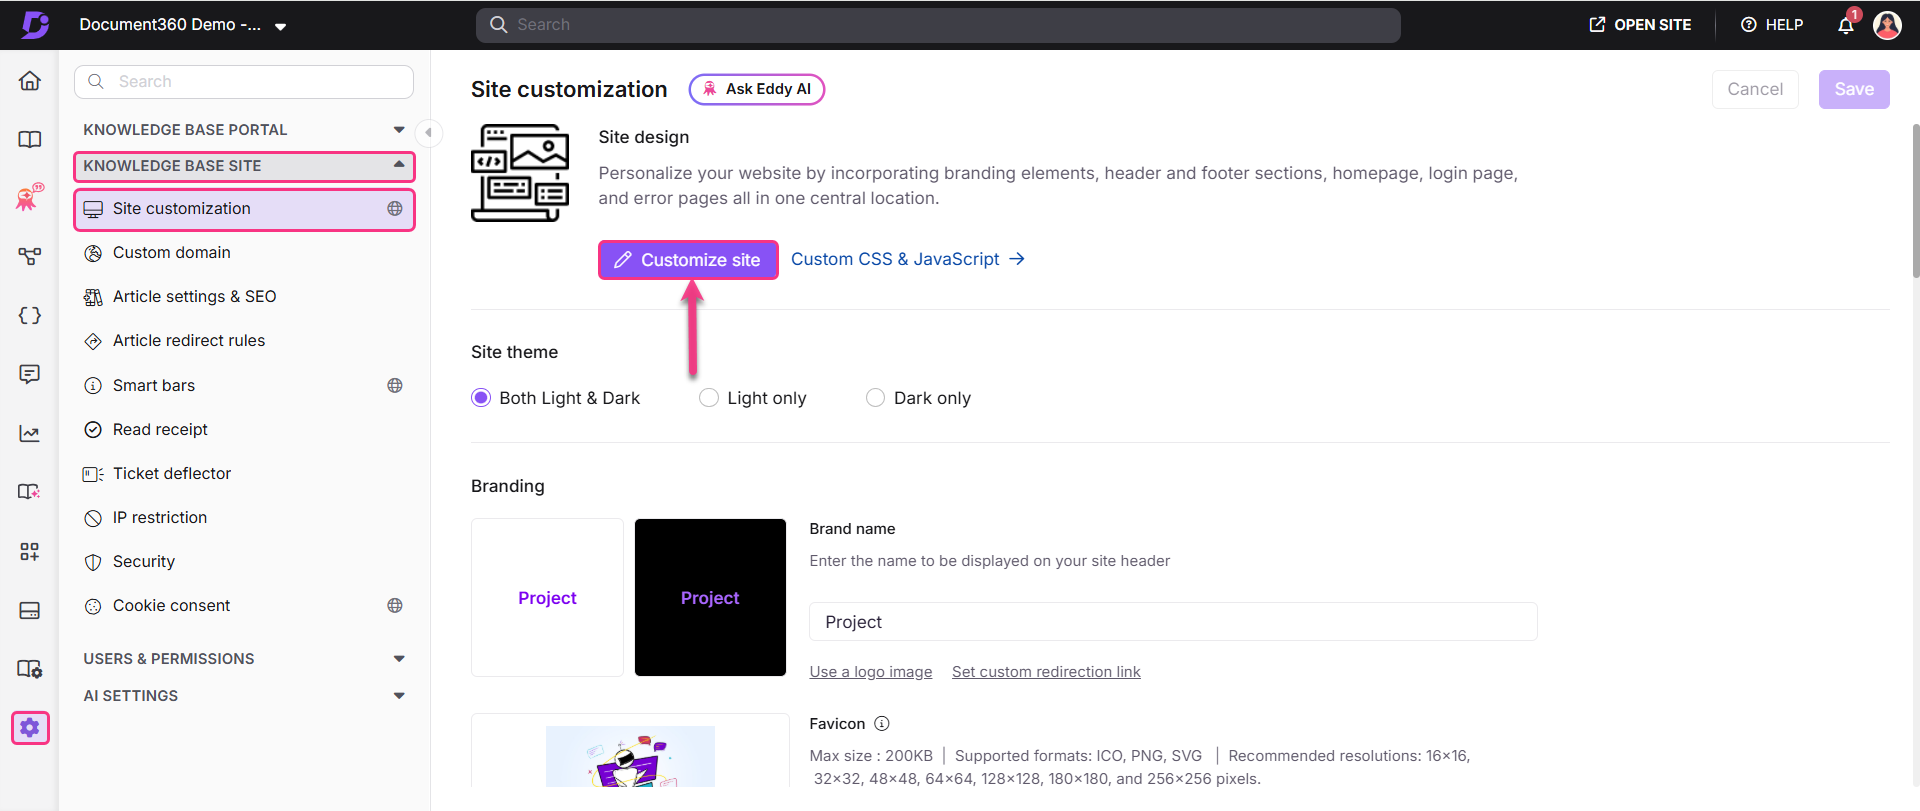
Log in to the Knowledge base portal, and select your project.
Navigate to Settings () > Knowledge base site > Site customization
Click Customize site.
The Site header & footer navigation option will be chosen by default. Expand the Header option and select Primary navigation.
Click Add new item, then from the dropdown, select Interactive decision trees.
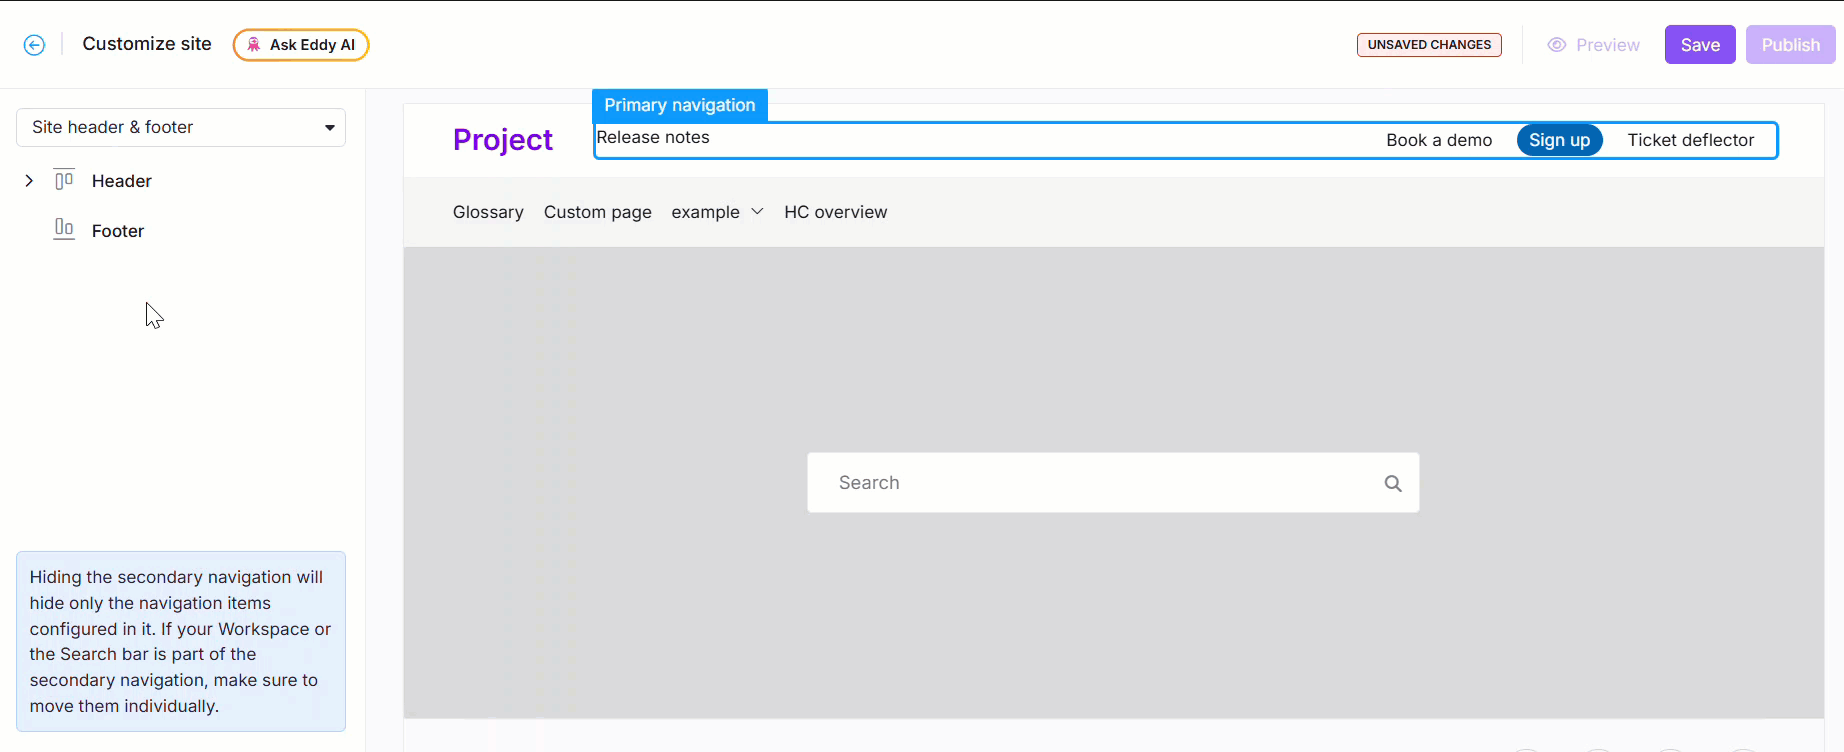
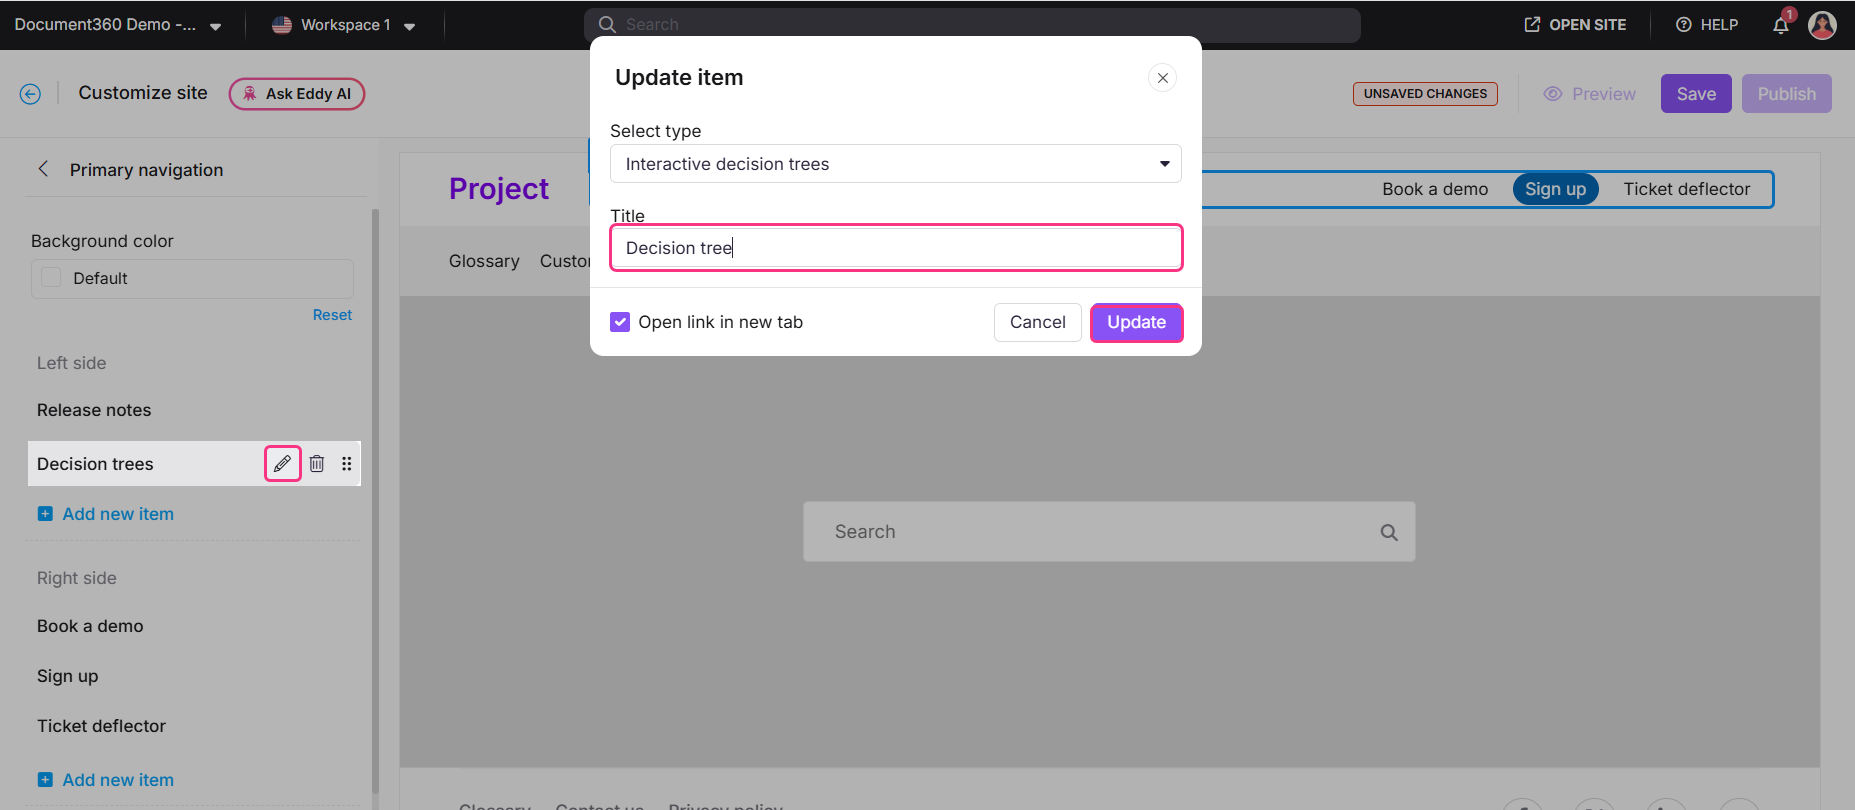
You can add a custom title for your new item. To do so, after you have added a new item, click the Edit icon and enter your desired title in the Title field.
Click Update.
iNow, a link to your decision trees will be available as part of the header. To learn about viewing decision trees in the knowledge base site, read the article on Viewing interactive decision trees in the knowledge base site.
FAQs
Can I recover a deleted decision tree?
No, deleted decision trees cannot be recovered. Ensure you back up or clone a decision tree before deletion if needed.
How do I preview changes before publishing?
While editing a decision tree, click the Preview button to view how the interactive decision tree will appear to users in the Knowledge Base.
Are there any limitations in the current version of interactive decision trees?
Yes, interactive decision trees are currently in beta and have a few limitations:
You cannot copy a step or node to another decision tree.
There is no support yet for step-wise analytics such as tracking views or traversal paths.
Bulk operations such as delete, move, or publish are not currently supported.
You cannot add videos to decision tree steps.
SEO descriptions must be updated manually for each decision tree.
There is no recycle bin or restore option once a tree is deleted.
Import and export options for decision trees are not available.
Conditional content and team auditing features are not yet supported.
We are actively working on expanding the feature set based on user feedback.
Can multiple team members collaborate on the same decision tree?
Decision trees can be accessed by users with appropriate roles and permissions. However, at present, they can only be edited by one user at a time to avoid version conflicts.
Is there a version history feature for decision trees?
Yes, Document360 supports version history for interactive decision trees. You can view and restore previous versions to track changes or revert to an earlier state if needed.