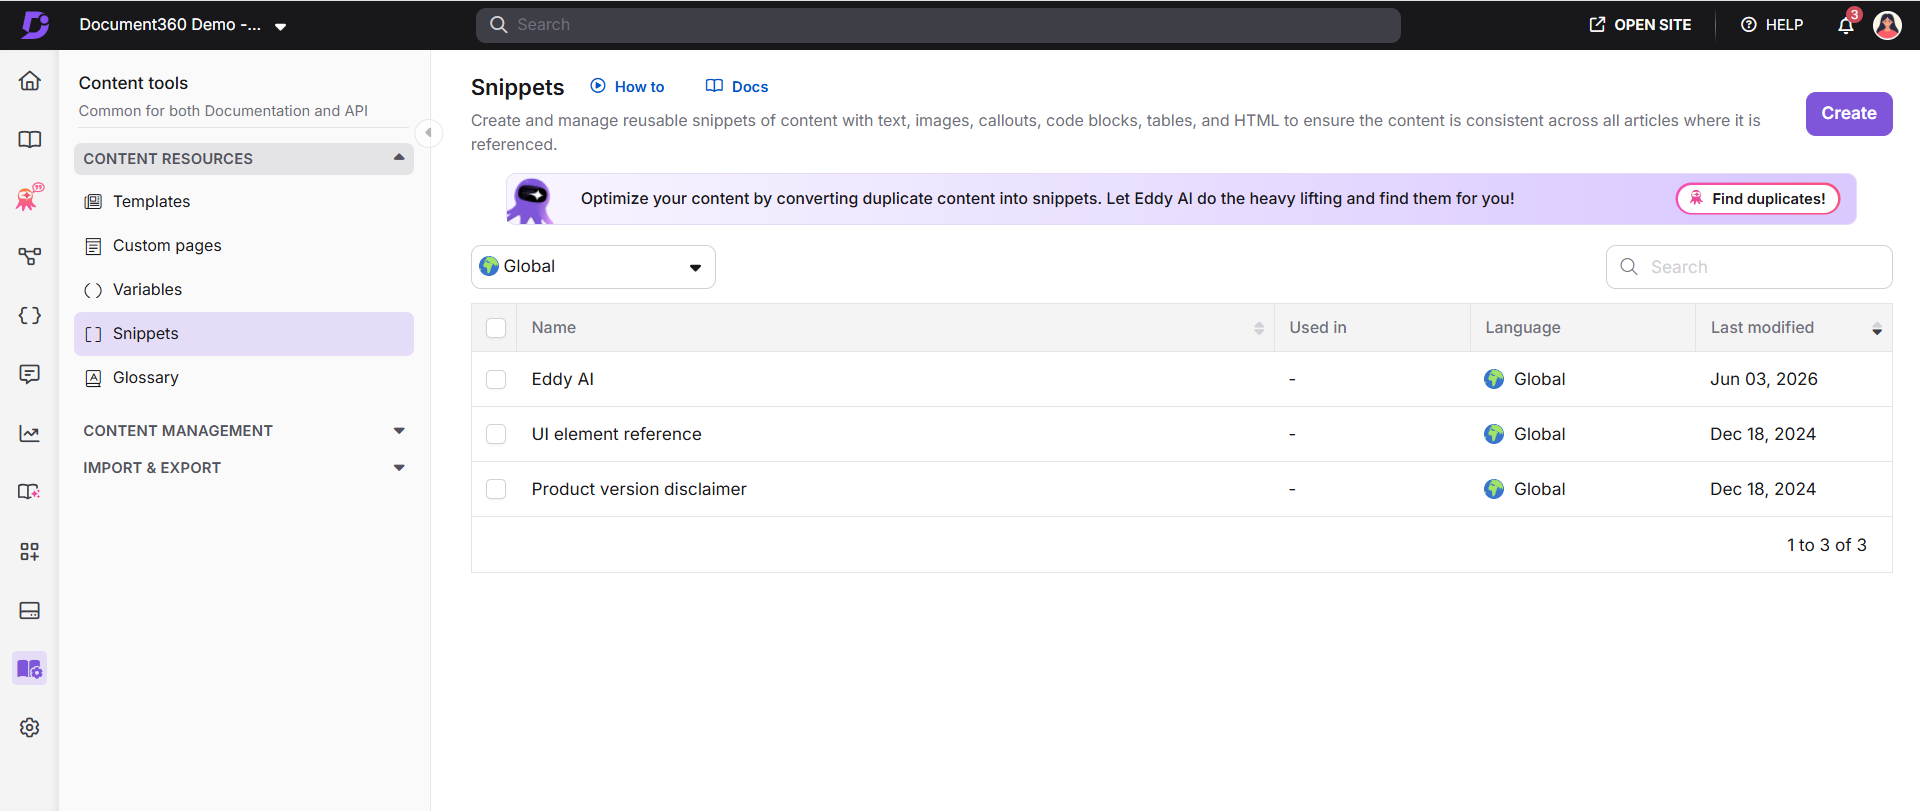
Snippets in Document360 are created and managed from the Snippets page under Content tools. From this page you can create new snippets, choose your editor, use Eddy AI to refine content, check where snippets are used across your knowledge base, and edit or delete them individually or in bulk.
The Snippets page
- Navigate to Content tools () in the left navigation bar.
- Select Content resources > Snippets in the left navigation pane.
| Element | Description |
|---|---|
| Create | Creates a new snippet. |
| Duplicate content detection | Identifies duplicate text across your documentation and suggests converting it into snippets. |
| Languages | Filters the snippet list by Global or a specific language. |
| Search snippets | Searches for snippets by name. |
| Selection box | Selects one or more snippets for bulk delete. |
| Name | Click a snippet name to preview its content. |
| Used in | Shows where the snippet is used. Displays a dash if unused. If used, click View to see the articles or category pages where it has been inserted. |
| Language | Indicates the language assigned to the snippet. |
| Last modified | Displays the date and time the snippet was last updated. |
| Translation status | Click the globe icon to check translation progress. A green check means the snippet has been translated into that language. An X means it has not. |
| Edit | Opens the snippet for editing. |
| Delete | Deletes the snippet. For bulk delete, select the checkboxes and click Delete at the top. |
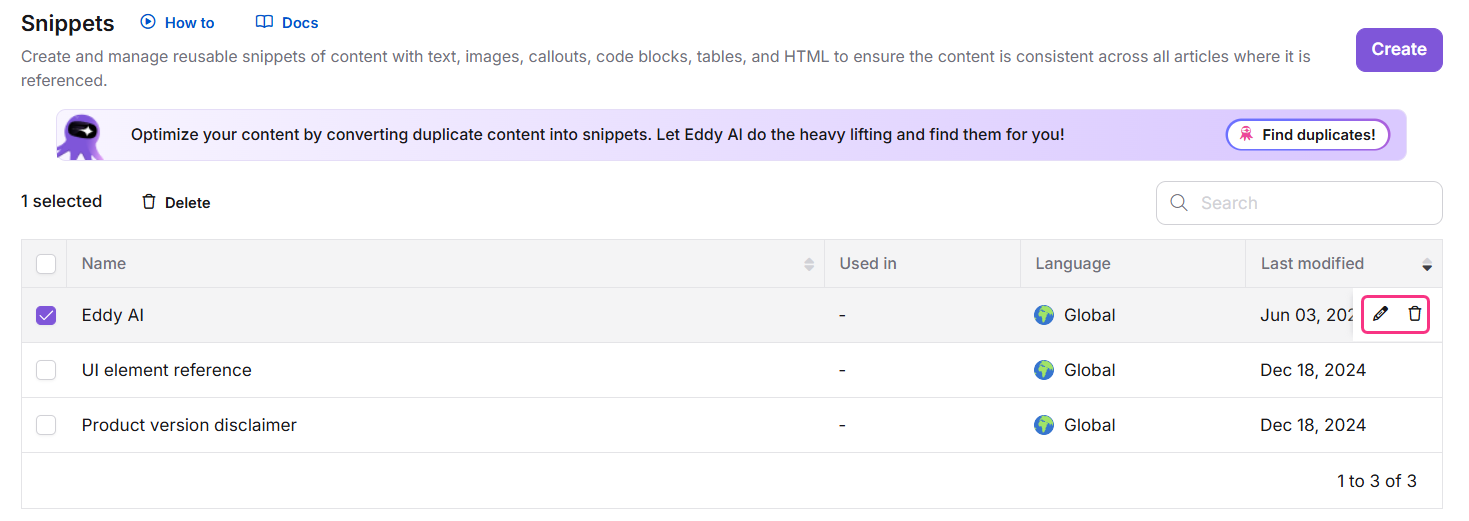
Duplicate content detection
The Duplicate content detection banner at the top of the Snippets page helps you identify and manage repeated text across your documentation. This feature is powered by Eddy AI. It scans your project for paragraphs that appear multiple times across articles, generates a report showing where duplicate content exists, and suggests converting it into reusable snippets.
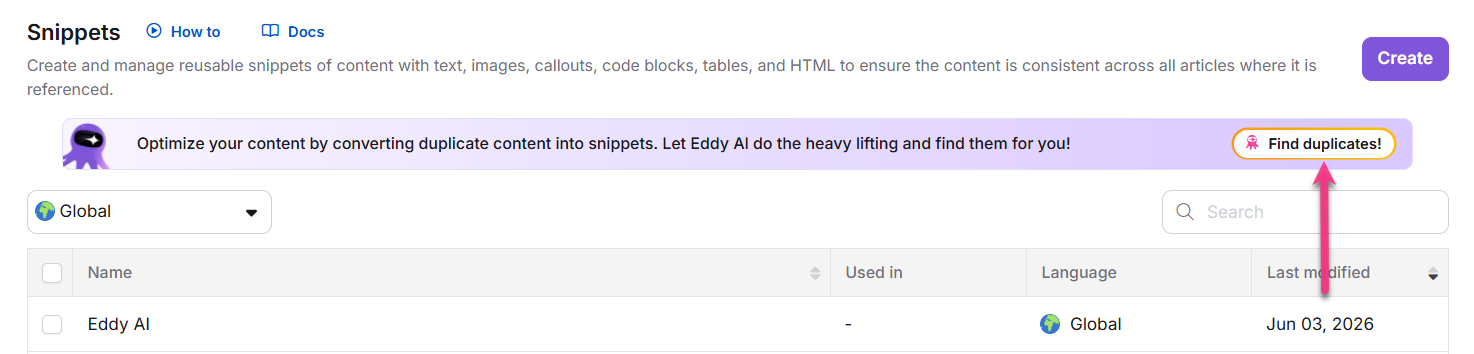
- Click Find duplicates on the banner to start scanning your project.
- Once the scan completes, the total number of duplicate text blocks detected is displayed.
- If a scan has already been performed, click Scan again to re-run the process.
- Click Review suggestions to open the Duplicate Content Detection report and review the findings.
For more information, read Duplicate content detection →
Create a snippet
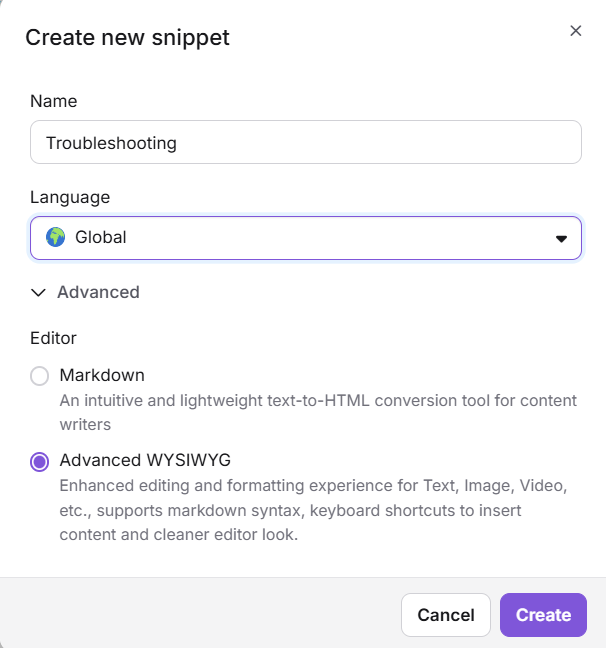
- On the Snippets page, click Create at the top right.
- In the Create new snippet dialog, configure the following:
- Name: Enter a name of up to 50 characters. You can use letters, numbers, hyphens, and underscores.
- Language: Select a language. The default is Global.
- Editor: Expand Advanced and choose Markdown or Advanced WYSIWYG. The default is based on your project settings.
- Click Create.
- Enter your content in the editor.
Markdown editor: Use the formatting tools to format your text.
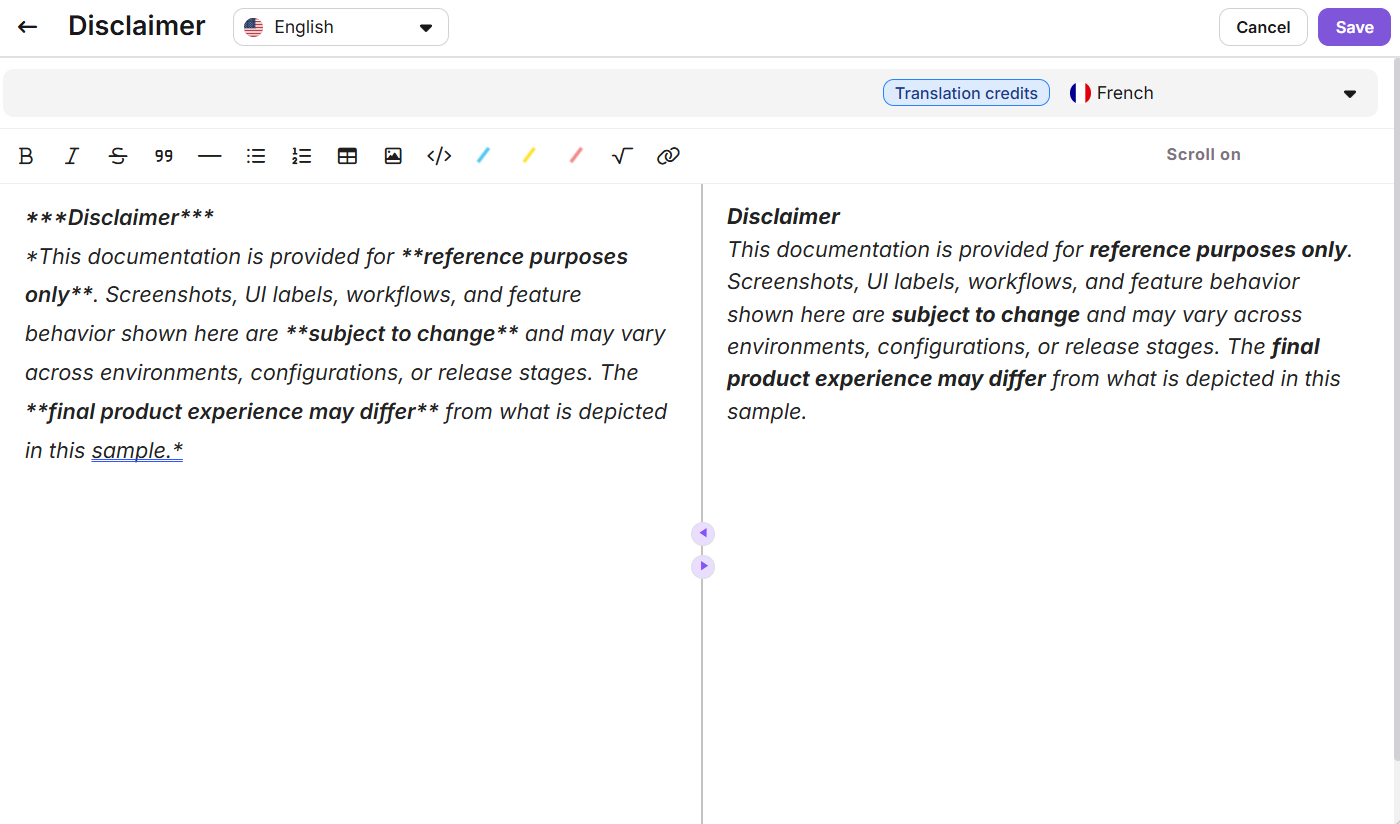
Advanced WYSIWYG editor: Use the toolbar or the quick insert menu to format your content.
Once you select the Advanced WYSIWYG editor, you cannot switch back to Markdown. If you start with Markdown, you can convert to Advanced WYSIWYG for translation purposes, as Markdown does not support Translate with Eddy AI. You cannot switch back to Markdown after converting.
- To switch the language of the snippet, use the language dropdown at the top of the editor.
- Click Save or press
Ctrl + S.
You can also use custom HTML in Code view for formatting. Unsupported tags will be sanitised automatically.
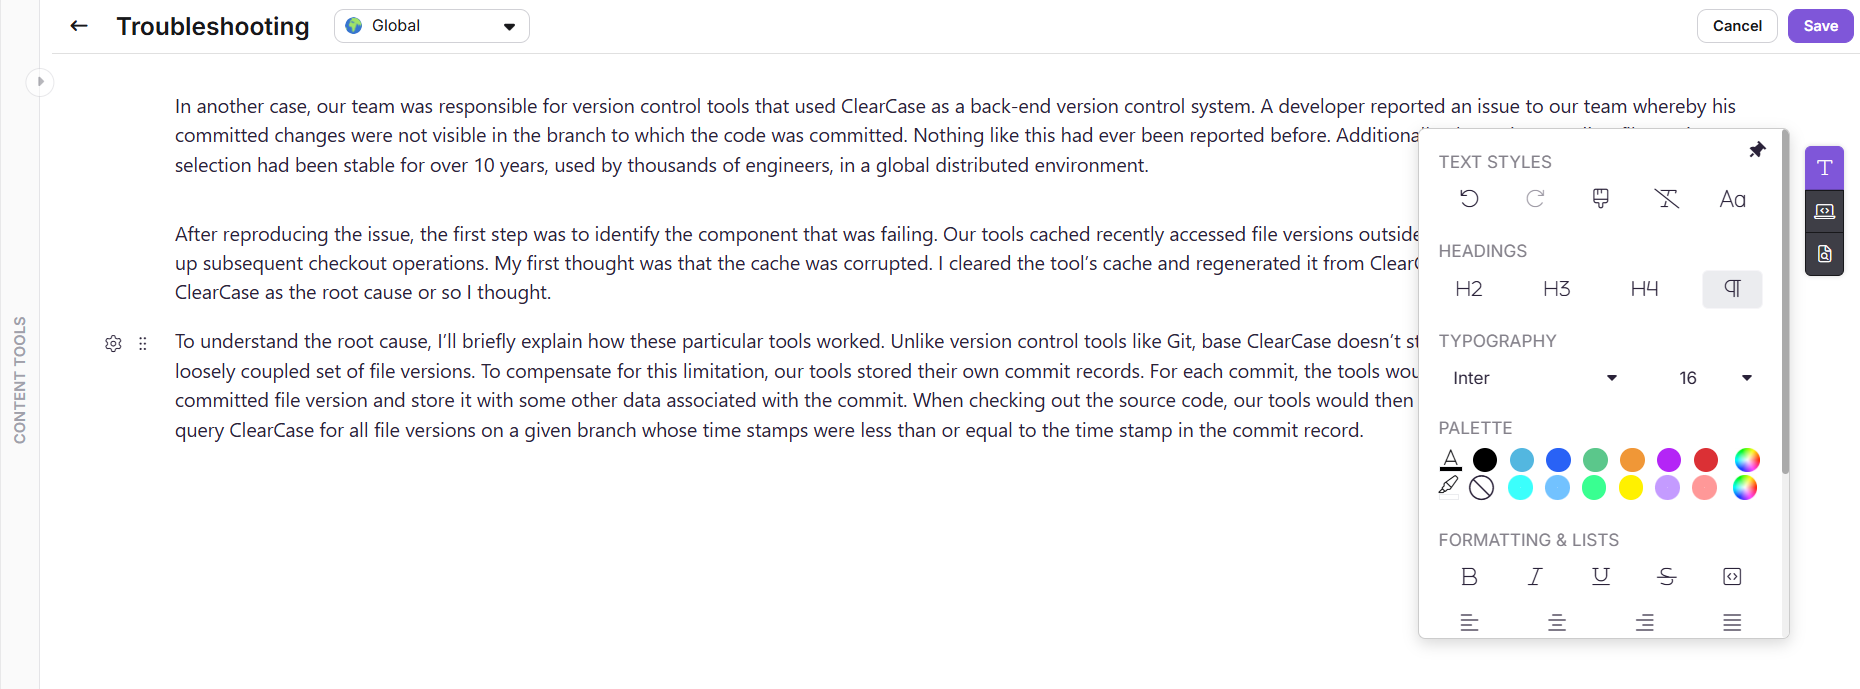
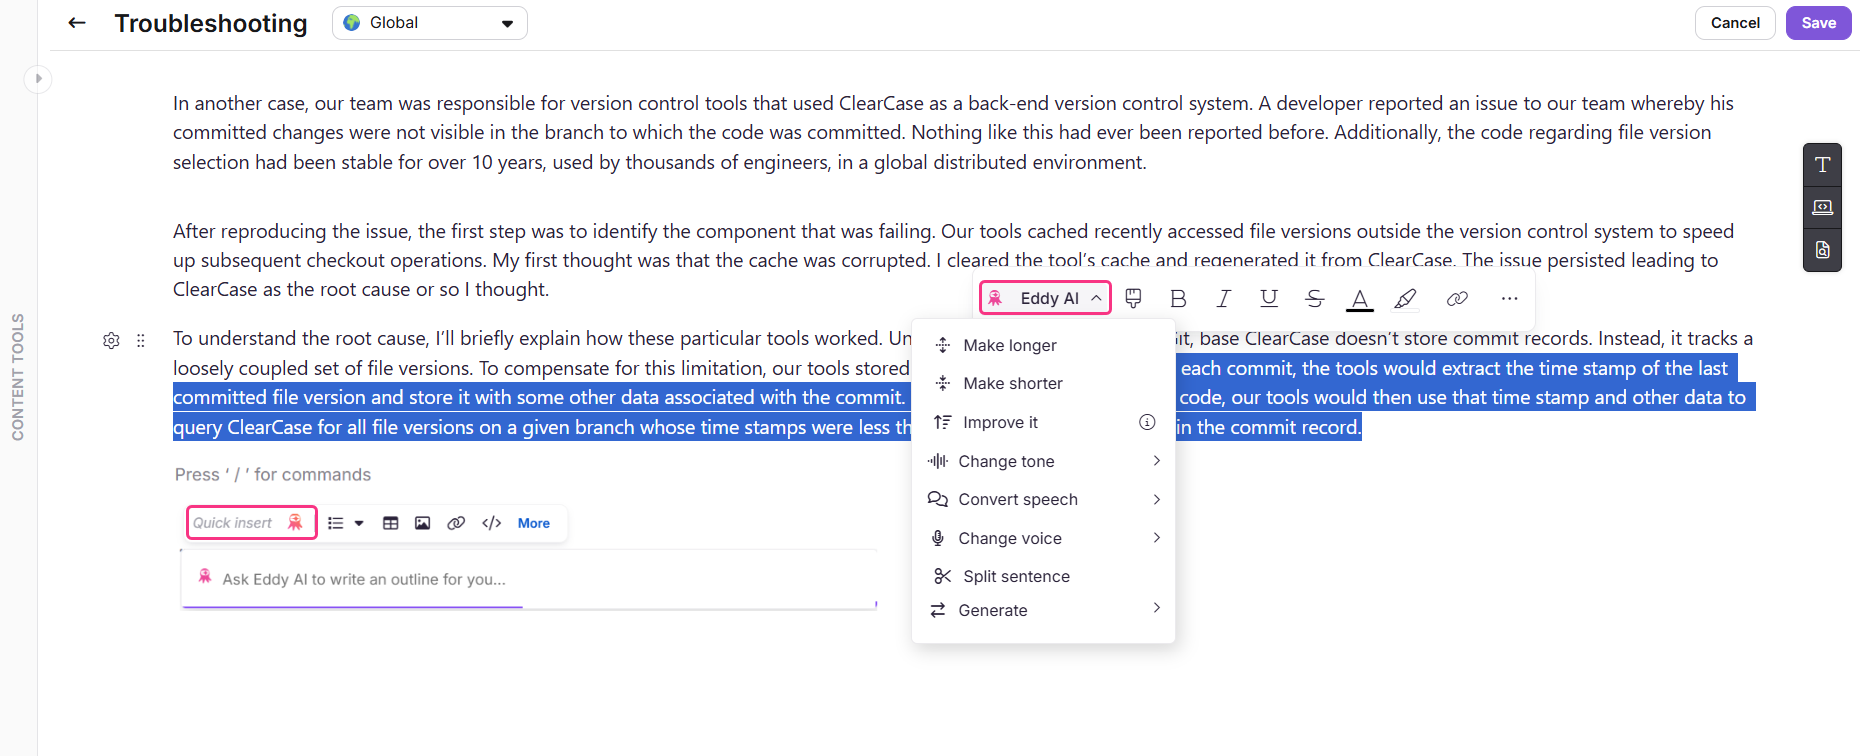
Use Eddy AI in snippet content
While drafting a snippet in the Advanced WYSIWYG editor, hover over any content and use Eddy AI to make the text longer or shorter, improve it, change the tone, convert speech, change the voice, split sentences, or generate elements such as tables, pie charts, and flowcharts.
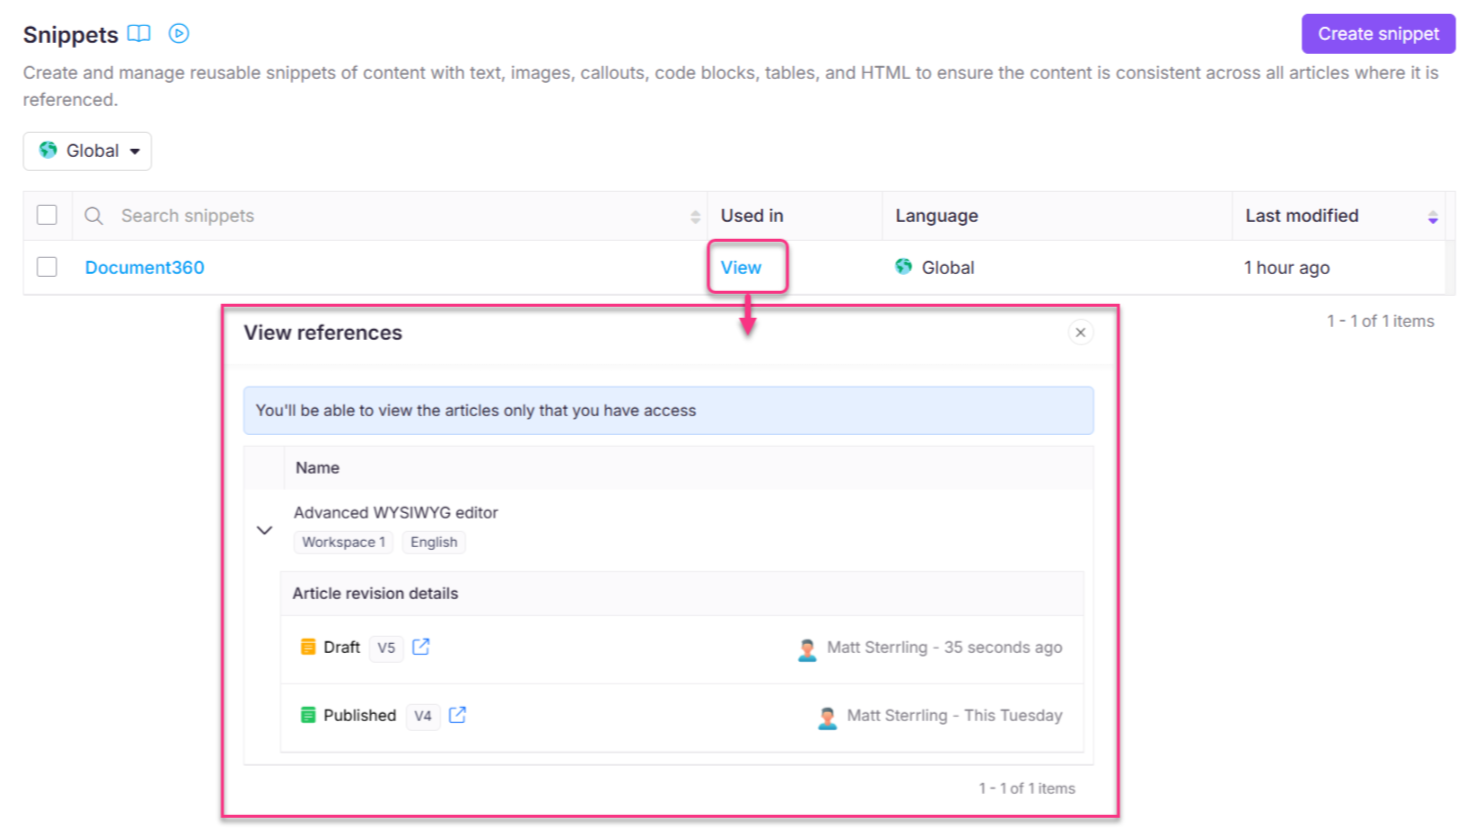
View snippet usage
Before editing or deleting a snippet, you can check exactly which articles and category pages use it.
- On the Snippets page, locate the snippet in the Used in column.
- Click View. The View references panel opens. For each reference you can see the article version, project workspace and language, the name of the user who added the snippet, the article state (Draft or Published), and the date and time the snippet was inserted.
- Click the icon to open that article version in a new tab.
Edit a snippet
- On the Snippets page, hover over the snippet and click the Edit () icon.
- Update the content as needed.
- Click Update.
When you update a snippet, the changes are automatically reflected in all articles and category pages where it is used, including published ones, without needing to republish them.
Delete a snippet
- On the Snippets page, hover over the snippet and click the Delete () icon.
- Click Yes in the confirmation dialog.
To bulk delete, select the checkboxes next to the snippets you want to delete and click Delete at the top of the list.
When you delete a snippet, it is removed from all articles where it is referenced. The article retains its current version. On the knowledge base site, surrounding content adjusts automatically and no empty space remains. In the portal, a loading symbol appears in the content block where the snippet was removed. Select this block to insert another snippet or delete it manually.
Limitations
| Item | Detail |
|---|---|
| Snippet name length | Maximum 50 characters. |
| Snippet name characters | Letters, numbers, hyphens, and underscores only. |
| Snippet name | Cannot be changed after creation. |
| Editor type | Once switched to Advanced WYSIWYG, cannot be reverted to Markdown. |
| Global snippets | Cannot be translated. |
| Snippet count per project | Up to 200 snippets. Additional snippets are available as an add-on. |
| Variables inside snippets | Not supported. Variables will not render correctly in the editor preview or PDF exports. |
Best practices
- Choose your editor carefully at creation. Switching from Markdown to Advanced WYSIWYG is possible but irreversible. Use Advanced WYSIWYG if you plan to translate the snippet or use rich formatting.
- Name snippets descriptively. Use names that identify the content type and purpose, for example
Support_Contact_BlockorAPI_Disclaimer. This makes snippets easier to find and insert without previewing each one. - Use Global scope by default. Set the language to Global unless the snippet content genuinely differs by language. Language-specific snippets require separate management per language.
- Check dependencies before deleting. Use View in the Used in column to confirm the impact across articles before deleting a snippet that may be widely used.
- Prefer snippets over copy-paste. If the same block of content appears in more than two articles, create a snippet rather than duplicating it manually.