The 404 page appears when a reader tries to access a non-existent page on your knowledge base site - for example, when following a deleted or broken URL. While a browser's default 404 error gives readers no useful path forward, a customized 404 page can acknowledge the error clearly and route readers to the right place through helpful links and navigation buttons.
Once you configure a custom 404 page, you cannot revert to the default. It is recommended to have a custom 404 page to improve the reader experience.
When to customize the 404 page
Customize the 404 page when you want readers to have a branded, helpful experience instead of a generic browser error. Common situations where this matters:
- You have recently restructured your knowledge base, deleted articles, or changed article slugs, and want readers who land on old URLs to see a clear message and find their way back.
- Your knowledge base is customer-facing and you want the error page to reflect your brand — same colors, tone, and navigation options as the rest of the site.
- You want to give readers an actionable path forward, such as a link to your home page, a contact form, or a sitemap, so a dead end doesn't become a lost reader.
- You are using redirect rules to fix known broken links proactively, and want the 404 page to serve as the safety net for any URLs that redirect rules haven't covered yet.
Customize the 404 page
- Navigate to Settings () > Knowledge base site in the left navigation bar of the Knowledge base portal.
- In the left navigation pane, navigate to Site customization.
- Click the Customize site button.
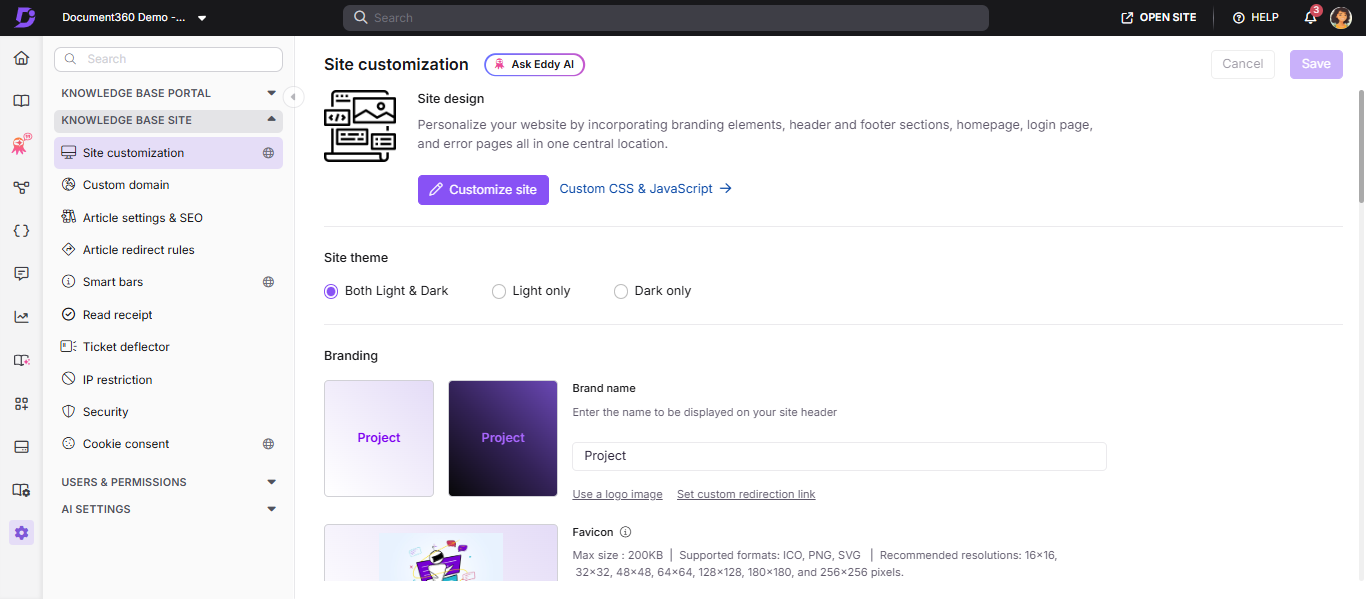
- From the left dropdown menu, select 404 page.
- Customize the page using one of two options:
- Basic style - Customize the default image, heading, paragraph, and link buttons.
- Custom style - Add custom HTML and CSS. Use the Preview toggle to switch between code view and rendered view.
- Click Save to save without applying immediately, Preview to review, and Publish to make changes live.
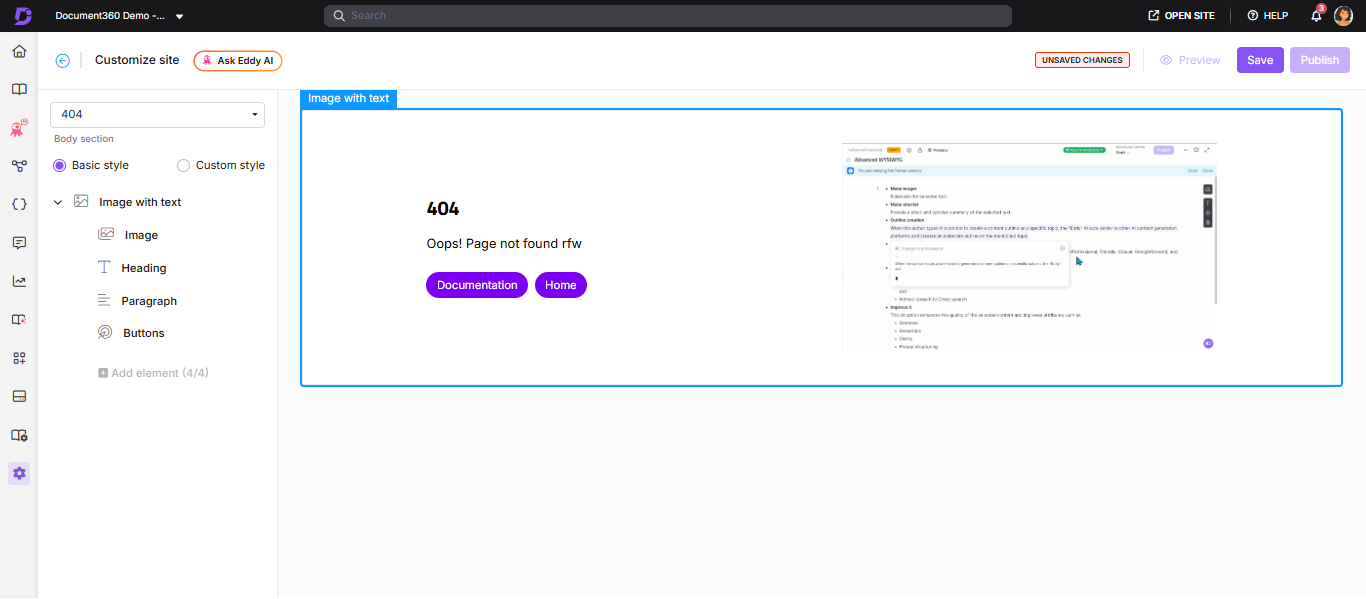
Basic style
Image
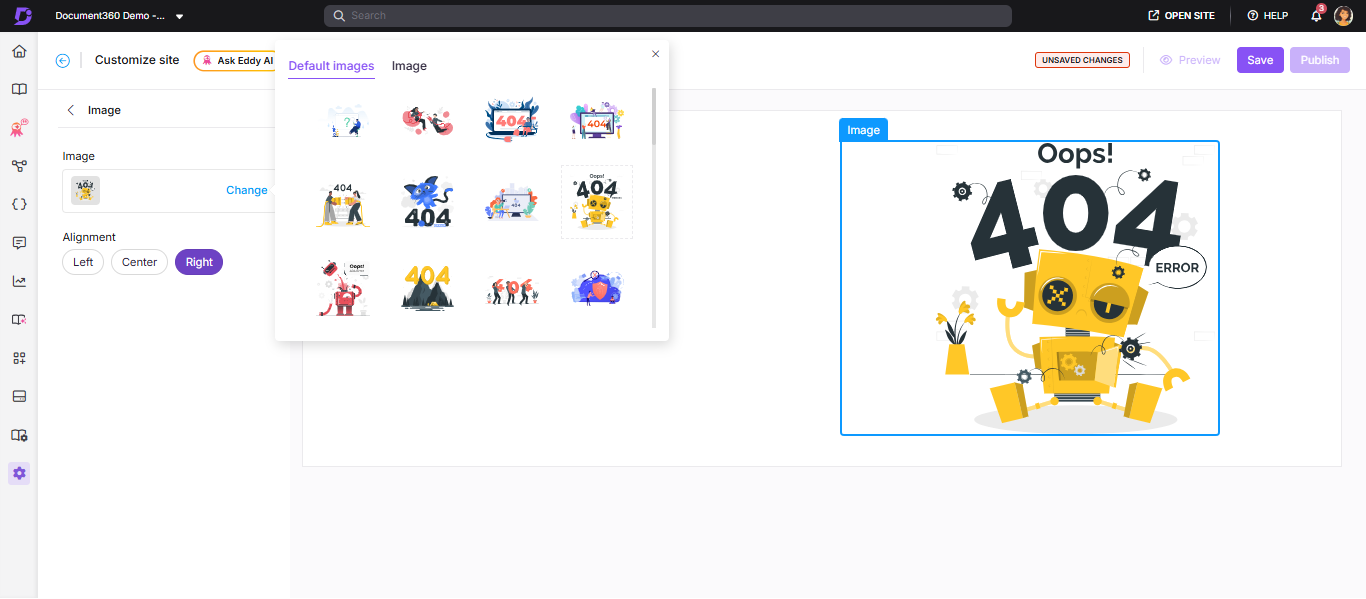
- Click Image. The Image panel appears.
- Click Change and choose between:
- Default images - Select from available default images and click Save.
- Image - Enter an image URL or upload from your Drive and click Save.
- Set the image alignment (left, center, or right) as needed.
Heading
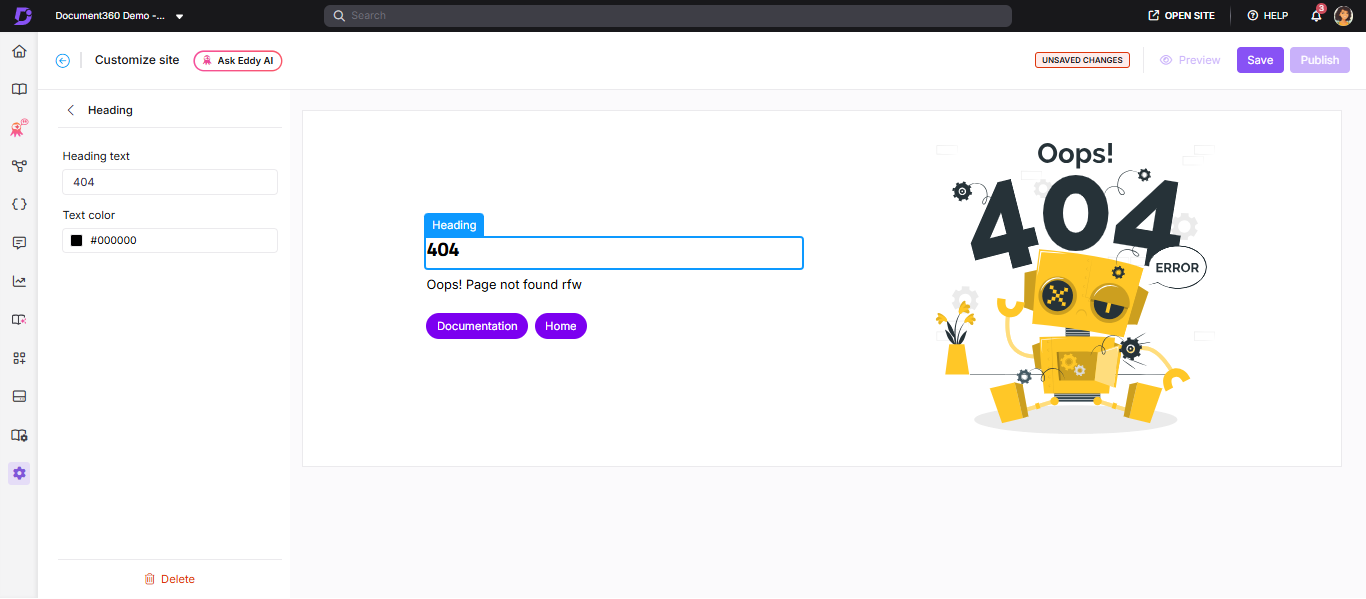
- Click Heading. The Heading panel appears.
- Enter the desired heading text.
- Select a color from the text color palette.
The default heading will be "404."
Paragraph
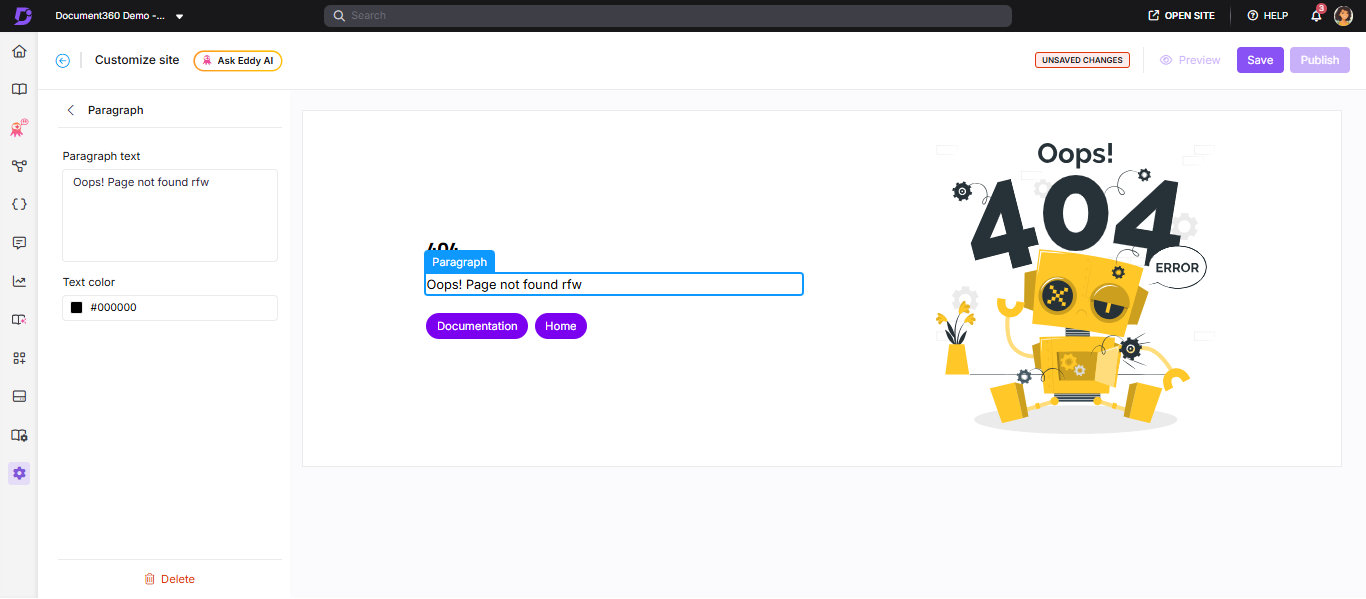
- Click Paragraph. The Paragraph panel appears.
- Enter a description to help readers understand the context.
- Select a color from the text color palette.
The default text will be "Oops! Page not found."
Buttons
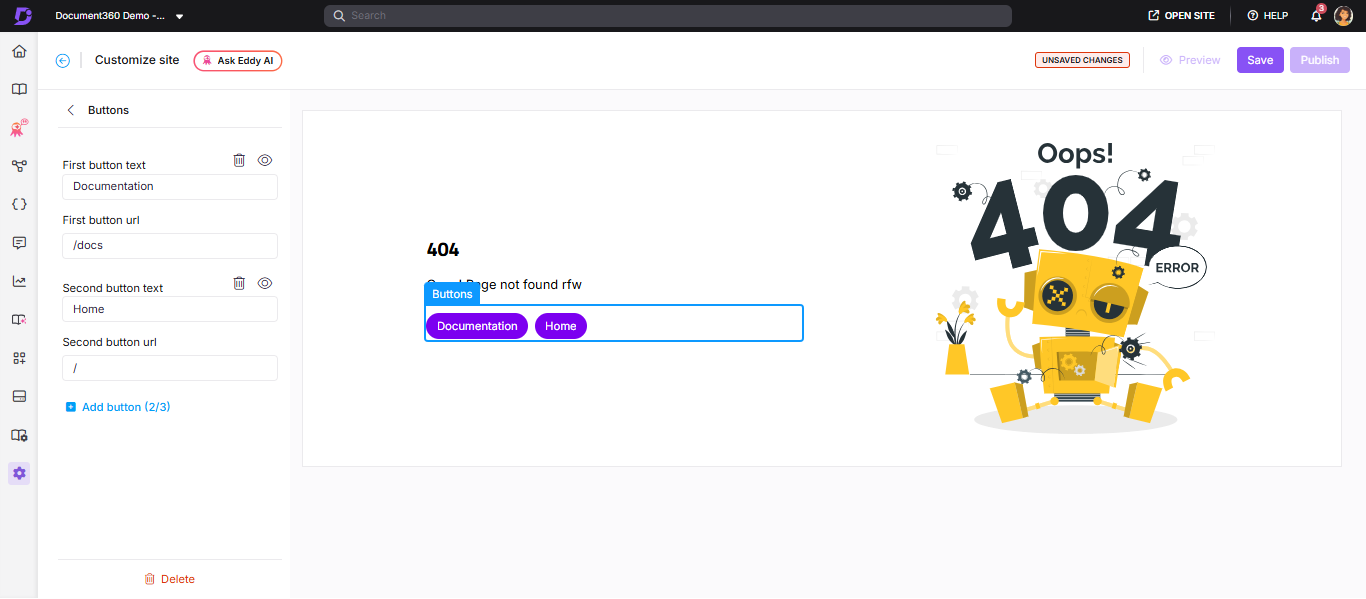
Add up to three link buttons to guide readers to useful pages.
- Click Buttons.
- Click Add button to create a new button.
- Enter text and URL for each button.
- Click the Delete () icon to remove a button or the Hide () icon to hide it.
- Click Delete at the bottom to remove all buttons.
- Once done, click Save.
Suggested links to include on the 404 page: Home page, a contact form for readers to report broken links, your knowledge base sitemap, and your most popular categories or articles.
Custom style
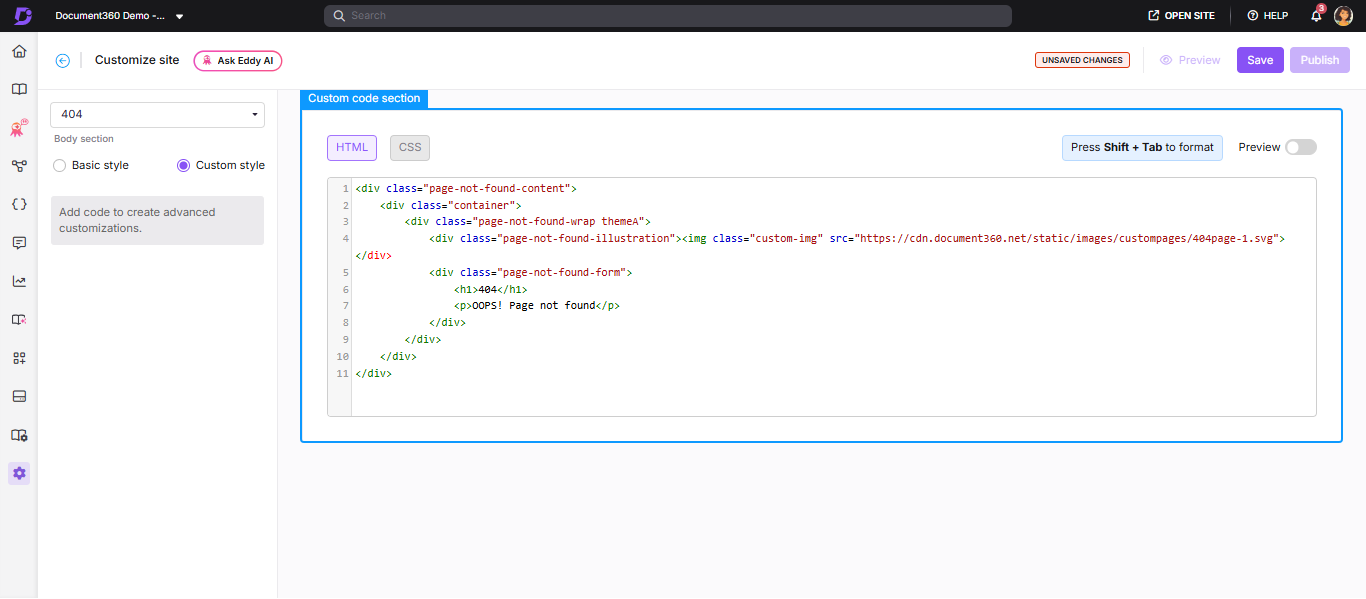
- Select Custom style and switch between the HTML and CSS sections.
- Update the code as required.
- Turn on the Preview toggle to view the updated page.
- Click Save, then Publish to apply.
Best practices
- Keep the design on-brand - use the same colors and tone as the rest of your knowledge base so readers know they're still in the right place.
- Use friendly, plain language - avoid technical jargon. Acknowledge the error lightly: "It's possible this page has moved or no longer exists."
- Always add at least one button - link back to the home page at minimum. Two or three buttons covering home, documentation, and a contact form gives readers clear next steps.
- Use the 404 page together with redirect rules - customize the 404 page for unavoidable errors, and use Article redirect rules to fix known broken URLs proactively.
FAQ
Can I revert to the default 404 page after customizing it?
No. Once you configure a custom 404 page, you cannot revert to the default version.
What is the difference between Basic style and Custom style?
Basic style gives you a point-and-click editor to customize the image, heading, paragraph text, and up to three link buttons without writing any code. Custom style lets you write your own HTML and CSS for full control over the layout and design, including adding GIFs, video elements, or complex custom layouts.
Can I add GIF or video elements to the 404 page?
Yes. You can add screen GIFs and video elements to the 404 page design using the Custom style option.
How many buttons can I add to the 404 page?
You can add up to three link buttons using the Basic style option.