Once you have configured Enterprise Single Sign-On (SSO) using SAML or OpenID Connect for your project, you can start adding and managing SSO users. Users added as SSO users authenticate using their existing credentials from a trusted Identity Provider (IdP) such as Okta, Azure AD, or Google Workspace, without needing a separate Document360 password. This article covers how to add new SSO users, invite existing users to switch to SSO, and remove SSO user accounts when they are no longer needed.
Before you begin
- SSO must already be configured for your project using SAML or OpenID Connect.
- You must have the Owner or Admin project role to add or invite users.
- The email address of any new SSO user must match the domain specified in the SSO configuration.
How to add and manage SSO users
Choose the action that applies to your situation:
Add a new SSO user
New to your project? Add them directly as an SSO user so they authenticate using their IdP credentials from day one.
Go to steps →Invite an existing user to SSO
Already added to the project with a standard account? Invite them to switch to SSO authentication through the SSO configuration settings.
Go to steps →How to add a new user as an SSO user
Adding a new SSO user follows the same process as adding a standard user in Document360, with one additional step to assign the SSO configuration.
- Navigate to Settings () in the left navigation bar of the Knowledge base portal.
- In the left navigation pane, go to Users & permissions > Users & groups.
- In the Users tab, click Add > Users.
- In the New user window, under Basic details, enter the email address of the user in the Email field.
The email address must match the domain specified in the SSO configuration.
-
Select the SSO user checkbox.
-
In the Select SSO dropdown, select the SSO configuration you want to assign to the user.
-
If you do not want to send an invitation email, select the Skip invitation email checkbox.
-
Click Save.
The user is added as an SSO user and will receive an invitation email with their login details. To know more read Add new user.
How to invite an existing user to use SSO
If users have already been added to your project with standard Document360 accounts, you can invite them to switch to SSO authentication through the SSO configuration settings.
- Navigate to Settings () in the left navigation bar of the Knowledge base portal.
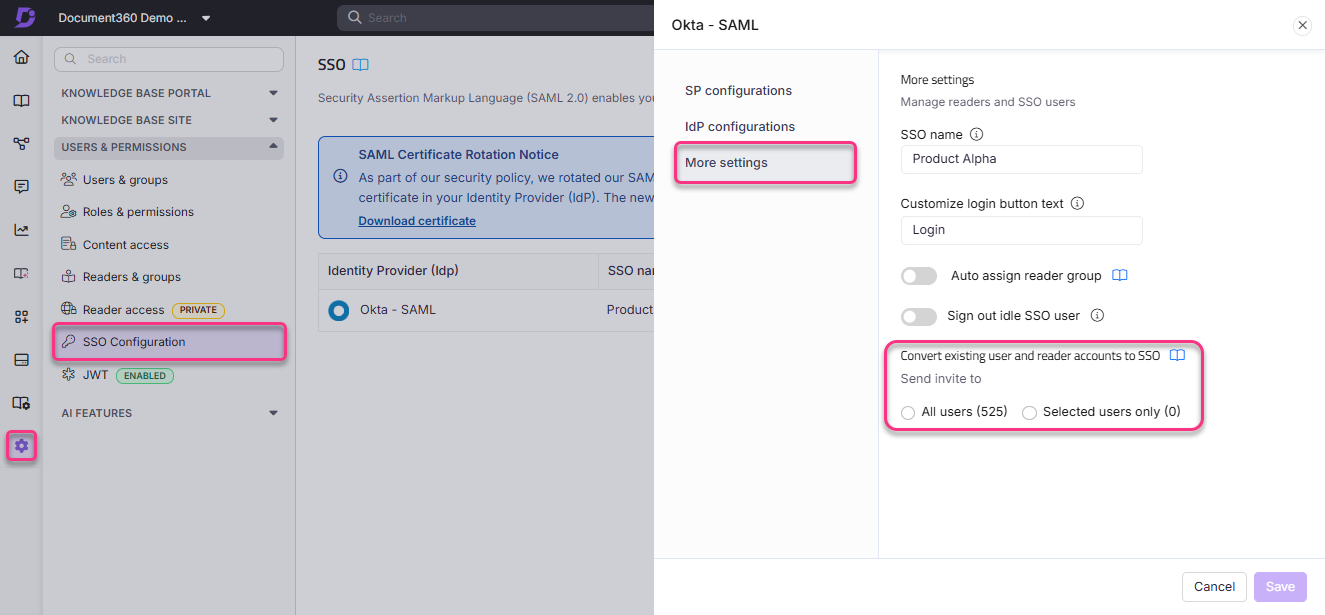
- In the left navigation pane, go to Users & permissions > SSO Configuration.
- Hover over the SSO configuration you want to use and click the Edit () icon.
- In the SSO configuration window, navigate to the More settings tab.
- In the Convert existing user and reader accounts to SSO section, select one of the following options:
- All users: Invites all users currently added to the project.
- Selected users only: Opens a list of users in the project. Select the checkbox next to each user you want to invite.
- Click Save.
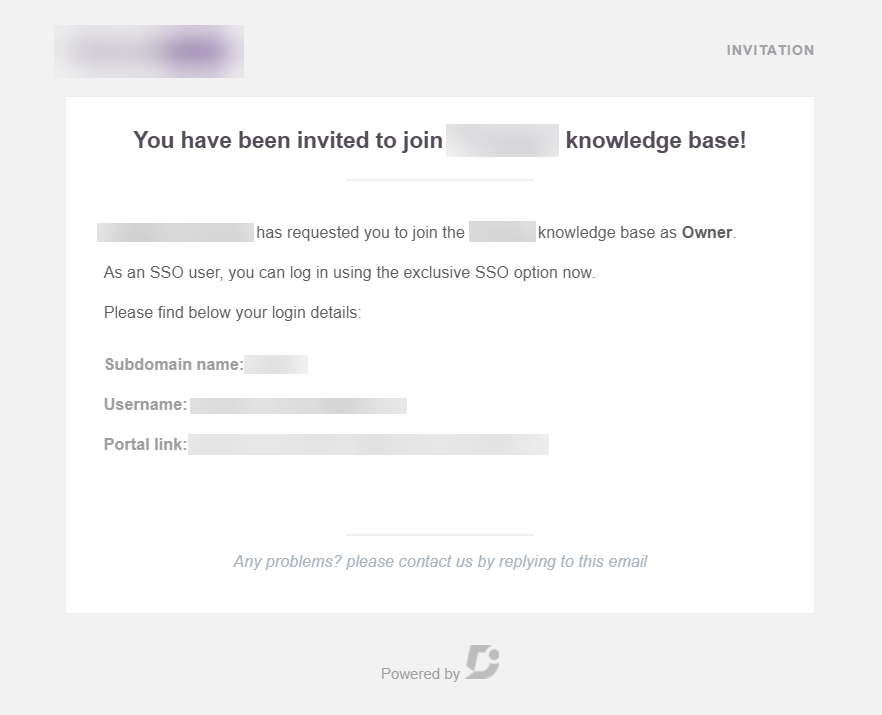
Each invited user will receive an invitation email with their SSO login details.
When you invite an existing user to become an SSO user, an additional SSO user account is created. The original account will continue to exist alongside the new SSO account. If the SSO account is no longer needed, you can delete it separately without affecting the original account.
How to delete an SSO user
If an SSO user account is no longer required, you can remove it from the Users & groups page.
- Navigate to Settings () in the left navigation bar of the Knowledge base portal.
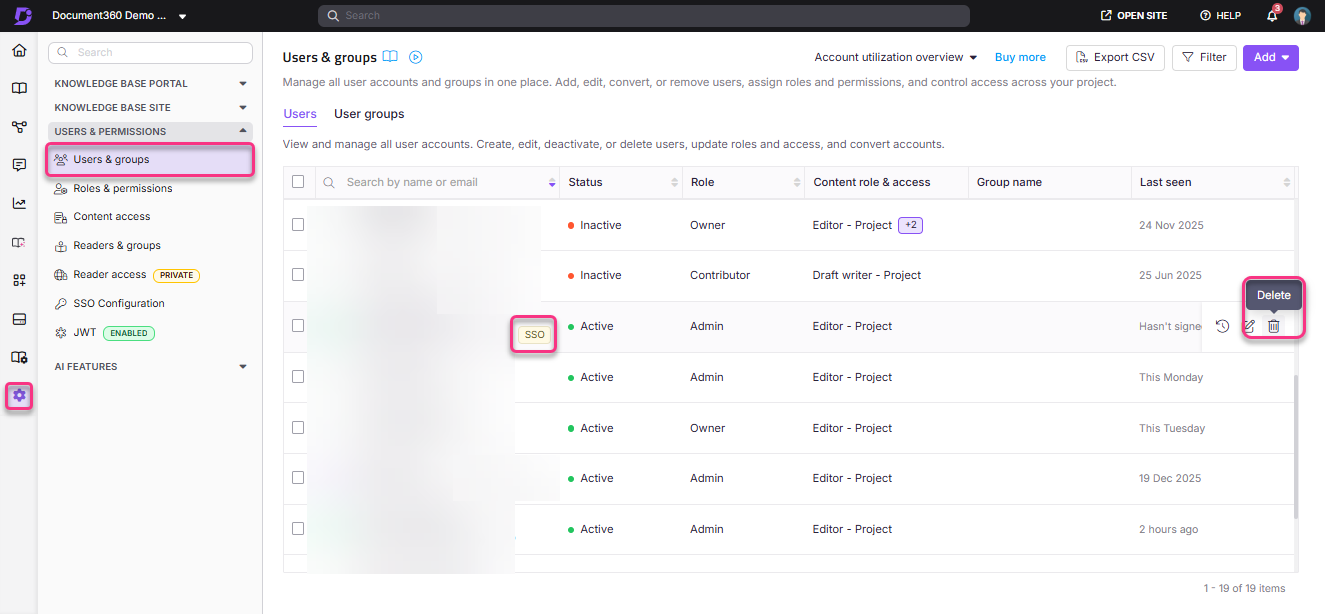
- In the left navigation pane, go to Users & permissions > Users & groups.
- Hover over the SSO user you want to delete. SSO users are identified by the SSO label next to their email address.
- Click the Delete () icon.
- Click Yes in the delete confirmation popup.
If an email address exists as both a standard user account and an SSO user account, deleting the SSO account will not delete the standard user account.
To know more, read Deactivate or delete user.
Best practices
- When inviting existing users to SSO, use Selected users only rather than All users if your project has a mix of SSO and non-SSO users. This avoids unintentionally converting accounts that should remain on standard login.
- After inviting users to SSO, confirm with them that they can log in successfully before removing their original accounts.
- Use the SSO label in the Users & groups page to quickly distinguish SSO accounts from standard accounts when managing a large user list.
FAQ
Why am I not able to create an SSO reader account?
If a user has already been added to the project as an SSO reader account, you cannot add the same user again. The Create reader account button is disabled automatically when the SSO user checkbox is selected.