Plans supporting this feature: Professional Business Enterprise
Adding images to your articles enhances comprehension and engagement. Visual aids clarify complex procedures and illustrate desired outcomes more effectively than text alone. Images simplify instructions, making them easier to follow and understand. They enhance the user experience and contribute to the overall effectiveness of the documentation.
There are several methods for inserting images into your articles using the Markdown editor or the Advanced WYSIWYG editor. Each method offers its own set of advantages and allows for customization to suit your preferences.
Inserting an image in the Markdown editor
You can insert images in your documentation with the Markdown editor in four methods:
Method 1: Insert image from Upload/URL
Method 2: Insert image from file picker
Method 3: Insert image using Insert file ()
Method 4: Insert image by drag and drop
Using upload
To insert an image:
Navigate to the desired article in the Markdown editor.
Click the Insert image () icon and select From Upload/URL.
In the File tab, click the Choose File button.
Select the image file you want from your local storage and click Open.
In the Description field, type in a description for the image.
Click OK.
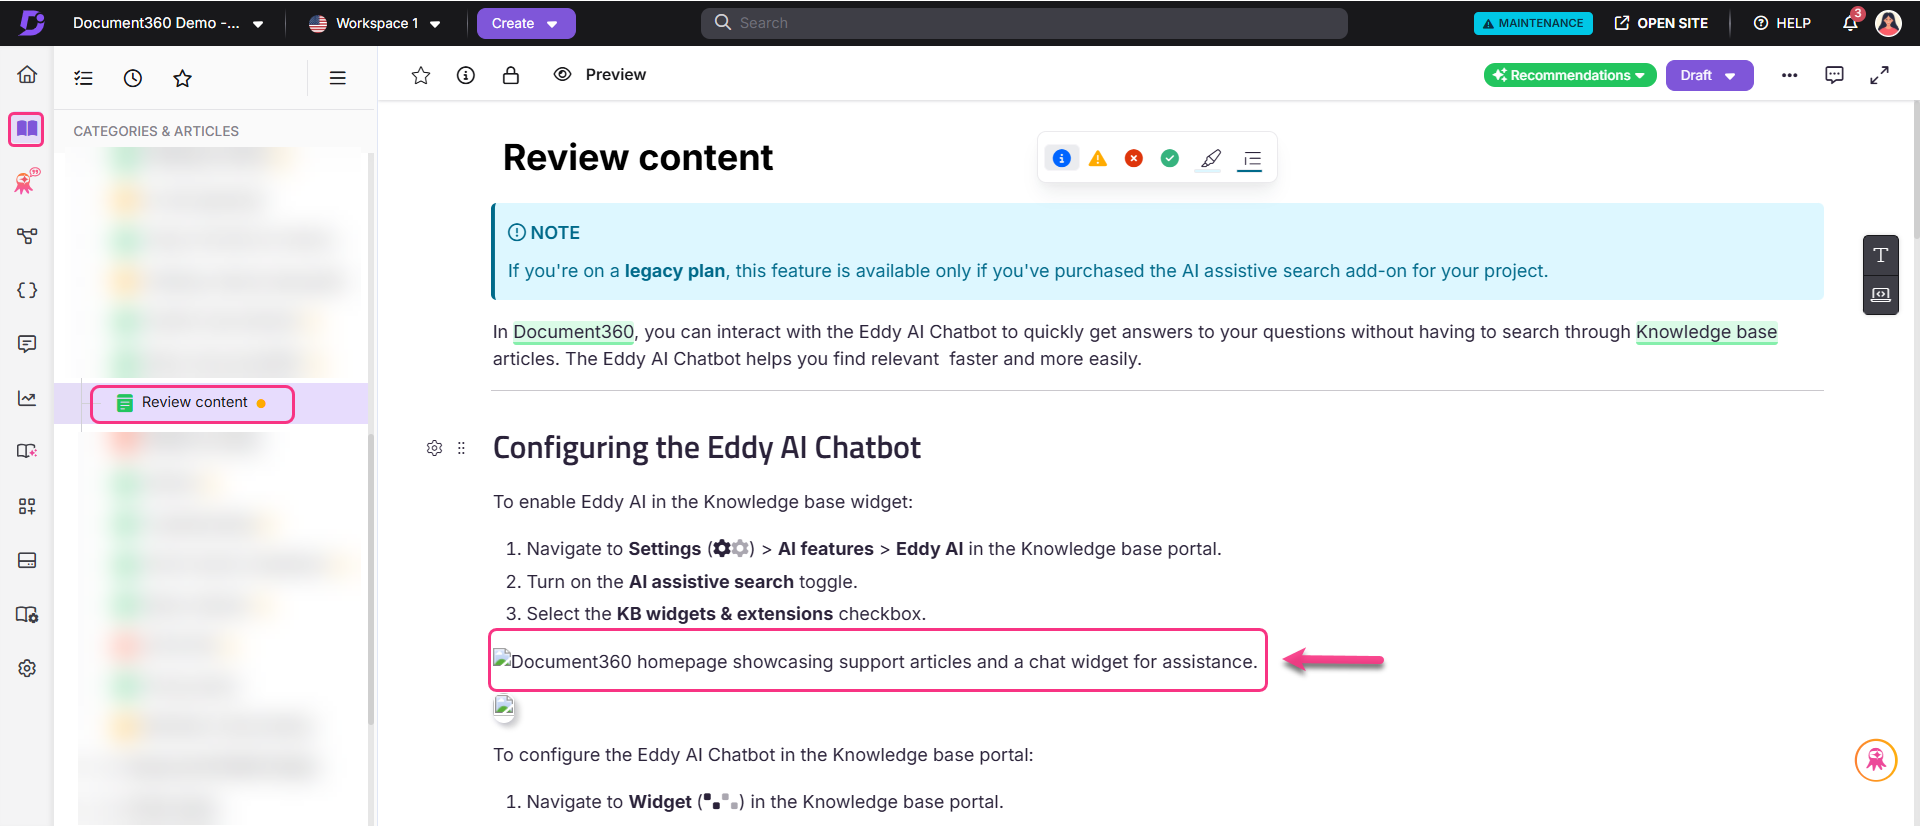
The image will be inserted into the article where the cursor is placed.
NOTE
The height and width of the image will not be set by default
{height="" width=""}.
If required, you can specify the pixel (px) dimensions for displaying your image in the documentation.
For example, {height="720" width="1280"}.
You can see the size of the image in the documentation in the Preview panel.
From URL
To insert an image using an URL:
Navigate to the desired article in the Markdown editor.
Click the Insert image () icon and select From Upload/URL.
In the URL tab, enter the desired Image URL.
In the Description field, type in a description for the image.
Click OK.
The image will be inserted into the article where the cursor is placed.
NOTE
The height and width of the image will not be set by default
{height="" width=""}.
If required, you can specify the pixel (px) dimensions for displaying your image in the documentation.
For example, {height="720" width="1280"}.
You can see the size of the image in the documentation in the Preview panel.
NOTE
We recommend adding images to the Document360 Drive and then inserting them into articles. When you upload using the image URL, If the image is removed or renamed in the future, it will appear broken in the Knowledge base sites.
To insert an image from the file picker:
Navigate to the desired article in the Markdown editor.
Click the Insert image () icon and select From file picker.
The Drive panel will appear with only image format files.
NOTE
You can insert any number of images in one go. The multiple image selection is available only on Markdown and Advanced WYSIWYG editors.
Navigate to the desired folder where the image you wish to upload is available.
Select the desired image(s) and click Insert.
The image will be inserted into the article where the cursor is placed.If required, you can specify the pixel (px) dimensions for displaying your image in the documentation.
For example, {height="720" width="1280"}.
You can see the size of the image in the documentation in the Preview panel.
To insert an image using the Insert file ():
Navigate to the desired article in the Markdown editor.
Click the Insert file () icon.
The Drive panel will appear.
Navigate to the desired folder where the image you wish to upload is available.
Select the image and click Insert.
The image will be inserted into the article where the cursor is placed.
NOTE
The height and width of the image will not be set by default
{height="" width=""}.
If required, you can specify the pixel (px) dimensions for displaying your image in the documentation.
For example, {height="720" width="1280"}.
You can see the size of the image in the documentation in the Preview panel.
You can add an image to the editor by dragging it from your local system to your editor.
The images you insert in an article through drag and drop will be saved automatically in the Document360 Drive. Any changes made to your local file will not affect the inserted image.
Inserting an image in the Advanced WYSIWYG editor
You can insert images into your documentation using the Advanced WYSIWYG editor through the following methods:
Method 1: Using the Quick Insert menu
Method 2: Using the Slash command
Method 3: Using Copy and paste or Drag and drop
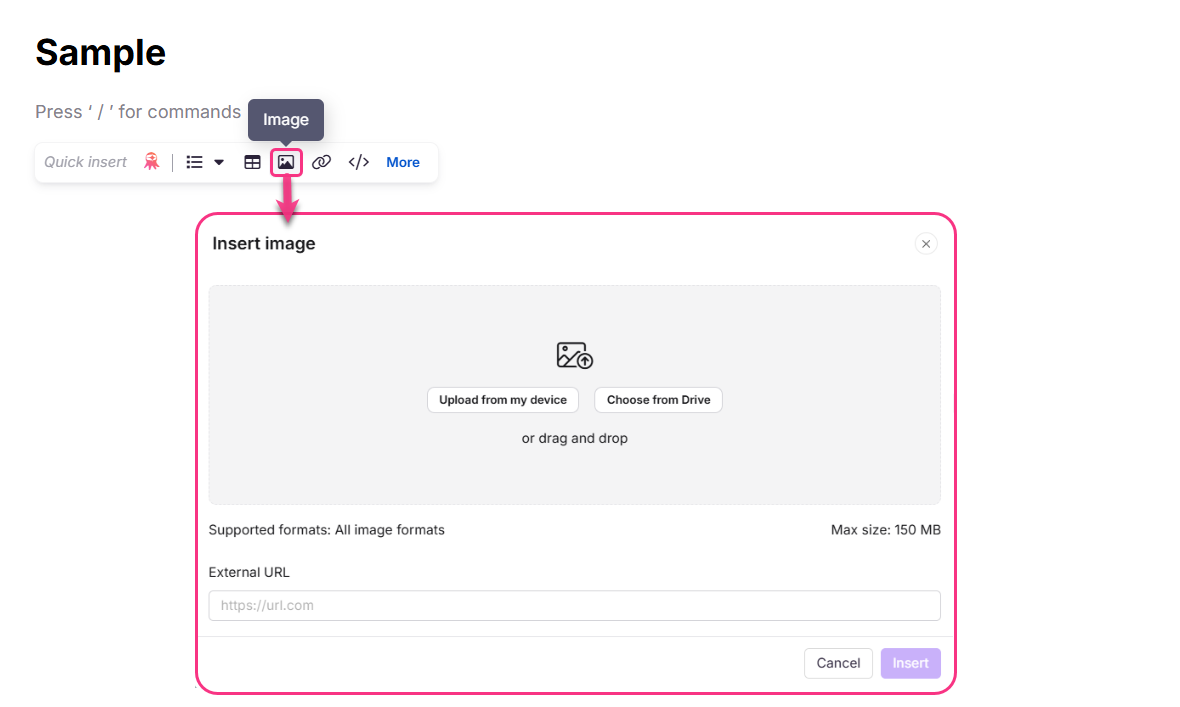
To add an image using the Quick Insert menu:
Navigate to the desired article in the Advanced WYSIWYG editor.
The Quick insert menu will appear only when the block is empty.
Click the Image () icon in the Quick insert menu.
A Insert image panel will appear with the following options:
Upload from my device: Upload or drag and drop an image file from your device's local storage.
Choose from Drive: Select an image from your Document360 Drive using the file picker.
External URL: Paste the image URL into the provided field.
Click Insert to add the image to the article.
NOTE
The Quick Insert menu will automatically disappear once you start typing in the block.
If you clear the content in the block, the Quick Insert menu will reappear for reuse.
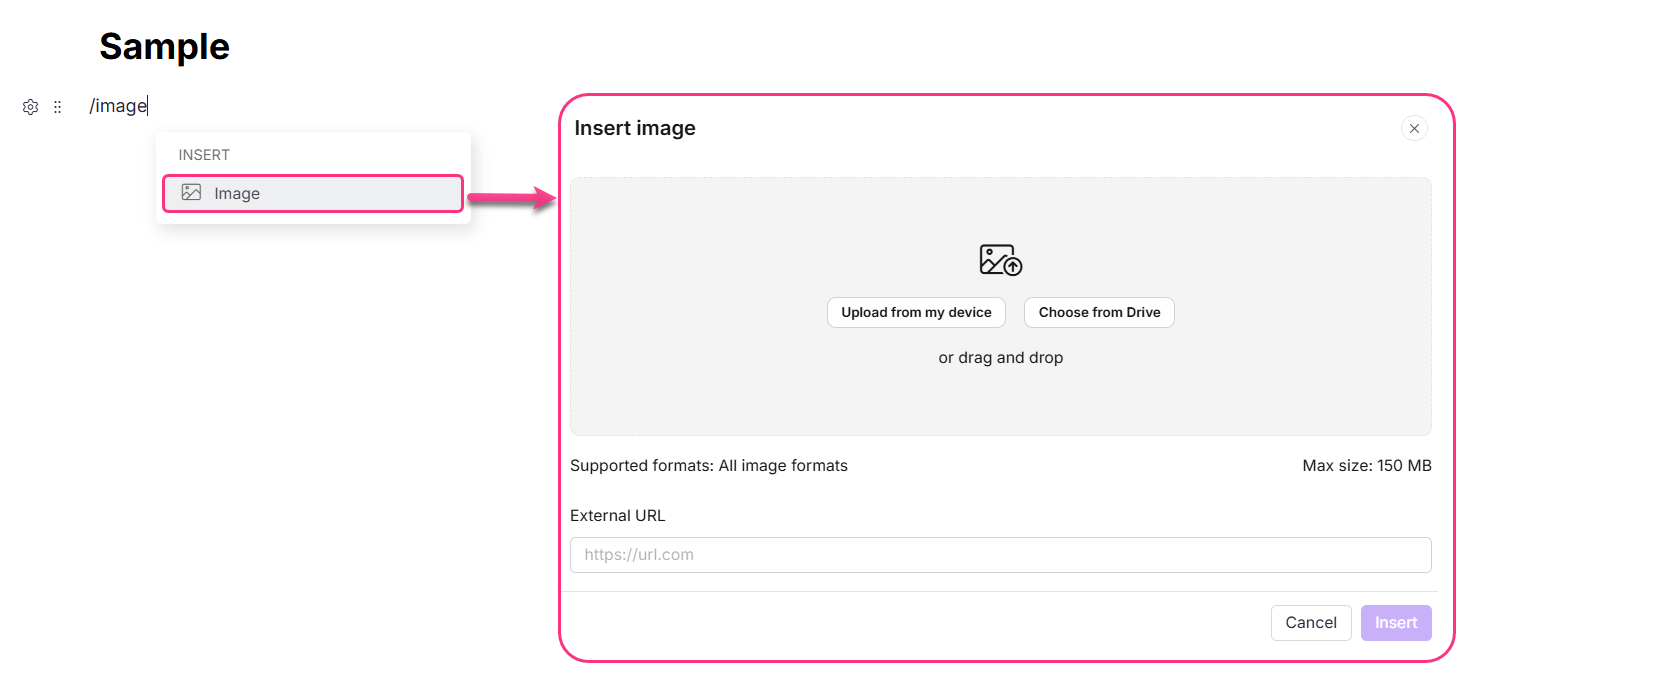
To add an image using the Slash / command:
Navigate to the desired article in the Advanced WYSIWYG editor.
Type
/imageand hit the Enter to open the image options panel.Choose one of the following options:
Upload from my device: Upload or drag and drop an image file from your device's local storage.
Choose from Drive: Select an image from your Document360 Drive.
External URL: Paste the image URL into the provided field.
Click Insert to add the image to the article.
You can add images to your article by copying and pasting them or simply dragging and dropping them into the editor:
Performing a copy-paste operation to place the image in the editor.
Dragging and dropping an image directly into the editor from your device's local storage.
NOTE
Images inserted via drag and drop are automatically saved to your Document360 Drive. Changes made to the image file on your local device will not affect the image in the editor.
NOTE
You can format images in the Advanced WYSIWYG editor. For more information, read the article on Image formatting in the advanced WYSIWYG editor.
Troubleshooting
Broken image in the Knowledge base site
A broken image is an image that fails to load on a webpage, displaying a missing image icon and its alt text instead. This typically happens when the image file is deleted, moved, renamed, or the URL pointing to the image is incorrect or inaccessible.
Steps to resolve:
Retrieve the image URL from the article’s code view in the Knowledge base portal or by inspecting the element in the Knowledge base site.
Open the image URL in a browser.
If it results in a 404 error, the image may have been deleted, moved, or renamed.
Ensure the image file still exists at the same path and with the same name.
As a best practice:
Upload images directly to the Document360 Drive instead of using external URLs.
Adding images from Document360 Drive helps organize assets efficiently and prevents broken images in the future.
FAQs
Can I change the alignment of an image in Markdown?
Yes, you can change the image alignment in Markdown.
NOTE
For more information, read the article on How to align the image in Markdown?
What is the recommended method for inserting images into articles?
The recommended method is to upload images to the Document360 Drive and insert them directly into articles. This ensures image stability and prevents broken image links if the image is removed or renamed in the future.
Can I customize the appearance of the inserted images?
Yes, you can customize the alignment, size, and style of inserted images to suit your preferences and optimize the visual presentation within your articles.
How can I ensure accessibility for visually impaired users when adding images?
You can provide alternative text (alt text) for each image, which helps screen-reading tools describe images to visually impaired users and improves search engine optimization (SEO) for your Knowledge base.
How can I add icons in line with text?
To add icons in the markdown editor, simply paste the HTML code snippet of the icon wherever you want it to appear in your text. For example, use <nor class="fa-light fa-comment"></nor> for a comment icon.
If you are using the advanced WYSIWYG editor, place the cursor where you want the icon, switch to code view, and paste the same HTML code snippet. After pasting, save the file and switch back to the regular view. You should now see the icon in line with your text. You can find these icon snippets on websites like FontAwesome.
Will images copied from an external source and pasted into Document360 be permanently stored? What happens if the external source is deleted?
If you copy and paste images from an external source into Document360, they will be stored in Document360 Drive. However, we recommend uploading images directly from the Drive rather than pasting them.
If images are added using an external link, and the original source is deleted, the images will break in Document360.