Plans supporting this feature: Professional Business Enterprise
Glossary terms are essential for improving your readers' understanding of frequently used terms, abbreviations, acronyms, and industry-specific jargon. By incorporating glossary terms into your articles and category pages, you ensure that readers can easily grasp complex concepts without leaving the content. Glossary terms are visually marked with a dotted underline, allowing users to hover over them for instant definitions. Here's how you can add glossary terms across different editors in Document360.
Adding glossary terms in the Markdown editor
The Markdown editor allows you to seamlessly add glossary terms to enhance your articles. You can do this using two methods:
Method 1: Using the menu option
Method 2: Using the Markdown syntax
To add glossary terms in the markdown editor:
Open the desired article in the Markdown editor.
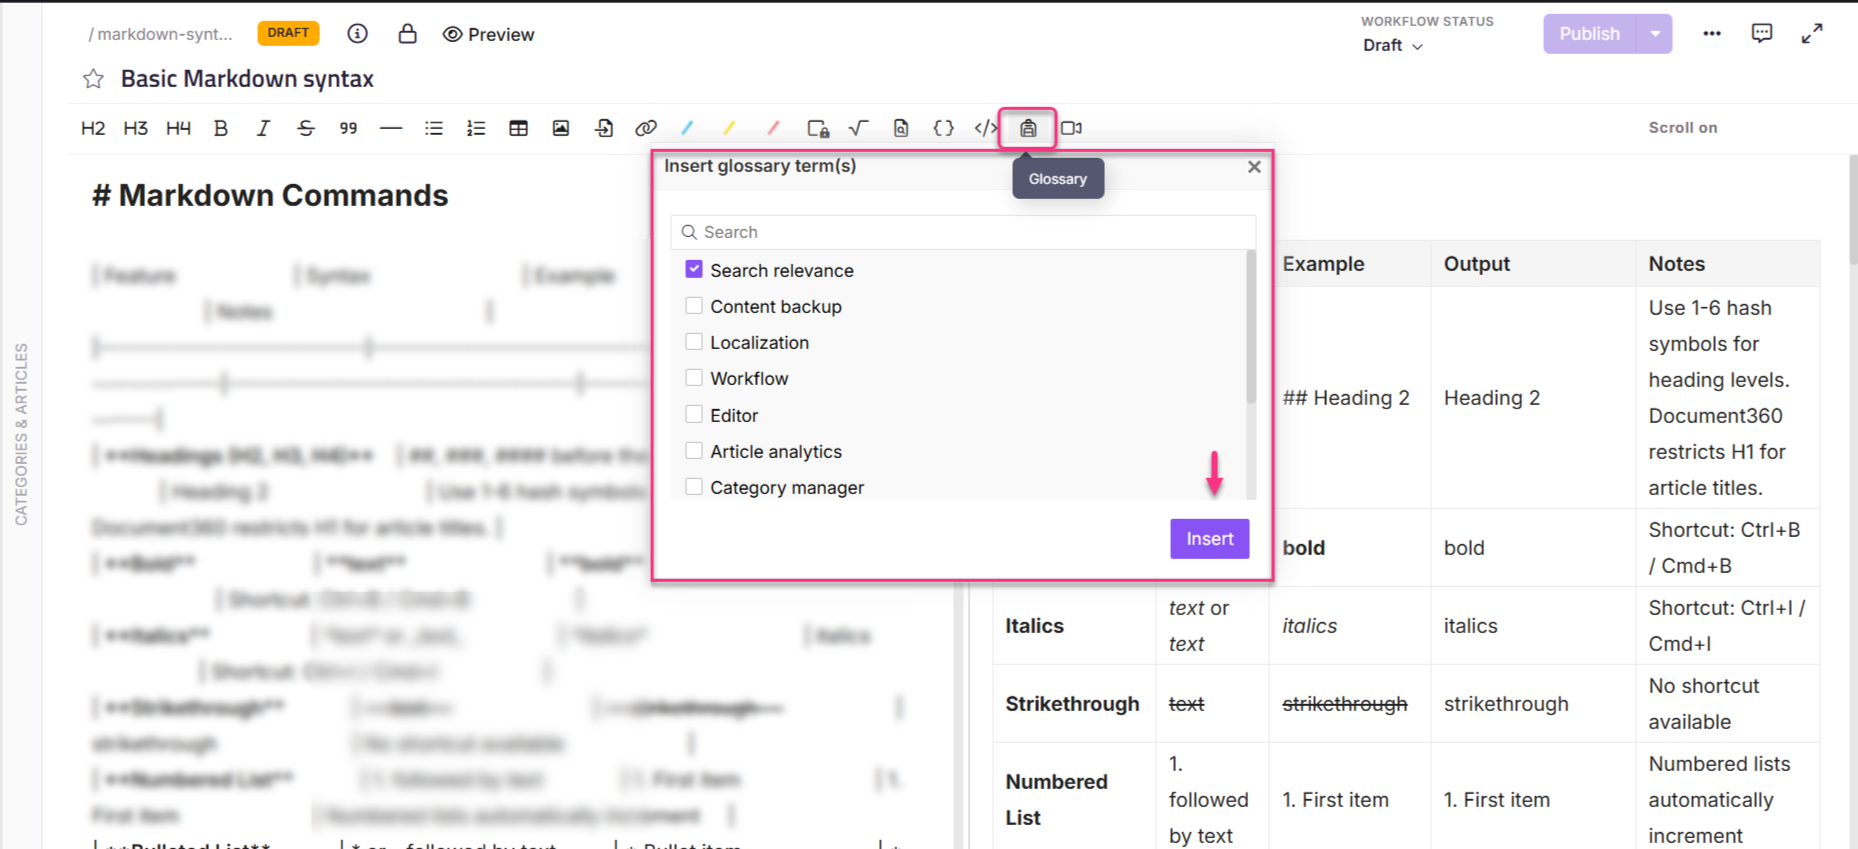
In the toolbar, click on the Glossary icon.
The Insert glossary term(s) menu will appear, displaying a list of all available glossary terms.
Click the checkbox next to the terms to select the terms you want to insert into your article.
Click Insert.
Your selected glossary terms will now be added to the article, enriching the reader's experience.
If you prefer to use the Markdown syntax or need to manually input a term, follow this method:
Open the desired article in the Markdown editor.
Enter the following syntax:
{{glossary.Term_name}}Replace
Term_namewith the exact name of the glossary term you want to add.
NOTE
Glossary terms are case-sensitive and must match exactly, including any spaces. To find the exact term name, refer to the Glossary section in your Document360 portal.
Adding glossary terms in the WYSIWYG editor (HTML)
If you’re working in the WYSIWYG editor, adding glossary terms is simple and efficient. Follow these steps:
Open the desired article in the WYSIWYG editor.
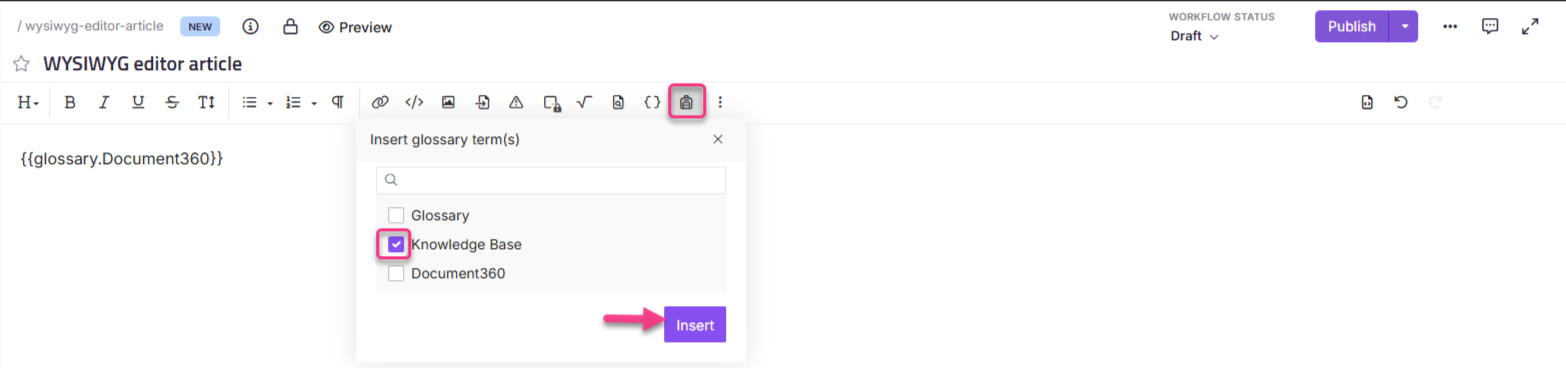
Click on the Glossary option in the toolbar.
The Insert glossary terms dialog will appear with a list of available glossary terms.
Click the checkbox next to the terms to select the terms you want to insert into your article.
Click Insert.
The glossary terms will now be embedded within your article, improving clarity and reader engagement.
Adding glossary terms in the Advanced WYSIWYG editor
For advanced formatting and content management, the Advanced WYSIWYG editor supports adding glossary terms. Follow these steps:
Open the article in the Advanced WYSIWYG editor.
Use the Slash command
/glossaryand hit Enter. The Glossary dropdown will appear, displaying all available glossary terms.Use the search bar within the slash menu to find a specific term. Hover over a glossary term to preview its content.
Click the term to insert it into the article.
The inserted term will now appear as regular text with a dotted underline. When you hover over it, the glossary definition is shown as a tooltip.
Click the glossary term to open the bubble menu. In the bubble menu, you can:
Use the dropdown menu to search and switch to a different glossary term.
Click Insert as text to insert the glossary definition directly into the article.
Click the Delete icon () to remove the glossary term from the article.