Removing an OpenID Connect SSO configuration from Document360 permanently deletes it along with all associated user accounts. This action cannot be undone.
CAUTION
When you delete an SSO configuration, all users associated with that configuration will also be deleted. Ensure you have reviewed the impact on your team before proceeding.
When you might need to remove an OpenID Connect SSO configuration
- You are switching to a different Identity Provider.
- You are replacing an incorrectly configured SSO setup.
- You are decommissioning SSO for a project.
Before you remove
- Notify affected users in advance. Once deleted, they will lose access immediately.
- If you plan to reconfigure SSO with a new provider, have the new configuration ready before removing the existing one to minimize disruption.
- If the configuration is a parent with child projects inheriting its SCIM settings, removing it will affect those child projects. Review your inheritance setup before proceeding.
How to remove an OpenID Connect SSO configuration
- Navigate to Settings () > Users & permissions > SSO Configuration.
- Hover over the SSO configuration you want to delete and click the Delete () icon.
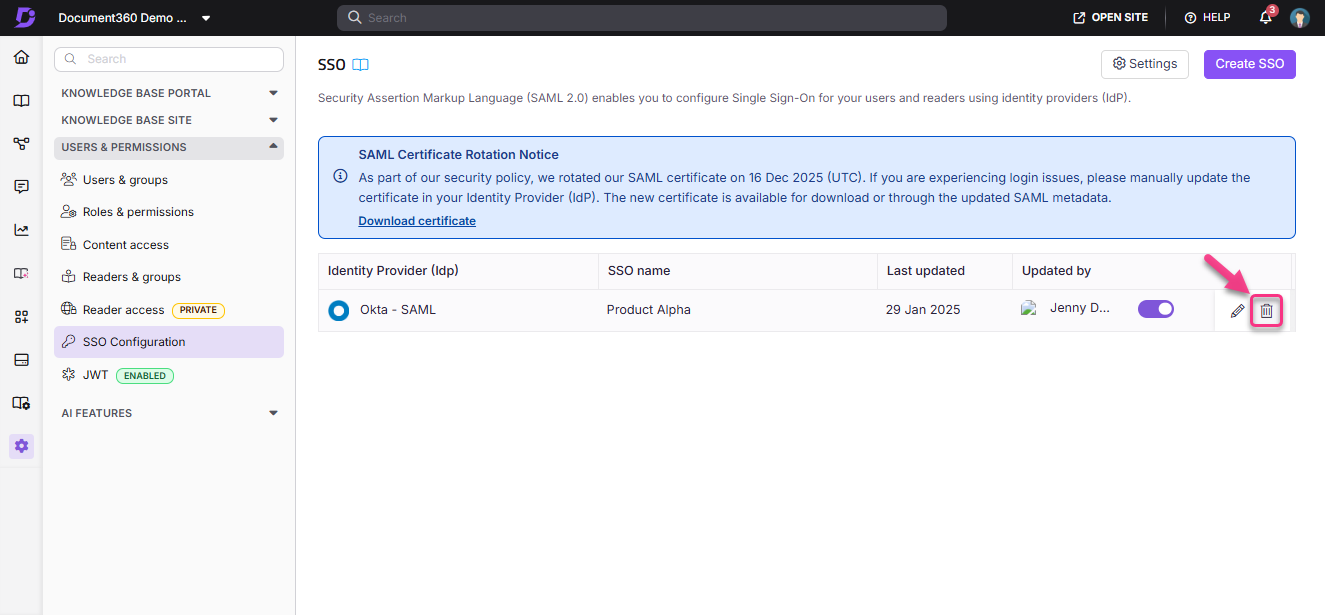
- A Delete SSO confirmation dialog will appear.
- Click Proceed to permanently delete the SSO configuration.
The SSO configuration and all associated user accounts are now deleted.
What happens after you remove
- All users who authenticated via the deleted SSO configuration are removed from Document360.
- Users will no longer be able to log in using their SSO credentials for that configuration.
- The Document360 login page will be restored as the default login method if no other SSO configuration is active.
- If you had the Document360 login page disabled, re-enable it before removing SSO to avoid locking all users out.
NOTE
To reconfigure SSO after deletion, see the relevant provider setup guide: Okta, Auth0, ADFS, or other providers.