Glossary terms you have created can be inserted into any article or category page so that readers see them highlighted with a dotted underline and can hover to view the definition. The insertion method depends on which editor you are using.
Markdown editor
Insert glossary terms using the Glossary icon in the toolbar or by typing the merge code syntax directly in the editor.
Learn more →Advanced WYSIWYG editor
Insert glossary terms using the /glossary slash command and manage inserted terms from the bubble menu.
Learn more →Insert glossary terms in the Markdown editor
You can add glossary terms in the Markdown editor using two methods.
Using the menu option
- Open the article in the Markdown editor.
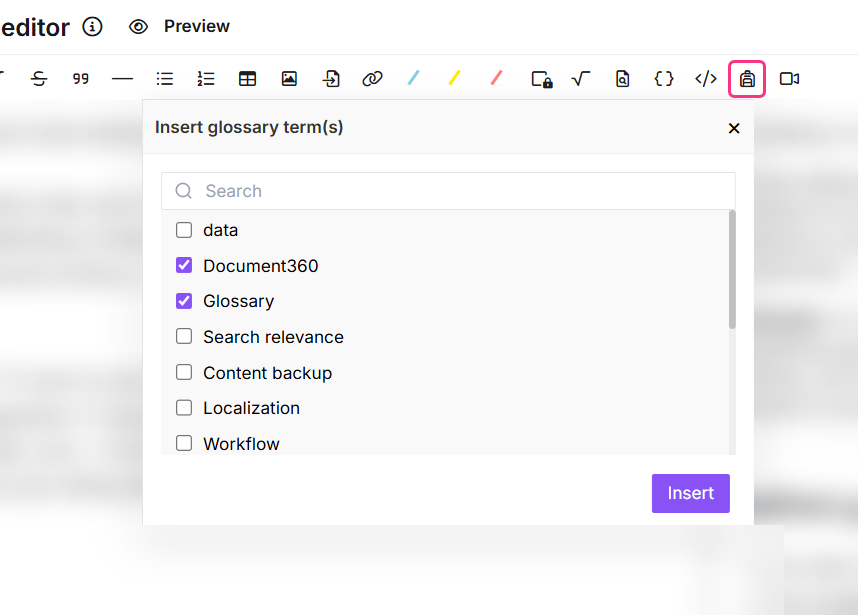
- In the toolbar, click the Glossary icon. The Insert glossary term(s) menu appears, displaying all available glossary terms.
- Click the checkbox next to each term you want to insert.
- Click Insert.
Using the Markdown syntax
- Open the article in the Markdown editor.
- Enter the following syntax:
{{glossary.Term_name}} - Replace
Term_namewith the exact name of the glossary term you want to add.
NOTE
Glossary terms are case-sensitive and must match exactly, including any spaces. To find the exact term name, refer to the Glossary page in Content tools.
Insert glossary terms in the Advanced WYSIWYG editor
- Open the article in the Advanced WYSIWYG editor.
- Type
/glossaryand press Enter. The Glossary dropdown appears, displaying all available glossary terms. - Use the search bar to find a specific term. Hover over a glossary term to preview its content.
- Click the term to insert it. The inserted term appears as regular text with a dotted underline. Hovering over it shows the glossary definition as a tooltip.
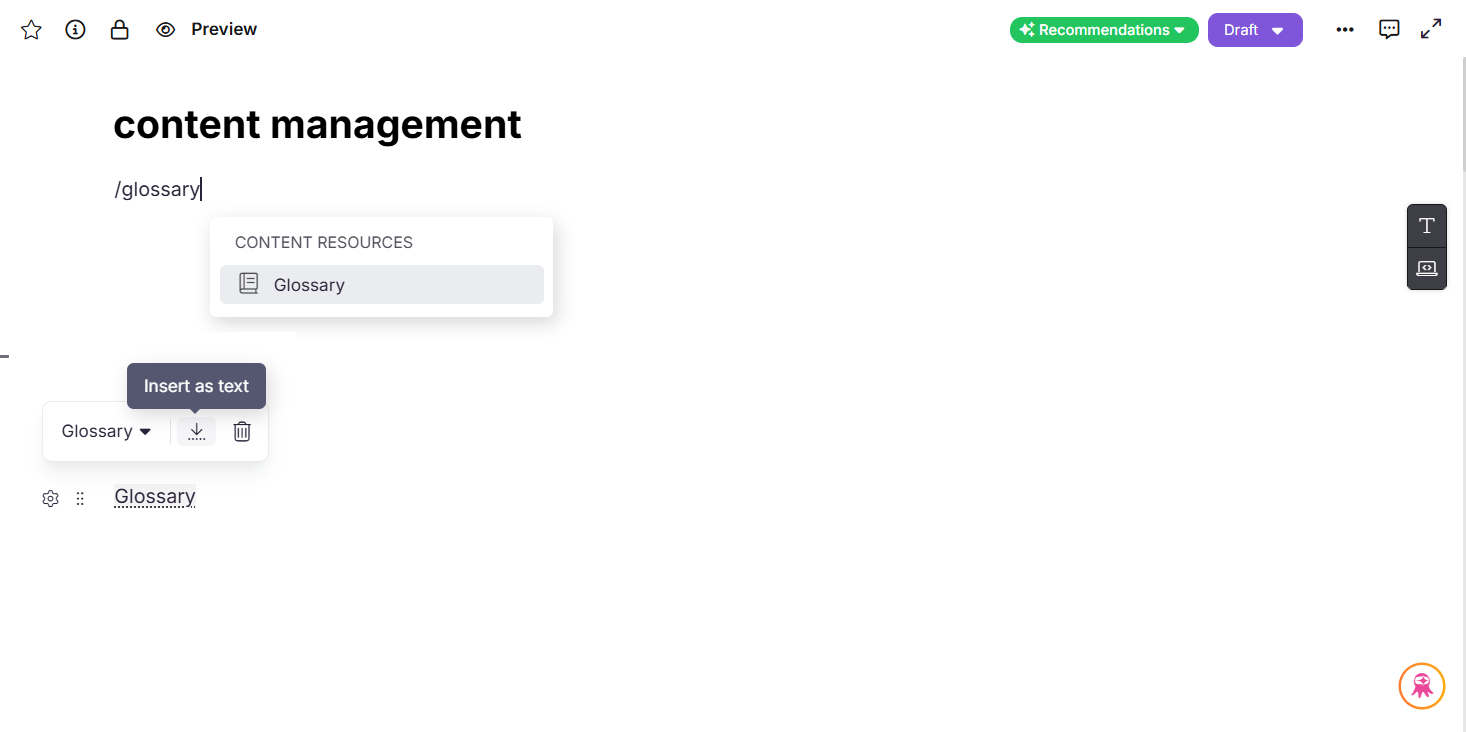
- Click the glossary term to open the bubble menu.
| Option | Description |
|---|---|
| Dropdown menu | Search for and switch to a different glossary term. |
| Insert as text | Inserts the glossary definition directly into the article as static text. |
| Delete | Removes the glossary term from the article. |
Best practices
- Insert glossary terms the first time a technical word or acronym appears in an article. Inserting the same term multiple times in one article adds visual noise without benefit.
- Use Insert as text only when you need the definition to appear as permanent inline content. Once converted to static text, the term no longer updates when the glossary definition changes.
- Verify the exact term name before using merge code syntax in the Markdown editor. Glossary terms are case-sensitive and a single character difference will prevent the term from rendering.
- Preview the article before publishing to confirm the dotted underline and tooltip are displaying correctly for all inserted terms.