Plans supporting this feature: Professional Business Enterprise
Managing a large number of files and folders can sometimes lead to intentional or accidental deletions. To help recover deleted content, Document360 provides a Recycle bin. When a file or folder is deleted, it is temporarily moved to the Recycle bin, allowing users to easily restore it if needed.
NOTE
Document360 also provides a dedicated Recycle bin for the categories and articles deleted from your Documentation.
Recycle bin operations
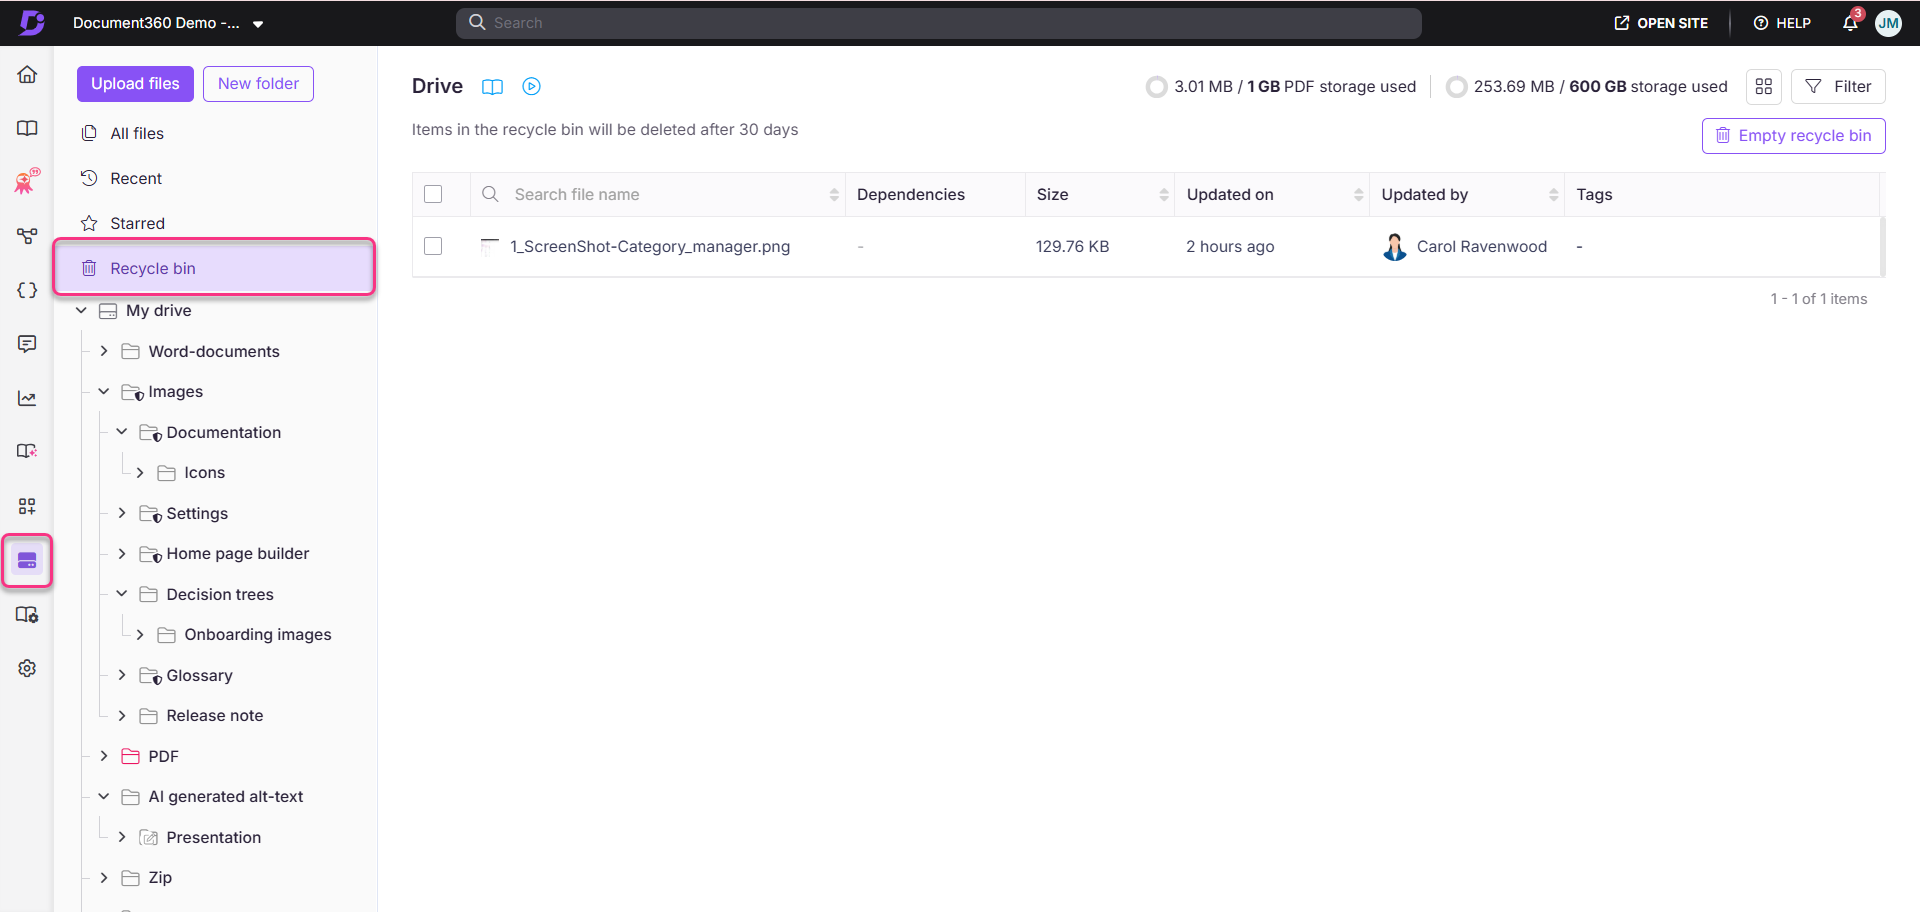
Click the Drive () icon in the left navigation bar.
You can view the existing Folders and Subfolders in tree-view style on the left navigation pane.
Click Recycle bin.
NOTE
Hover over the file and click the eye () icon to view its dependencies. A panel with the list of article(s) where the file is associated will appear.
Restore from recycle bin
Bulk restore
In case of accidental file/folder deletions in the Drive, follow the below steps to restore all the files and folders.
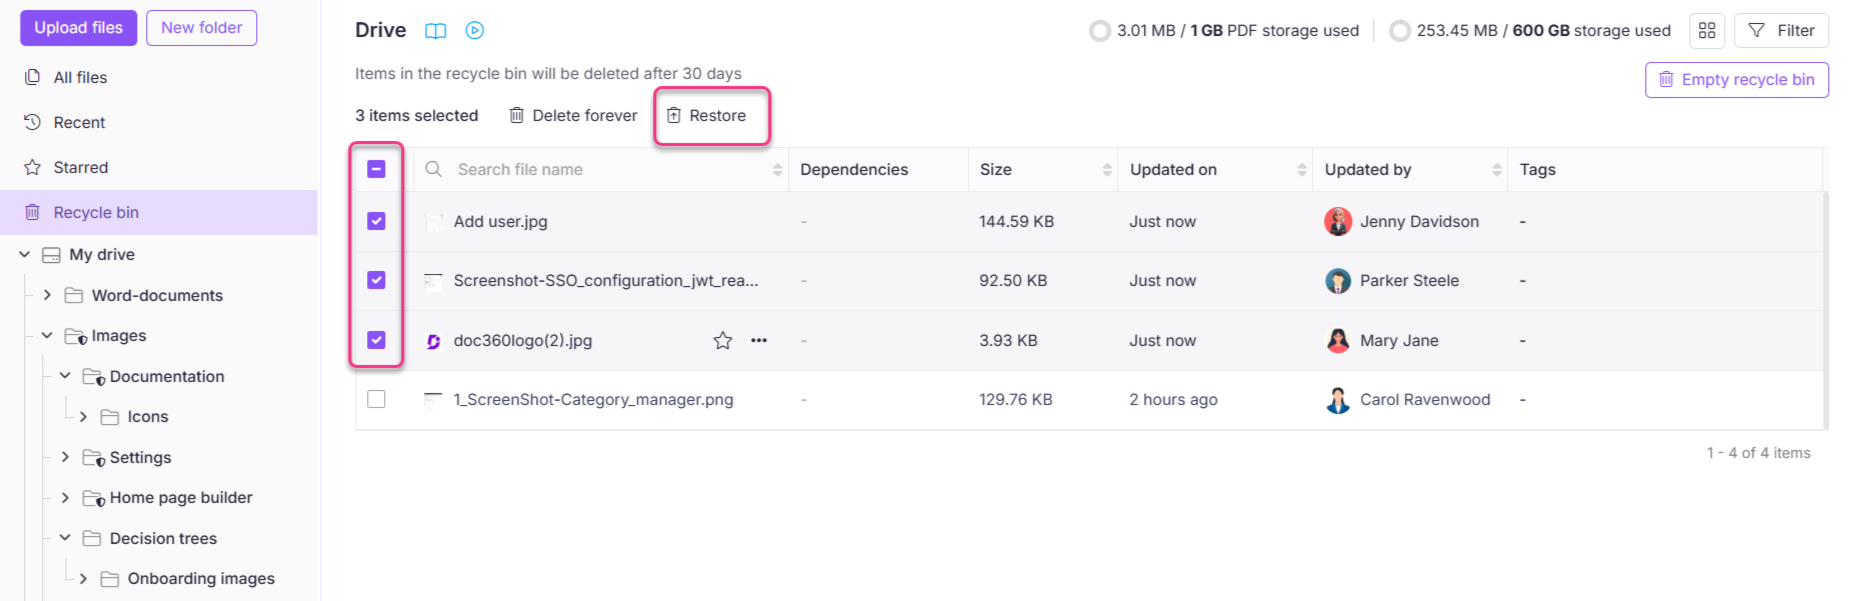
On the Recycle bin panel, select the checkbox of the files/folders you want to restore.
If you wish to select all the items in the Recycle bin, check the Select all checkbox at the top (only the first 20 items will be selected).
To select all the files in your Recycle bin, click Select all {N} items, where N is the total number of files in the Recycle bin.
This option will appear only when at least one file is selected.
Click Restore.
In the pop-up that appears, click Yes to confirm. The selected files/folders will be restored to their original location in the Drive.
Restore individual files or folder
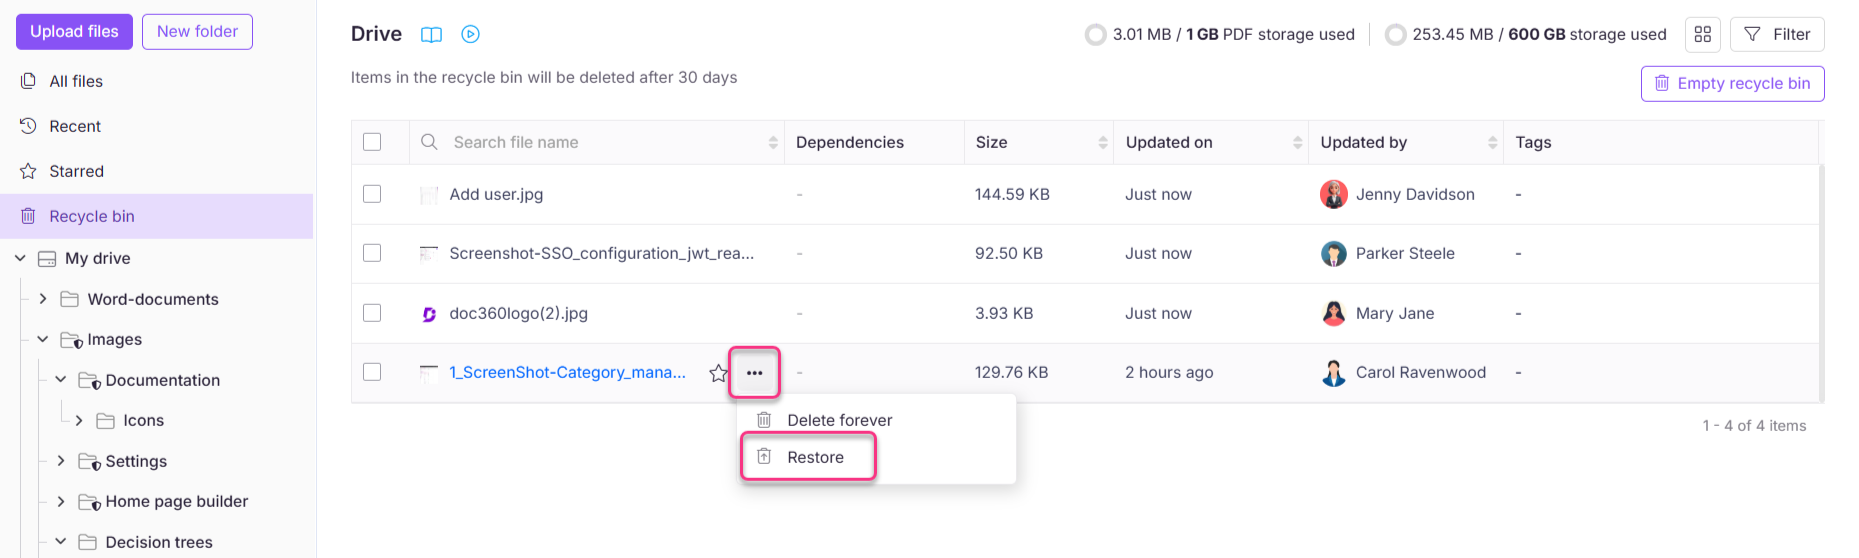
For individual files/folders,
Hover over the desired file/folder and click the More (•••) icon.
Click Restore.
In the pop-up that appears, click Yes to confirm.
Permanently deleting files from the Recycle bin
If you are confident that you do not need the files/folders in the recycle bin,
On the Recycle bin panel, select the checkbox of the desired files/folders.
If you wish to select all the Recycle bin items, check the Select all checkbox at the top (only 20 items will be selected).
To select all files, click Select all {N} items.
Click Delete forever located above the list of files/folders.
In the pop-up that appears, click Yes to confirm.

Alternatively, for individual files/folders, hover over the desired file/folder and click on the More (•••) icon next to the file/folder.
Click Delete forever.
In the pop-up that appears, click Yes to confirm.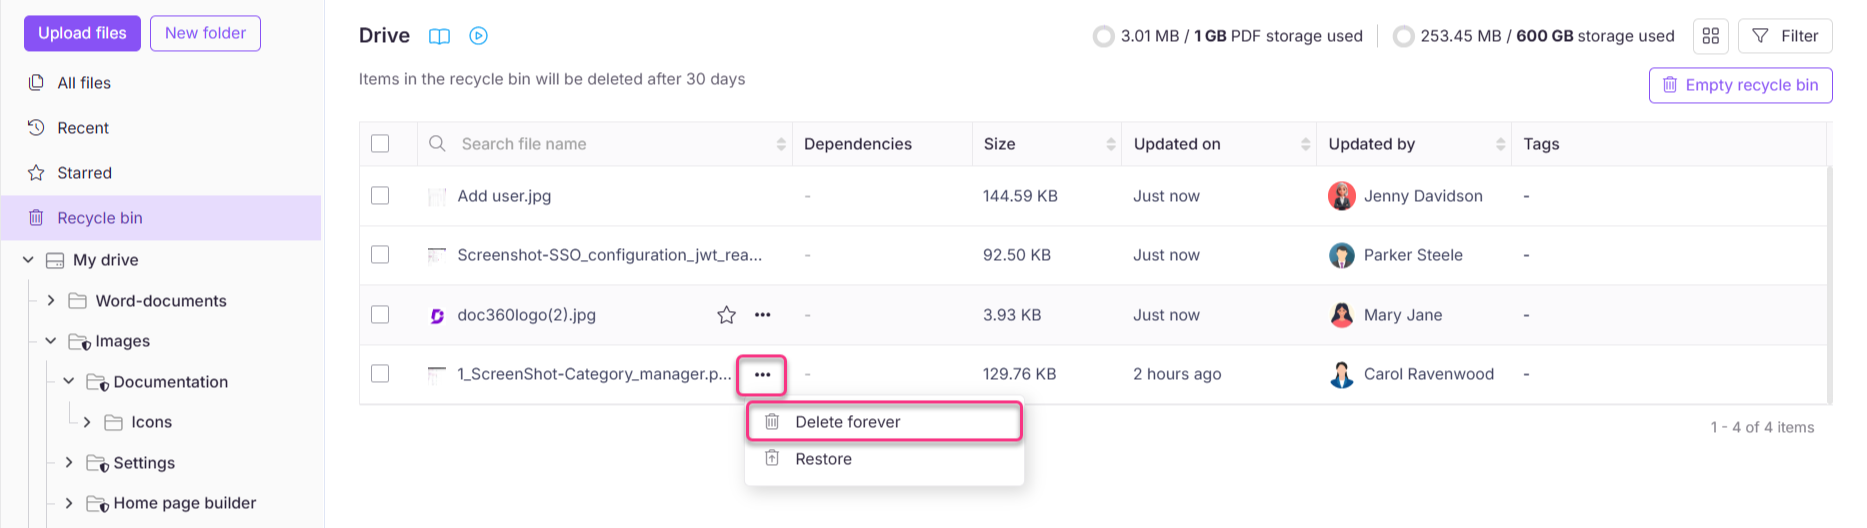
Empty recycle bin
If you want to eliminate all the files/folders in the Recycle bin in one go, click the Empty recycle bin button at the top right. All the files/folders will be permanently deleted from the Recycle bin.

NOTE
The deletion of files/folders from the Recycle bin is an irreversible action. Once the file/folder is removed from the Recycle bin using the Delete forever or the Empty recycle bin option, it cannot be retrieved (unless you have an offline backup of the same file/folder).
Recently uploaded files and folders
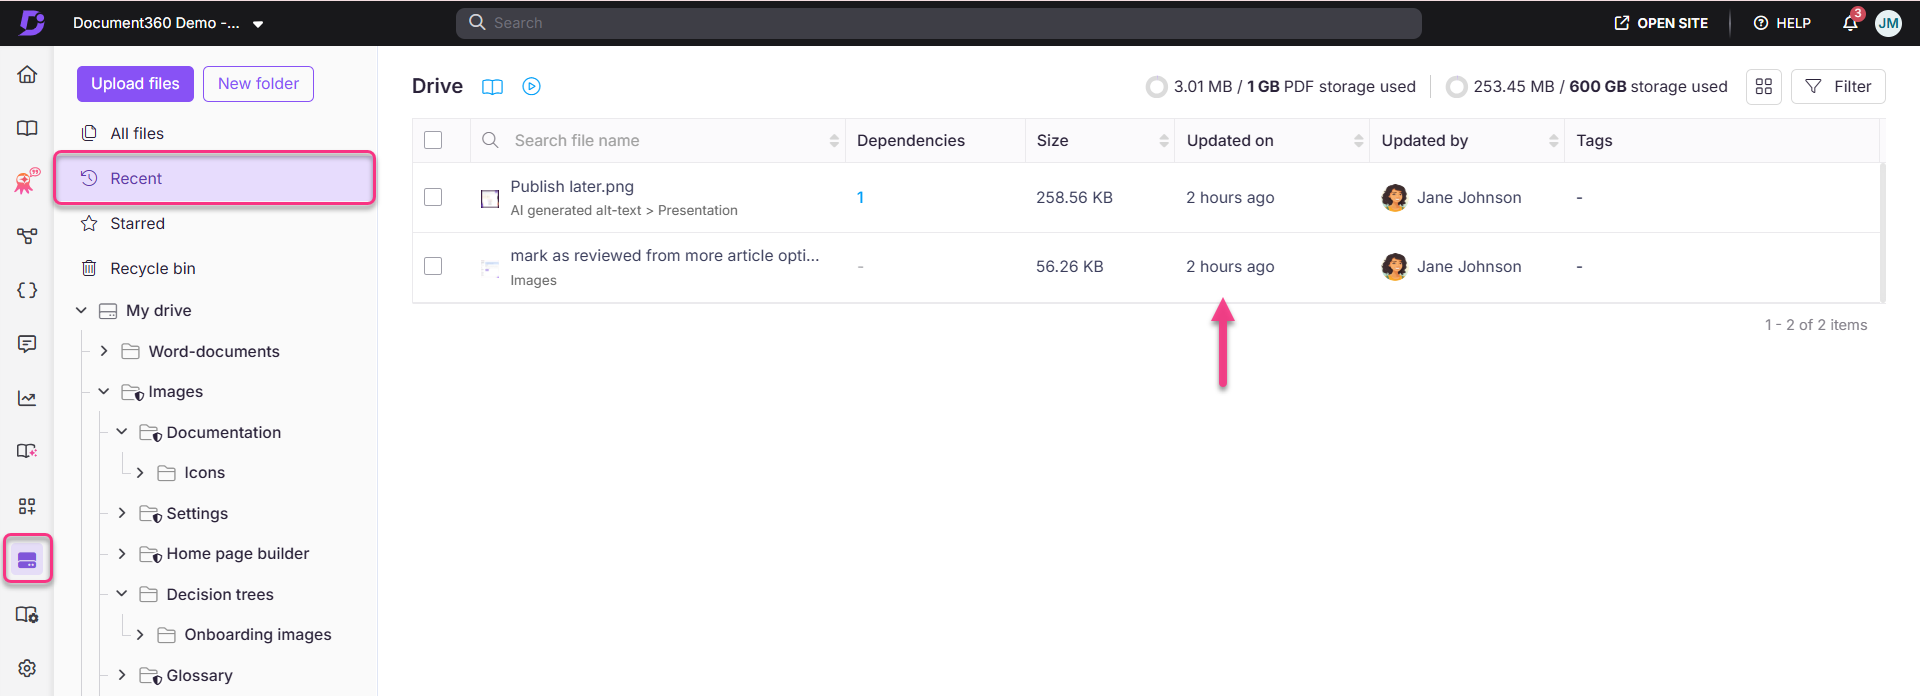
The Recent folder in the Drive panel helps you to access the latest uploaded files/folders. This is a dynamic folder populated with files and folders based on the latest addition or upload. This comes in handy as you do not have to look for the latest files uploaded into any of the folders. To access this folder,
Click the Drive () icon in the left navigation bar.
From the left navigation pane, click on the Recent folder.
You will see the list of files/folders that are uploaded latest based on the time of upload.
Starred folder and files
You can add your main folder or subfolder as a Starred entity. This means the folder marked as starred appears when you click on the Starred option on the left navigation pane, irrespective of the folder’s location in the Drive. Starred files and folders help you quickly access important content by marking them for easy reference.
Click the Drive () icon in the left navigation bar.
On the left navigation pane, click the Starred folder.
All the files/folders that you have starred will be listed here with a star (★) icon next to the folder name.
Click on the star (★) icon again to remove it from the Starred folder.

FAQ
What happens to a file/folder in the Recycle bin if I do not perform any action on it?
The file/folder would be automatically deleted permanently after 30 days.
Can I recover permanently deleted files or folders from the Recycle bin?
No, once files or folders are permanently deleted using the "Delete forever" option, they cannot be recovered. It’s important to be certain before selecting this option. If you need additional backups, consider creating an offline backup before permanently deleting files.