Moving an article relocates it to a different category or workspace. When you move an article, it is removed from its current location and placed in the destination. Unlike cloning, which creates a copy, or replicating, which creates a reference, a move is permanent.
When to move an article
- An article was created in the wrong category and needs to be placed in the correct location.
- You are reorganizing your knowledge base and articles need to reflect the updated category hierarchy.
- An article belongs to a different product, version, or audience and needs to be moved to another workspace.
Move an article
- Navigate to Documentation () in the left navigation bar.
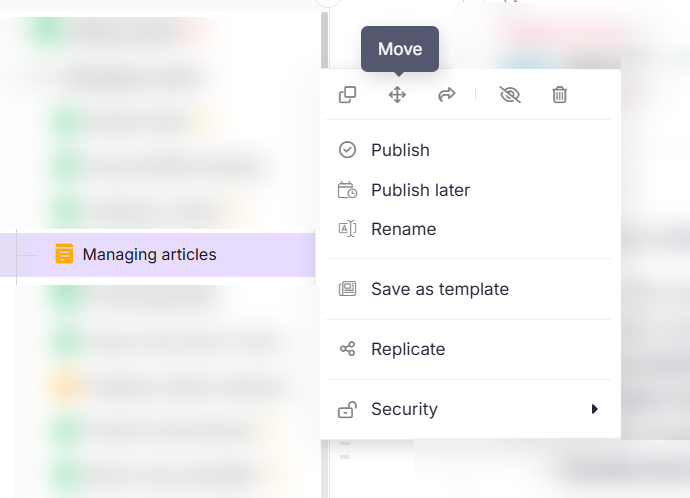
- Hover over the article in the Categories & Articles pane and click the More () icon.
- Select Move ().
- In the Move article panel, configure the following:
| Field | Description |
|---|---|
| Workspace | Select the destination workspace. |
| Category | Select a category in the destination workspace. |
| Auto update referenced links | Enable to automatically update internal links in the article content to reflect the new destination. |
- Click Move.
- Security restrictions from the destination workspace and category are applied to the moved article.
- Auto update referenced links option only appears when you move the category/article to another workspace.
Other ways to move an article
- Drag and drop: Hover over the article in the Categories & Articles pane. When the drag handle () appears, drag it to the new location. Works within the same workspace only.
- From a Folder or Index category (single article): Hover over the article inside the category, click the More () icon, and select Move (). Configure the panel and click Move.
- From a Folder or Index category (multiple articles): Select the checkboxes for the articles you want to move, then click the Move () icon. Configure the panel and click Move.
- From the All articles page: Navigate to Documentation () > All articles (). Select the articles and click Move to (). Configure the panel and click Move.
What happens when you move an article
- The article is removed from its current location and placed in the destination category or workspace.
- Internal links in the article content may break if moved across workspaces. Enable Auto update referenced links to update them automatically.
- Security restrictions from the destination workspace or category are applied to the moved article.
- If the article has replicated versions in other categories, those references remain and continue to point to the article in its new location.
Move vs. clone vs. replicate
| Move | Clone | Replicate | |
|---|---|---|---|
| Original location | Removed | Stays in place | Stays in place |
| Result | Article exists only in the new location | Independent copy in the new location | Same article appears in multiple locations |
| Content sync | N/A | No — changes do not sync | Yes — updates to the source reflect everywhere |
| Use when | Permanently relocating content | You need an independent copy | You want the same content in multiple categories |
Best practices
- Enable Auto update referenced links when moving across workspaces to prevent broken internal links.
- Check for replicated versions before moving. If the article is replicated to other categories, those references will update to the new location automatically.
- Verify security settings at the destination before moving. The article will inherit the access restrictions of the destination workspace or category.
FAQ
Can I move an article to a different workspace?
Yes. Use the Workspace field in the Move panel to select a different destination workspace.
What does Auto update referenced links do?
When enabled, Document360 automatically updates all internal links within the article content to reflect the new destination workspace or category. This prevents broken links after a cross-workspace move. Enable this option whenever moving articles across workspaces.
What happens to replicated versions of an article when I move it?
Replicated versions continue to reference the article at its new location. Moving the source article does not break the replication — the replicated versions automatically reflect the new location.
Are security restrictions applied when moving to another workspace?
Yes. Security restrictions from the destination workspace and category are applied to the moved article.
Can I move articles from one project to another?
The built-in Move feature works within a project only and does not support moving articles across different projects. As a workaround, use the Export feature to save articles from the original project, then import them into the new one. Alternatively, manually copy and paste the content and re-upload any images to the destination project's Drive before inserting them.