You can manage your Knowledge base widgets in Document360 directly from the widget list — all actions (edit, clone, delete) are available by hovering over any widget.
When to use each action
- Edit — Update an existing widget's name, styling, content access, links, or any other configuration.
- Clone — Duplicate a widget to create a new one with the same settings, then modify the copy. Useful for creating test widgets or regional variants.
- Delete — Permanently remove a widget that is no longer needed.
Before you begin
- You must have a Project Owner or Admin role.
- Deleting a widget is permanent and cannot be undone. Ensure the widget is no longer embedded on any live site before deleting.
How to edit a knowledge base widget
- In the left navigation bar, navigate to Connections () > Knowledge base widget.
- Hover over the desired widget and click () Edit.
.png)
- Edit the widget as needed in the Configure & connect tab.
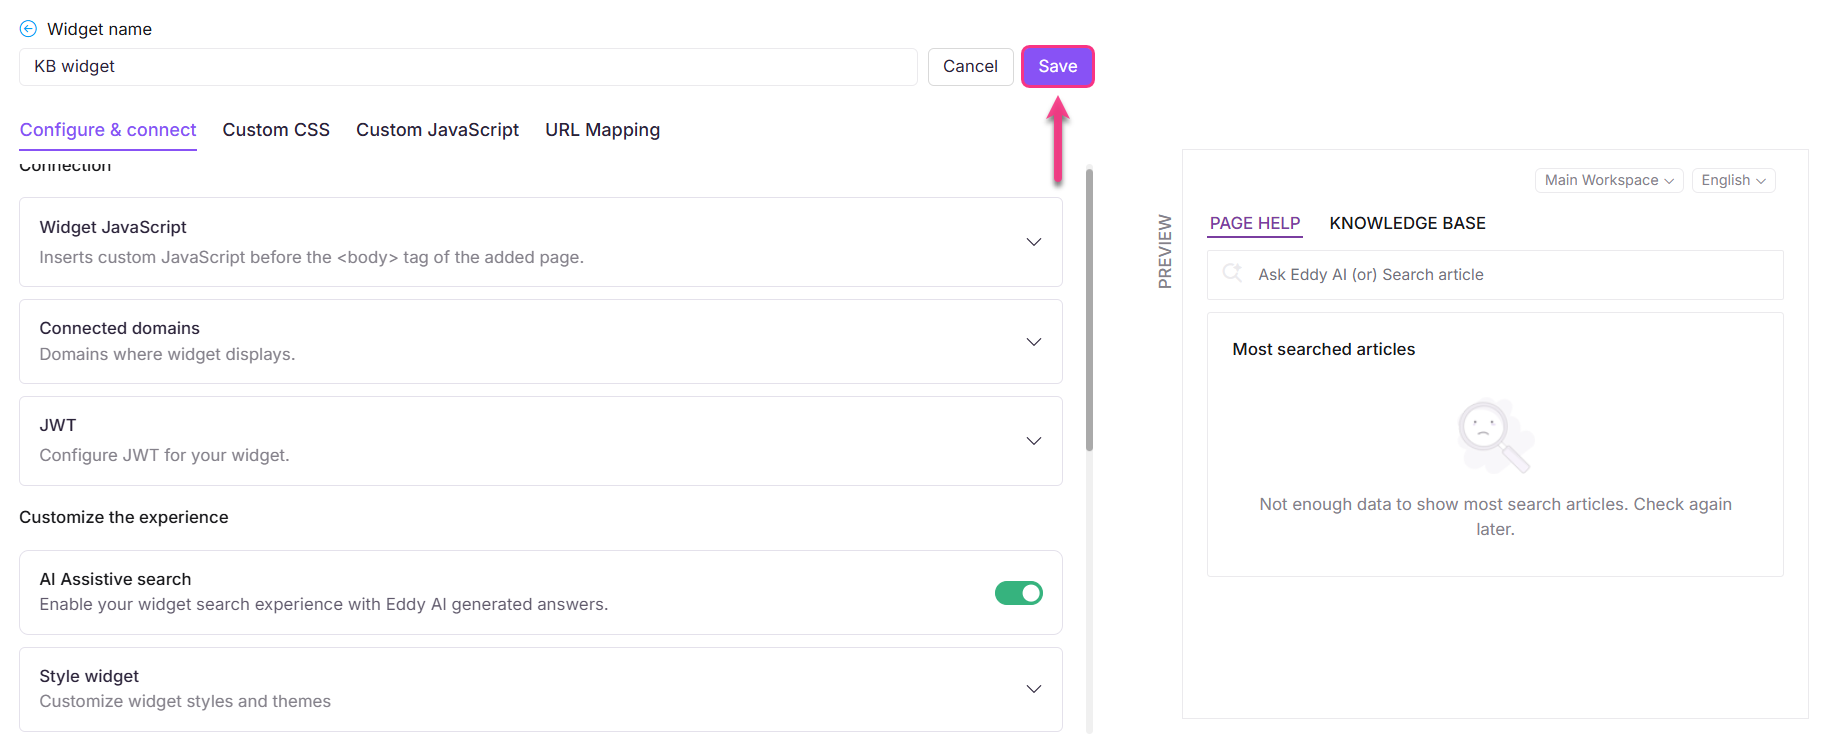
- Click Save to apply your changes.
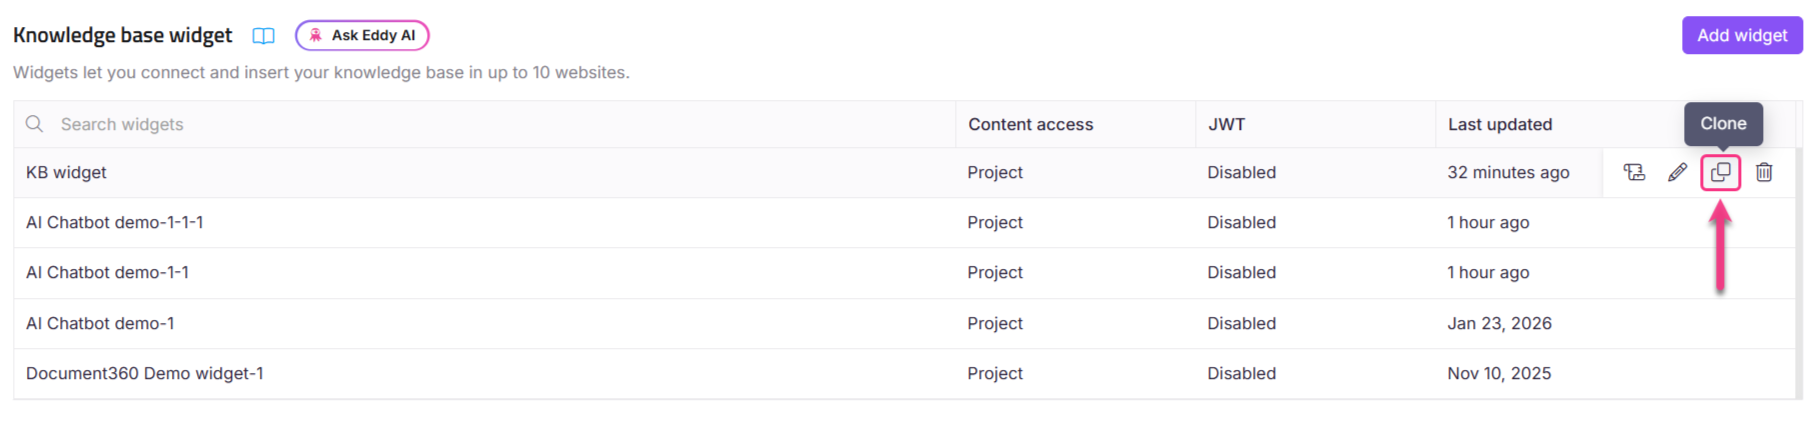
How to clone a knowledge base widget
- Navigate to Connections () in the left navigation bar and select Knowledge base widget.
- Hover over the desired widget and click Clone ().
- Specify a title and update the desired configurations in the Configure & connect tab.
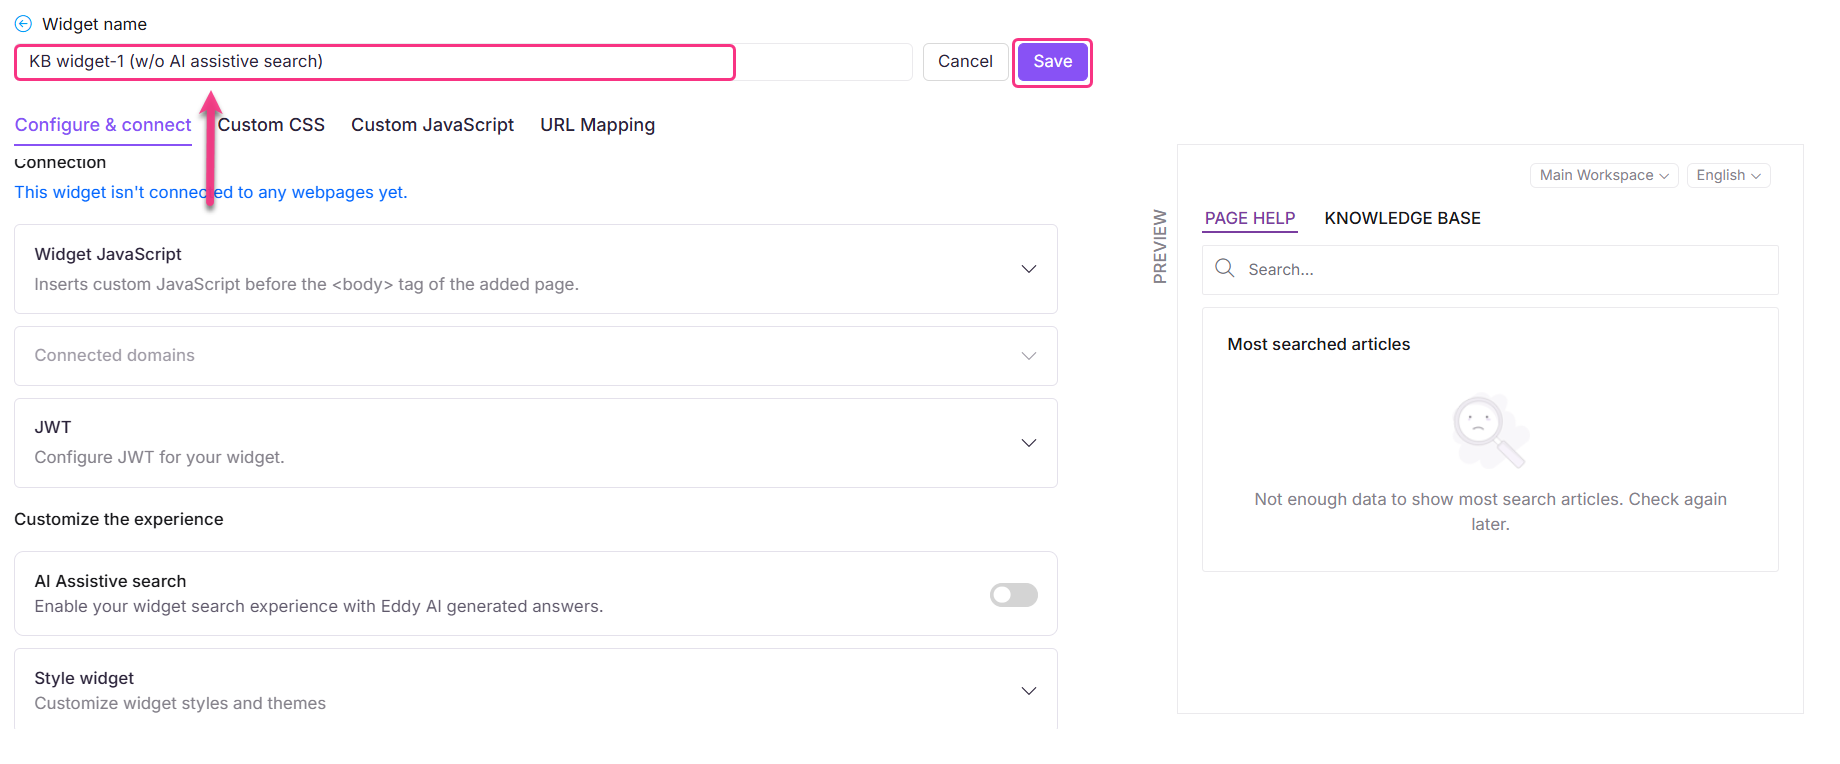
- Click Save to apply the changes.
How to delete a knowledge base widget
- Navigate to Connections () in the left navigation bar and select Knowledge base widget.
- Hover over the desired widget and click Delete ().
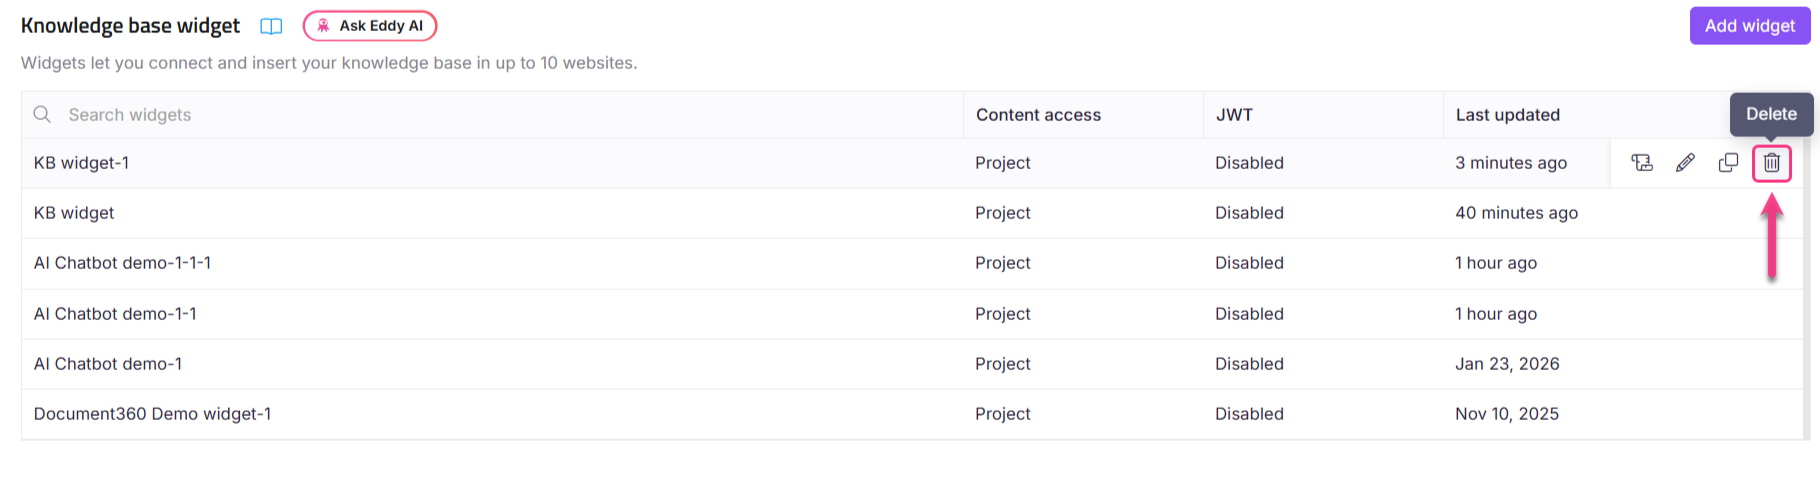
- Click Yes in the confirmation prompt. Click No to undo the process.

Best practices
- Clone before deleting — if there is any chance you might need the configuration again, clone the widget first.
- Remove the widget script from all embedded pages before deleting to avoid broken integrations.