This article covers the management of step by step guides - translating them into other languages, cloning them across workspaces, unpublishing when needed, and exporting for offline use.
When to use each action
| Action | Use when… |
|---|---|
| Translate | Your knowledge base serves readers in multiple languages, and you want the guide available in their workspace language |
| Clone | You need a nearly identical guide for a different product tier, region, or workspace faster than re-recording from scratch |
| Unpublish | A guide covers a feature that has changed significantly, is temporarily unavailable, or was published before it was ready |
| Export to PDF | A reader or internal team needs an offline or printable version of the guide |
Translating Step by step guides
After a Step by step guide is created in the default workspace language, it can be translated into any enabled secondary languages.
There are multiple ways from which the translation can be initiated from:
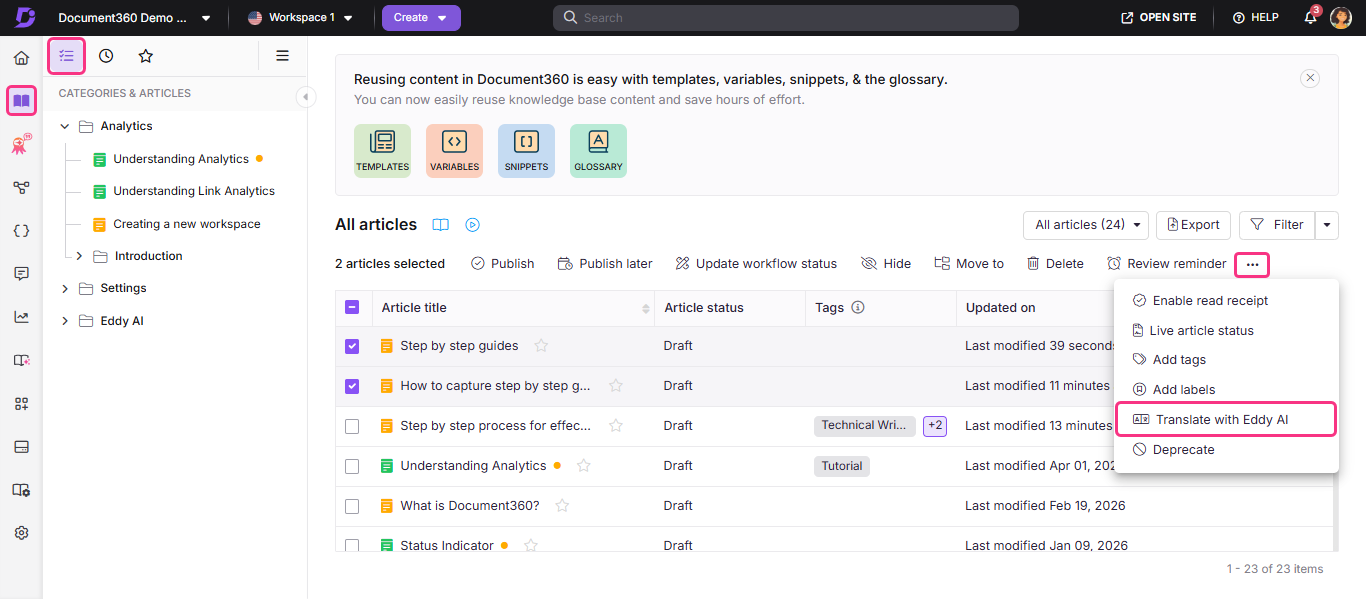
Translating from the All articles page in default language
Use this when you want to translate one or more guides into multiple languages in a single action.
-
Navigate to Documentation () in the Knowledge base portal.
-
Ensure you are in the default workspace language.
-
In the left navigation pane, go to All Articles ().
-
Select the checkboxes next to the guides you want to translate.
-
Click Translate with Eddy AI ().
-
Select the required secondary languages in the translate panel.
-
Check the box to confirm and continue with the translation process.
-
Click Translate.

Translating from the All articles page in secondary language
Use this when a translated guide is marked Needs translation (🌐), meaning the source has been updated and the translation is outdated.
- Navigate to Documentation () in the Knowledge base portal.
- Switch to the required secondary language workspace.
- In All Articles, select the guides marked Needs translation (🌐).
- Click More () > Translate with Eddy AI ().
Translating from within Step by step guide in the secondary language
Use this when you want to translate a specific guide without navigating away from the editor.
- Open the step by step guide you want to translate.
- Click the Translate with Eddy AI () icon at the top.
- Click Translate with Eddy AI to begin the translation process.
A progress indicator will appear until the translation is complete. Once completed, the content will be translated; the formatting will remain consistent across all languages.
Translated versions display a Translated or Needs translation status, helping contributors quickly identify guides that require localization updates.
When steps are added or removed in the default language guide, those changes are reflected in the secondary language versions within the editor in draft state. These updates are not visible on the Knowledge base site until the guide is re-translated and published in the respective language. The total number of steps in a guide remains consistent across all languages, ensuring structural alignment between the source and translated versions.
Translation status
Translated guides display a Translated or Needs translation status so contributors can quickly see what needs attention.
A guide is marked Needs translation (🌐) when:
- A new guide is created
- The source guide is updated
- Steps are added, removed, or reordered in the source language
- Text overlays inside images are changed
- A new workspace language is added
When the source guide is updated, translated versions are automatically marked Needs translation. Contributors choose when to re-translate.
- During re-translation, translation credits are calculated for the entire Step by step guide, not just the modified steps.
- Translation credits are calculated based on step titles, descriptions, and text overlays on step images. Visual elements like highlights, spotlight regions, and blur areas do not consume credits unless they include editable text.
Cloning step by step guides
Cloning a step by step guide creates an exact copy of the original content as a new guide. You can clone step by step guides within the same workspace or across different workspaces.
There are two ways to clone a step by step guide in the Knowledge base portal:
Cloning from the Categories & articles pane
- Navigate to Documentation () in the left navigation bar in the Knowledge base portal.
- Hover over the desired guide in the left navigation pane and click the More () icon and select the Clone () icon.
- In the Clone step by step guide dialog, configure the fields as described in Clone dialog fields below.
- Click Clone.

Cloning from within a specific Folder or Index category
- Navigate to Documentation () in the left navigation bar in the Knowledge base portal.
- Go to the desired Folder/Index category.
- Hover over the desired step by step guide.
- Click the More () icon and select the Clone () icon.
- In the Clone step by step guide dialog, configure the fields as described in Clone dialog fields below.
- Click Clone.
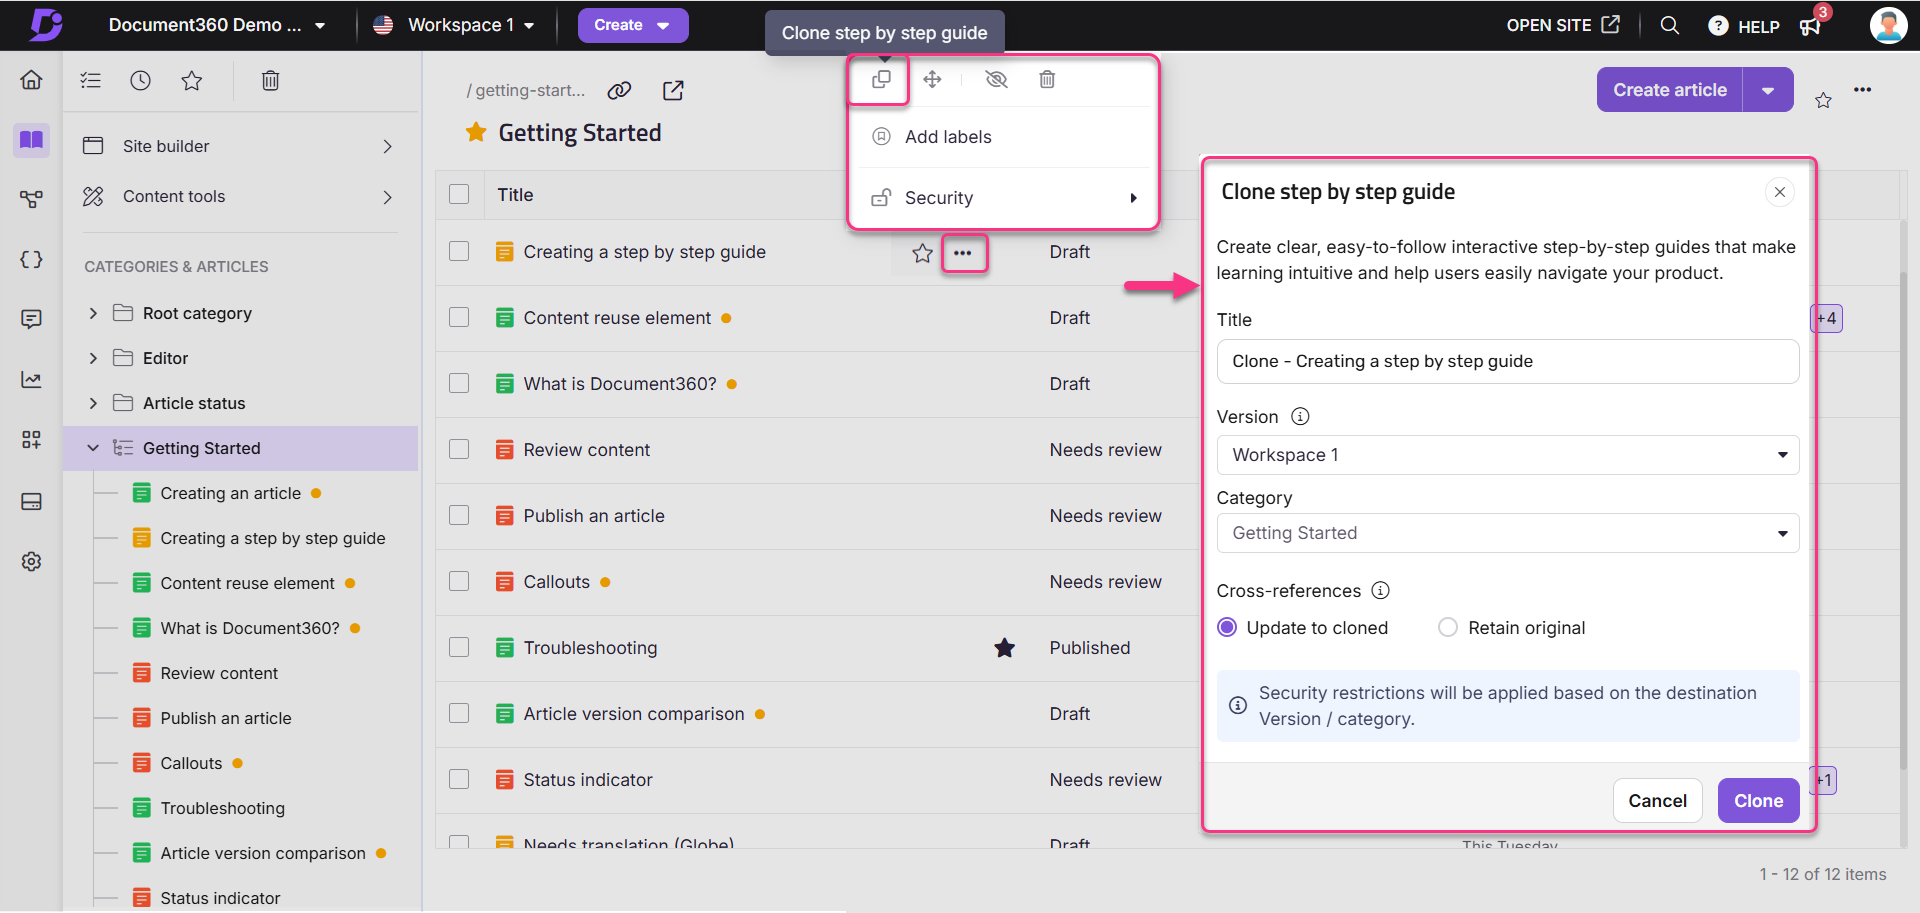
Clone dialog fields
| Field | Description |
|---|---|
| Title | Enter a name for the cloned guide. |
| Workspace | Select the destination workspace. Click Reset to assign it to the main workspace. |
| Category | Select an existing category in the destination workspace. |
| Auto update referenced links | Enable to update links based on the destination workspace/category. |
| Cross-references | Select Update to cloned to point links to the new workspace/category, or Retain original to keep links pointing to the original. |
Unpublishing step by step guide
Similar to unpublishing a regular article, you can also unpublish a step by step guide if it is no longer needed or requires updates.
For example, if a guide was created for a feature that is still in development but was mistakenly published, you can unpublish it until the feature is ready. This ensures only accurate and finalized information appears in your knowledge base.
Only users with Publish permissions can unpublish articles.
You can unpublish a step by step guide using any of the following methods:
| Method | Steps |
|---|---|
| Unpublish from the Categories & articles section | Navigate to Documentation () > Categories & articles > Click More () > select Unpublish (). |
| Unpublish from the Folder/Index category | Navigate to Documentation () > hover over the published step by step guide > Click More () > select Unpublish (). To unpublish multiple guides, select them and click Unpublish () at the top. |
| Unpublish from the All articles () section | Navigate to Documentation () > All Articles () > select one or more published guides > click Unpublish (). |
| Unpublish from the Article editor | Navigate to Documentation () > open the step by step guide > Click More () > select Unpublish (). |
The following steps are the same regardless of the method used.
The Confirm unpublishing panel appears.
- Enter the Reason for unpublishing. This is an optional field.
- Click Unpublish.
- To edit or republish:
- Click Edit to make changes.
- Click Publish to republish without editing.
Once a step by step guide is unpublished:
- Unpublishing a step by step guide changes its status from Published to Draft.
- All associated links will break.
- The guide will be hidden from the Knowledge base site.
- In the Knowledge base portal, the status will show as Unpublished and the step by step guide's status icon will appear in gray ().
Exporting a step by step guide to PDF
You can export any step by step guide as a PDF, useful for sharing offline, attaching to support tickets, or printing for in-person training.
Exporting from the Knowledge base site
- Navigate to the published step by step guide on the Knowledge base site.
- In the article header, click the More () icon.
- Select Export to PDF.
- The PDF downloads automatically. Choose a save location in your file explorer and click Save.
Exporting from the Knowledge base portal
- Navigate to the guide (draft or published) in the Knowledge base portal.
- Click the More () icon near the Share option.
- Select Export to PDF.
A well-formatted PDF version of the guide downloads to your computer.
FAQ
How do I view contributors?
Click the Information icon near the status badge. A panel shows the contributor list, step count, last updated date, and creation details.
How do I perform bulk operations for Step by step guides?
Step by step guides function similarly to articles and are displayed in the All Articles section. Here, you can manage, search, and organize them alongside other articles in your project. In the All Articles section, you can use filters to sort guides by status (e.g., Draft, Published, New), category, tags, or date modified.