Document360 makes it easy to connect third-party apps and services to your knowledge base, with over 25 integration options available. These integrations embed specialized tools directly into your knowledge base site, giving you analytics visibility, live chat, user commenting, and marketing automation without leaving Document360.
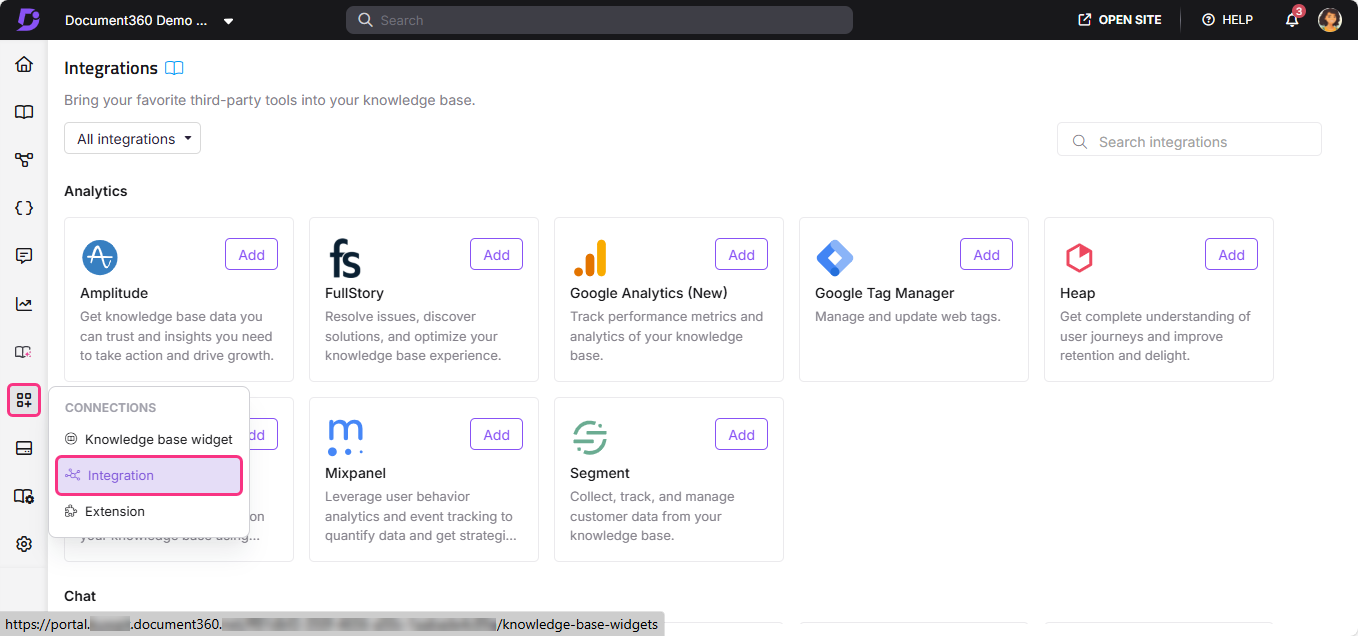
Integrations are managed from Connections () > Integrations () in your Knowledge base portal. Once added, each integration runs on your knowledge base site automatically.
Why use integrations
Integrations extend what your knowledge base can do by connecting it to the tools your team already uses. You can use integrations to:
- Track how readers interact with your content, including page views, session behavior, geolocation, and traffic sources.
- Embed live chat on your knowledge base site so visitors can get help without leaving the page.
- Let readers leave comments and start discussions directly on your articles.
- Run A/B tests, conversion optimization, and funnel analysis on your knowledge base site.
- Add custom scripts or widgets that are not available as native integrations using Custom HTML.
Before you begin
- You must have admin access to your Document360 knowledge base portal.
- You need the App ID or URL for the integration you want to set up. This is available from the third-party app's settings or dashboard. The exact value required varies by integration. Click the Learn more link on any integration tile for specific instructions.
How to add an integration
- In the Document360 portal, navigate to Connections () > Integrations () in the left navigation bar. If you have already set up integrations, the Installed integrations section lists them. You can activate or deactivate each one from here using the toggle.
- Scroll down to browse all available integrations.
- Find the app you want to integrate and click Add.
- In the Add new integration panel, choose either Basic configuration or Custom configuration.
- Enter the required information, such as the Description and App ID.
- Optionally, expand Code inclusion/exclusion conditions to control when the integration script runs. You can apply conditions based on IP address, Workspace, or Language. For example, use this to exclude internal traffic from analytics or limit a chat widget to a specific workspace. See Code inclusion and exclusion conditions for full details.
- Click Add.
The required information (ID or URL) varies depending on the integration. For detailed setup instructions for a specific app, click the Learn more link in the setup panel.
Once added, the integration appears in the Installed integrations list and is active on your knowledge base site.
Integration controls
You can manage all your integrations from the Integrations overview page (Connections () > Integrations ()). The overview shows the following details for each integration:
| Column | What it shows |
|---|---|
| Status | Whether the integration is active or inactive. Toggle it on or off without deleting it. Green indicates active, gray indicates inactive. |
| Type | The name and icon of the integration. |
| Description | The custom description entered when the integration was added. |
| Updated on | The date the integration was last added or updated. |
| Users | The team members who added or last updated the integration. |
Manage integration
You can update integration credentials at any time from the Integrations overview page.
To edit an integration:
- Hover over the integration and click the Edit () icon.
- Update the Status, Description, or App ID/URL as needed.
- Click Update to save the changes.
To delete an integration:
- Hover over the integration and click the Delete () icon.
- Click Delete in the confirmation prompt.
Integrations available
For detailed setup instructions, select an integration from the list below.
Custom
Analytics
Chat
Comments
Marketing automation
Best practices
- Add a clear description when setting up each integration. If you manage multiple integrations of the same type (for example, two analytics tools), a descriptive label in the Description field makes it easy to identify each one at a glance.
- Use the toggle to deactivate integrations temporarily instead of deleting them. If you need to pause an integration, turning it off preserves the configuration so you can re-enable it without re-entering the credentials.
- Use Code inclusion/exclusion conditions to control where scripts run. Most integrations support filtering by IP address, Workspace, and Language. Use IP exclusion to prevent internal traffic from skewing analytics, and workspace/language filters to target specific audiences.
- Periodically review your active integrations. Remove or deactivate integrations that are no longer in use to keep your knowledge base site performant and your Integrations overview clean.
- For analytics scripts, use Custom HTML only if no native integration exists. Native integrations (such as Google Analytics, Mixpanel, and Hotjar) are simpler to configure and manage. Use Custom HTML for tools that do not have a dedicated integration in Document360.
FAQ
What should I do if my integration is not working or the toggle is unresponsive?
First, check that the App ID and URL for the integration are correct. If the toggle is unresponsive, check that you have a stable internet connection. For app-specific errors, click the Learn more link in the setup panel for detailed instructions.
What is the best way to install an analytics script on my knowledge base site?
If a native integration exists for your analytics tool (such as Google Analytics, Mixpanel, or Hotjar), use that. For tools without a dedicated integration, use the Custom HTML option under Integrations to add the script directly. See the Custom HTML article for instructions.
Can I add different Custom HTML to each workspace in my project?
No. Custom HTML is applied at the project level and is reflected across all workspaces. It is not possible to add separate HTML or JavaScript for individual workspaces. If you need workspace-specific behavior (for example, different chatbot scripts per workspace), check with your tool provider to see if they support URL-based configuration.
Can I have more than one integration of the same type active at once?
Yes. You can add multiple integrations, including multiple analytics tools running simultaneously. Each appears as a separate entry in the Installed integrations list and can be toggled on or off independently.
What is the difference between Basic configuration and Custom configuration?
Basic configuration sets up the integration using a standard App ID or URL. Custom configuration lets you add a custom code snippet directly, which is useful when you need to include custom events or advanced tracking parameters beyond what the standard setup supports.