This page describes the Markdown editor, which is available in projects created before the unified editor. If your project was created recently, you write Markdown with the Markdown toggle in the unified editor instead — see Markdown and HTML in the unified editor.
What is the Markdown editor?
The Markdown editor is one of three editor options available in Document360. It uses a shorthand syntax style of writing — called Markdown — to format text, which is then converted to HTML when rendered on the knowledge base site.
Markdown is a lightweight markup language that lets you format content using special characters, without needing to write HTML directly. For example, typing **text** makes text bold, and ## Heading creates a second-level heading.
.png)
The Markdown editor uses a split-screen layout:
- Left panel — Where you type and apply Markdown syntax. Supported syntax such as headings may appear styled directly in this panel as you type, which is expected behaviour.
- Right panel — A live preview that shows exactly how the article will appear on the knowledge base site once published.
You can enable Scroll on to keep both panels scrolling simultaneously as you write. Click Scroll on to toggle this off.
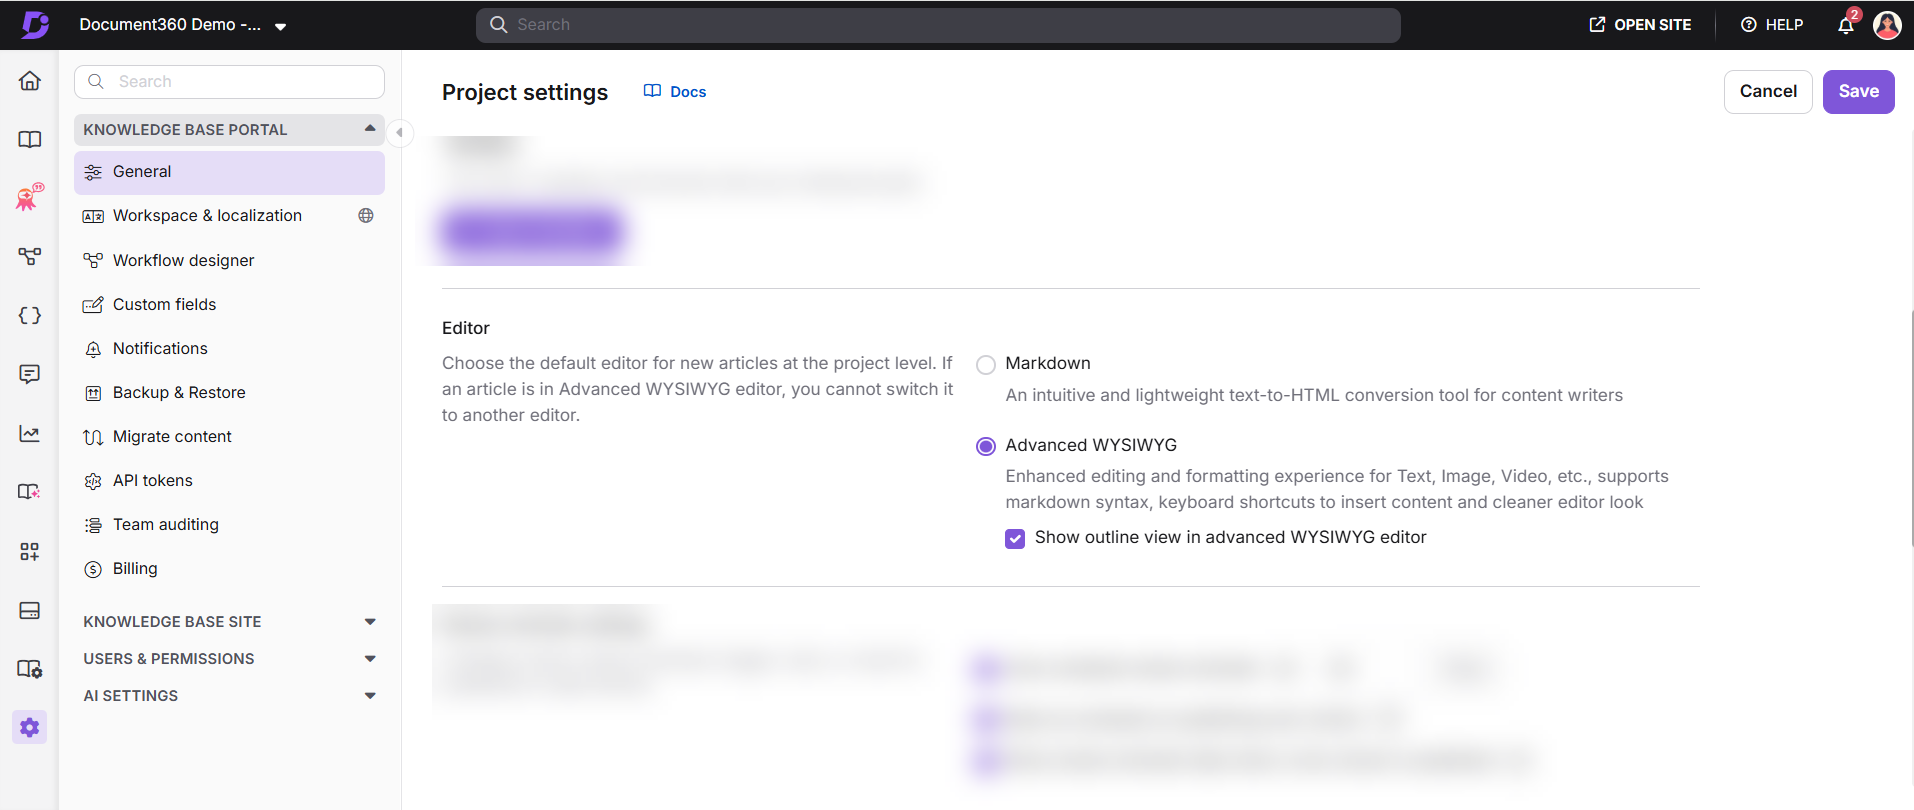
You can choose the Markdown editor in two ways: select it under the Advanced section when creating a new article, or set it as the project-wide default from Settings > Knowledge base portal > General > Set the default editor. The default editor setting only applies to new articles created after the change, and it does not affect the existing articles.
When to use the Markdown editor
The Markdown editor works best when:
- Your articles are primarily text-based with minimal multimedia elements.
- Your team is comfortable with Markdown syntax or HTML and prefers keyboard-first writing.
- You need to use custom HTML tags or inline code that the WYSIWYG editors do not support.
- You are working on code-heavy documentation such as {{ glossary.API}} references or developer guides.
If your articles contain a lot of images, videos, tables, or rich formatting, the Advanced WYSIWYG editor may be a better fit. → Compare editors in Document360
Markdown basics
Markdown uses simple characters to format text. Here is a quick reference of the most commonly used syntax:
| Element | Syntax | Output |
|---|---|---|
| Heading 2 | ## Heading |
Heading (large) |
| Heading 3 | ### Heading |
Heading (medium) |
| Heading 4 | #### Heading |
Heading (small) |
| Bold | **text** |
text |
| Italic | *text* or _text_ |
text |
| Strikethrough | ~~text~~ |
|
| Bullet list | * item or - item |
• item |
| Numbered list | 1. item |
1. item |
| Link | [text](URL) |
Clickable link |
| Blockquote | > text |
Indented quote block |
| Horizontal line | *** |
A divider line |
| Inline code | `code` |
code |
- Always include a space between the
#symbols and the heading text. For example:## Headingnot##Heading. - Do not include spaces between the syntax and the text for bold and italic. For example:
**bold**not** bold **. - H1 is reserved for article titles in Document360 and cannot be used in the editor body. Use H2, H3, and H4 for section headings.
For the full Markdown syntax reference, see → Basic Markdown syntax
The Markdown toolbar
The Markdown toolbar provides quick access to formatting options without typing syntax manually. Key toolbar options include:
| Section | Options |
|---|---|
| Headings | H2, H3, H4 |
| Text formatting | Bold, Italic, Strikethrough, Blockquote, Horizontal line |
| Lists | Unordered list, Ordered list |
| Insert | Table, Image, File, Link |
| Callouts | Info, Warning, Error |
| Private notes | Internal comment visible only to team members |
| LaTeX | Insert mathematical expressions and equations |
| Find and replace | Search and update text across the article |
| Content reuse | Variables and Snippets |
| Code block | Insert a formatted code block |
| Video | Embed from YouTube, Wistia, or Vimeo |
On smaller screens, toolbar options that do not fit are accessible from the More menu in the toolbar.
Converting a Markdown article to the Advanced WYSIWYG editor
If you want to move a Markdown article to the Advanced WYSIWYG editor — to access richer content blocks, Eddy AI, and more formatting options — you can convert it at the article level.
- Open the article in the Markdown editor.
- Click the More (•••) icon at the top right of the editor.
- Select More article options. The Article settings panel will appear.
- Navigate to the Editor tab.
- Select Advanced WYSIWYG editor.
- Select the Are you sure you want to continue? checkbox to confirm.
- Click Save.
The article will be converted to the Advanced WYSIWYG editor and will open immediately in the new editor.
This action is irreversible. Once a Markdown article is converted to the Advanced WYSIWYG editor, it cannot be reverted back to Markdown. Ensure you are confident in the switch before proceeding.
What to expect after conversion
- All text content, headings, lists, and basic formatting are carried over.
- Some Markdown-specific syntax unsupported in the Advanced WYSIWYG editor — such as Markdown tables — will need to be reviewed and rebuilt using the editor's built-in tools after conversion.
- You can set the Advanced WYSIWYG editor as the default for all new articles from Settings > Knowledge base portal > General > Editor. This does not affect existing Markdown articles.
Best practices
- Use the toolbar if you are new to Markdown — it inserts syntax automatically, so you do not need to memorize commands.
- Write syntax carefully — small errors such as a missing space or an extra character will prevent the formatting from rendering correctly.
- Use the live preview panel frequently to check how the content will look before publishing, especially for complex elements like tables and code blocks.
- Avoid mixing Markdown and HTML unnecessarily — while HTML is supported, overusing it can cause inconsistencies in rendering.
- Consider converting to the Advanced WYSIWYG editor if your article is growing in complexity and requires content blocks such as tabs, accordions, callouts, or interactive elements.
FAQ
Can I revert a Markdown article back to the Markdown editor after converting it to Advanced WYSIWYG?
No. Once a Markdown article is converted to the Advanced WYSIWYG editor, it cannot be reverted. This applies at the article level. Future articles can still be created in Markdown if Markdown is set as the project default.