The footer is the bottom bar that appears on every page of your knowledge base site. Document360's basic footer gives you a ready-made layout where you can add up to six navigation links on the left and social media icons on the right - no code required. It's the quickest way to add essential links and social presence to your knowledge base without any custom styling or HTML.
If you need a fully custom footer layout with your own HTML and CSS, use the Custom footer instead.
When to use the basic footer
- Adding essential links - use the basic footer to surface links to resources readers may need but don't always look for in the header, such as a Contact Us page, Terms & Conditions, Privacy Policy, or a free trial sign-up.
- Social media presence - add icons for your Facebook, Twitter, LinkedIn, and YouTube channels to drive engagement from readers who are already finding value in your documentation.
- Keeping things simple - if you don't need a heavily designed footer, the basic footer gives you a clean, functional result without any code.
How to configure the basic footer
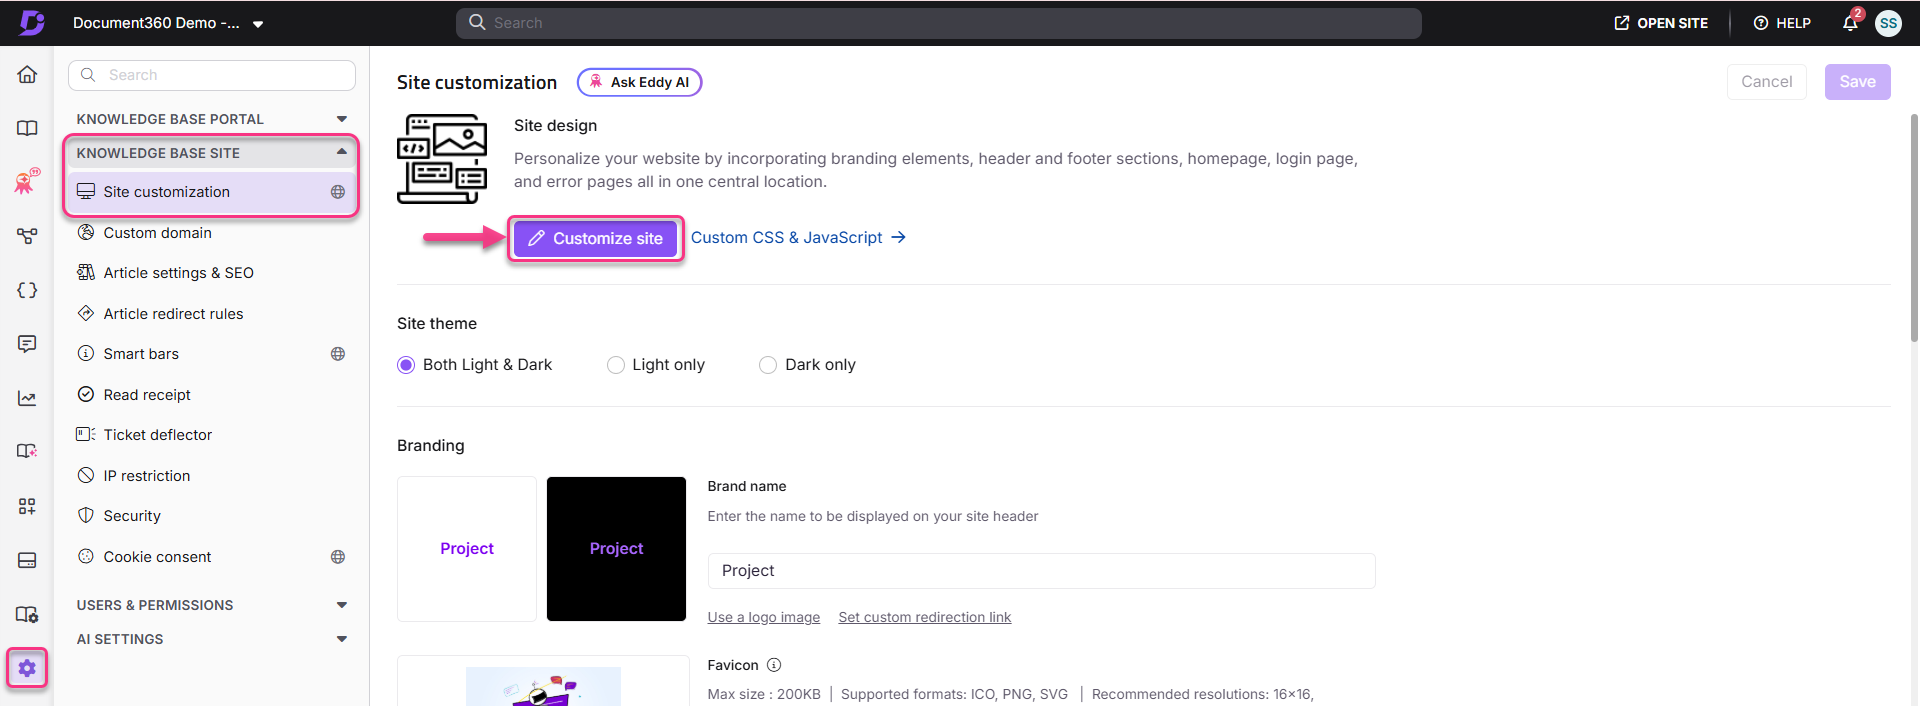
- Navigate to Settings () > Knowledge base site in the left navigation bar of the Knowledge base portal.
- In the left navigation pane, navigate to Site customization.
- Click the Customize site button.
- From the left dropdown, select Site header & footer.
- Click the Footer option. Two design options appear: Basic footer and Custom footer.
- Select Basic footer.

Adding navigation links
- Click Add new link. The Add new link panel appears.
- Enter a Title for the link.
- Enter the URL for the link.
- Select Open link in new tab if needed.
- Click Add.
- Hover over any link to access Edit (), Delete (), and Reorder () options.
You can add up to 6 navigation links to the basic footer. Custom navigation links appear on the left side of the footer bar.
Adding social media links
In the Social links section, enter the URLs for your social media profiles:
- YouTube
Social media icons appear on the right side of the footer bar. Leave any field blank to omit that icon from the footer.
How to save and publish
- Use the Preview toggle on the right to review your changes.
- Click Save to save your changes.
- Click Publish to make changes live.
Best practices
- Link to legal and support pages - the footer is the conventional location for Terms & Conditions, Privacy Policy, and Contact Us links. Readers expect to find them there.
- Use the footer for secondary navigation only - the footer is a fallback for readers who scroll to the bottom. Keep primary destinations in the header, and use the footer for supplementary links.
- Add social links if your brand is active on those channels - a social icon linking to an inactive or sparse account can give readers a poor impression. Only add channels you actively maintain.
- Switch to Custom footer if you need more control - if you need a multi-column layout, a logo, copyright text, or anything beyond links and social icons, use the Custom footer instead.
FAQ
Can I preview changes to the footer before publishing?
Yes. Click Preview on the right side of the Customize site builder to see how your footer changes will appear on the knowledge base site before saving or publishing.
Can I add social media links to the basic footer?
Yes. In the Social links section of the Basic footer settings, you can add URLs for Facebook, Twitter, LinkedIn, and YouTube. The icons appear on the right side of the footer bar.
How do I remove the footer from the knowledge base site?
Navigate to {{variable.Settings}} () > {{variable.Knowledge base site}} > Site customization and click Customize site. Select Site header & footer from the dropdown, click the Footer option, and choose Custom footer > Blank. Without adding any HTML or CSS, click Save and Publish.