Adding images to your articles helps readers follow instructions more easily and understand complex steps at a glance.
Inserting an image
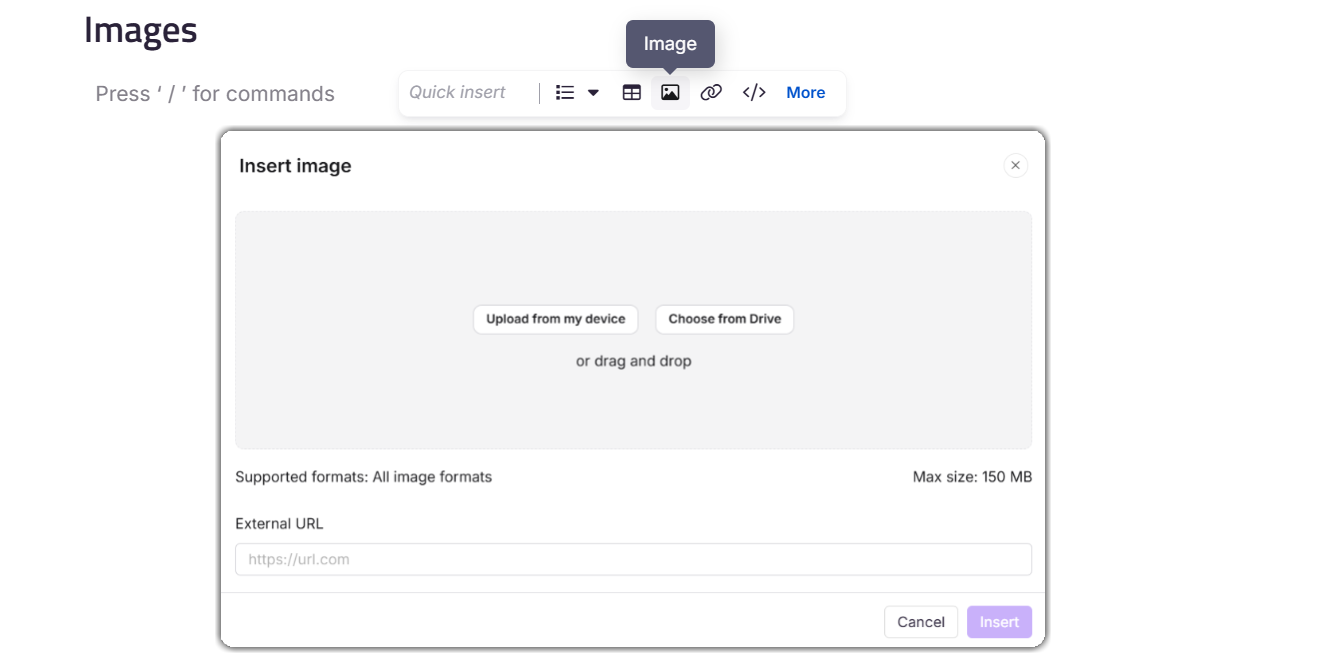
To insert an image, click the Image icon in the Quick insert menu — this menu appears automatically when a block is empty. In the panel that opens, choose to upload from your device, select from Document360 Drive, or paste an external URL, then click Insert.
You can also type /image and press Enter to open the same panel, or simply drag and drop an image directly from your device into the editor. Images inserted via drag and drop are automatically saved to your Document360 Drive.
We recommend uploading images to Document360 Drive rather than using external URLs. If an externally linked image is deleted or renamed at the source, it will appear broken in your knowledge base.
Formatting an image
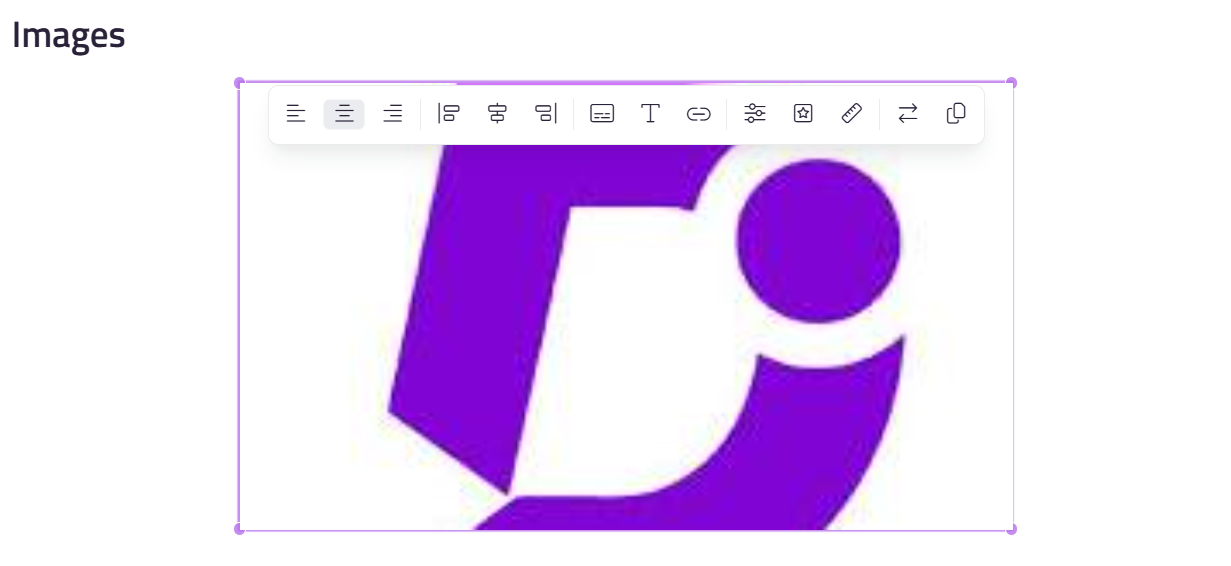
Once an image is inserted, click on it to reveal a floating menu with the following options.
Alignment and layout
| Option | Description |
|---|---|
| Align left | Aligns the image to the left side of the content. |
| Center | Centers the image within the content. |
| Align right | Aligns the image to the right side of the content. |
| Inline left | Aligns the image to the left with text wrapping around it on the right. |
| Inline block | Keeps the image within the text flow without disrupting the layout. |
| Inline right | Aligns the image to the right with text wrapping around it on the left. |
Image options
| Option | Description |
|---|---|
| Image caption | Adds a caption below the image for additional context or description. |
| Alt text | Adds alternative text that appears if the image fails to load. Enter the text and click the save icon to apply. |
| Hyperlink | Adds a hyperlink to the image. Paste the URL, optionally select Open in a new tab, then click Insert. Once linked, three options appear: Open link, Edit link, and Unlink. |
| Style | Applies a visual style: Rounded (blunt corners), Bordered (light gray border), or Shadow (drop shadow). |
| Resize | Customizes the width and height of the image. |
| Replace | Replaces the current image with another using any of the available insert methods. |
| Copy | Copies the selected image for use elsewhere in the article. |
Advanced editing
For deeper edits, click the image and select the Edit icon to open the advanced image editor.

Top menu
| Option | Description |
|---|---|
| Zoom in / Zoom out | Adjusts the view size of the image while editing. |
| Hand | Moves the image around within the editing view. |
| History | Views the edit history of the image. |
| Undo | Reverts the most recent action. |
| Redo | Reapplies the previously undone action. |
| Reset | Returns the image to its original state, removing all edits. |
| Delete | Removes a selected edited element such as a shape or circle. |
| Delete all | Removes all edited elements from the image at once. |
Bottom menu
| Option | Description |
|---|---|
| Resize | Adjusts the width and height of the image. You can lock the aspect ratio to maintain proportions. Click Apply when done. |
| Crop | Crops the image using preset options such as Custom or Square. Click Apply when done. |
| Flip | Flips the image horizontally or vertically. Use Reset to revert to the original. |
| Rotate | Rotates the image between 0° and 360° using a custom range. |
| Draw | Adds lines or shapes. Options include Free draw, Straight lines, Color selection, and a Range slider to adjust line thickness. |
| Shape | Inserts shapes such as rectangles, circles, or triangles. Set a Fill color and Stroke (outline) color, and adjust stroke thickness. |
| Icon | Adds icons such as arrows, location markers, or polygons. Upload a custom icon from local storage and adjust its color. |
| Text | Adds text to the image with formatting options: bold, italic, underline, alignment, color, and size. |
| Filter | Adjusts image parameters such as grayscale, blur, brightness, sepia, and contrast. Click Save when done. |
Troubleshooting: broken images
A broken image appears as a missing image icon with its alt text in place of the image. This usually happens when the image file has been deleted, moved, renamed, or the URL is no longer accessible.
To resolve a broken image:
- Open the article in the knowledge base portal and retrieve the image URL from Code view, or inspect the element on the knowledge base site.
- Open the image URL directly in a browser.
- If the page returns a 404 error, the image has been deleted, moved, or renamed.
- Confirm the image still exists at the same path and with the same filename.
- To prevent this in future, upload images directly to Document360 Drive instead of referencing external URLs.
FAQ
What is the recommended way to insert images?
Upload images to Document360 Drive and insert them from there. This keeps your assets organized and prevents broken images if an external source is deleted or renamed.
Can I add a caption to my image?
Yes. Click the image and select the Image caption option from the floating menu. The caption appears below the image.
Can I hyperlink an image?
Yes. Click the image, select the Hyperlink option, paste the URL, and choose whether to open it in a new tab. Once linked, you can open, edit, or remove the link from the same menu.
Will images pasted from an external source be stored in Document360?
Images inserted via copy-paste or drag and drop are saved automatically to Document360 Drive. However, if you insert an image using an external URL and that source is later deleted, the image will break in your knowledge base.
How do I add alt text to an image?
Click the image, select Alt text from the floating menu, enter your description, and click the save icon. Alt text improves accessibility for visually impaired readers and contributes to SEO.