The Unauthorized page appears when a reader who is not authenticated tries to access a restricted URL in your knowledge base. For example, when they are not logged in or their session has expired. Unlike the Access denied page, which applies to readers who are logged in but lack the right permissions, the Unauthorized page is specifically for unauthenticated access attempts.
Customizing this page lets you explain the situation clearly and point readers to the right next step, whether that's logging in or requesting access.
Once you configure a custom Unauthorized page, it cannot be reverted to the default version. It is recommended to create a custom page to enhance the reader experience.
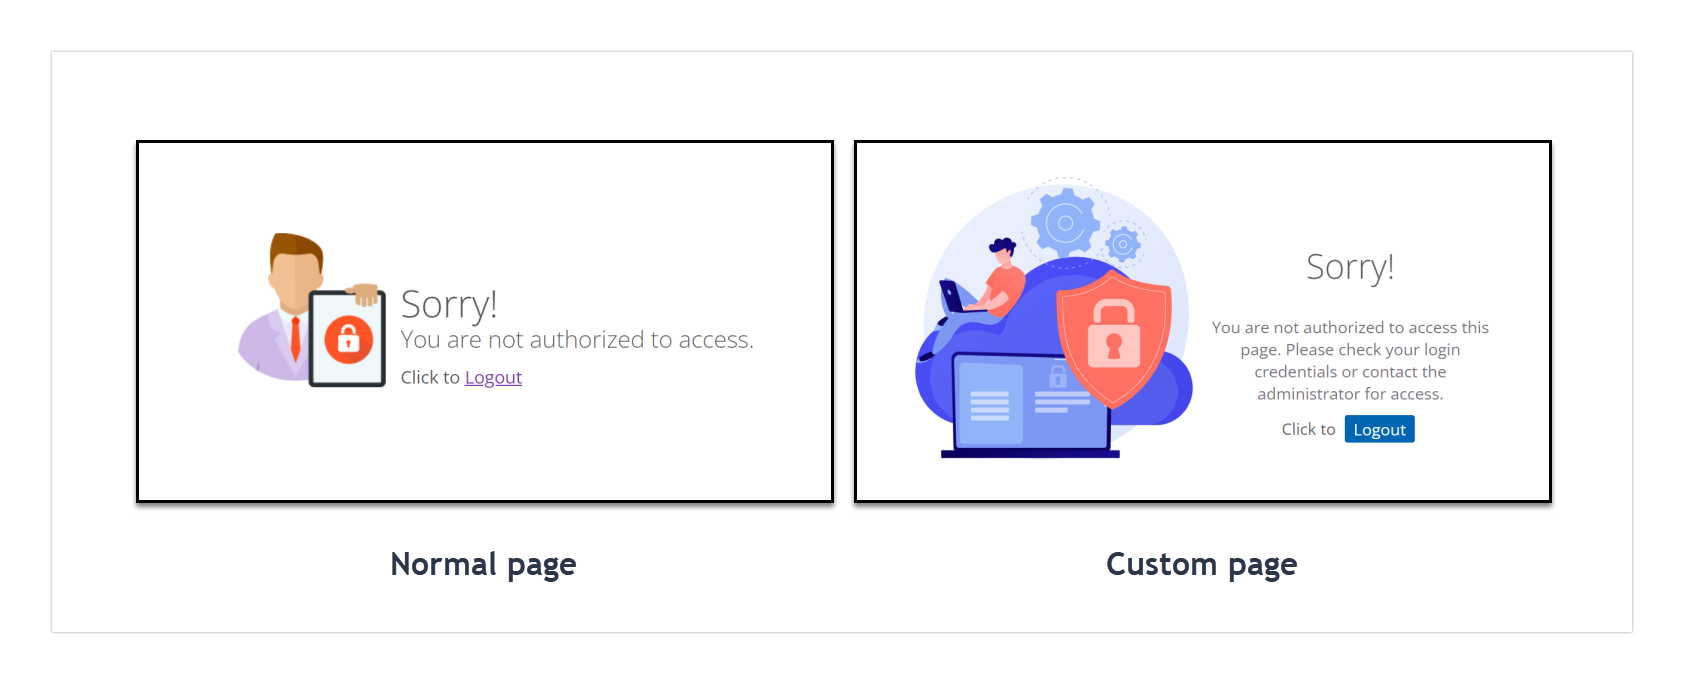
When to customize the Unauthorized page
Customize the Unauthorized page when you want readers who hit an authentication boundary to receive a clear, branded message instead of a generic browser error. Common situations where this matters:
- Your knowledge base uses Private or Mixed access — readers who are not logged in, or whose session has expired, will encounter this page when they try to access a restricted URL.
- You want to give readers a specific action to take, such as a login link or instructions for requesting access, so they know exactly what to do next rather than reaching a dead end.
- Your knowledge base is customer-facing and you want the error page to reflect your brand — same colors, tone, and navigation options as the rest of the site.
- The default Unauthorized message does not match your organization's tone and needs to be updated to communicate the situation more clearly and reassuringly.
Customize the Unauthorized page
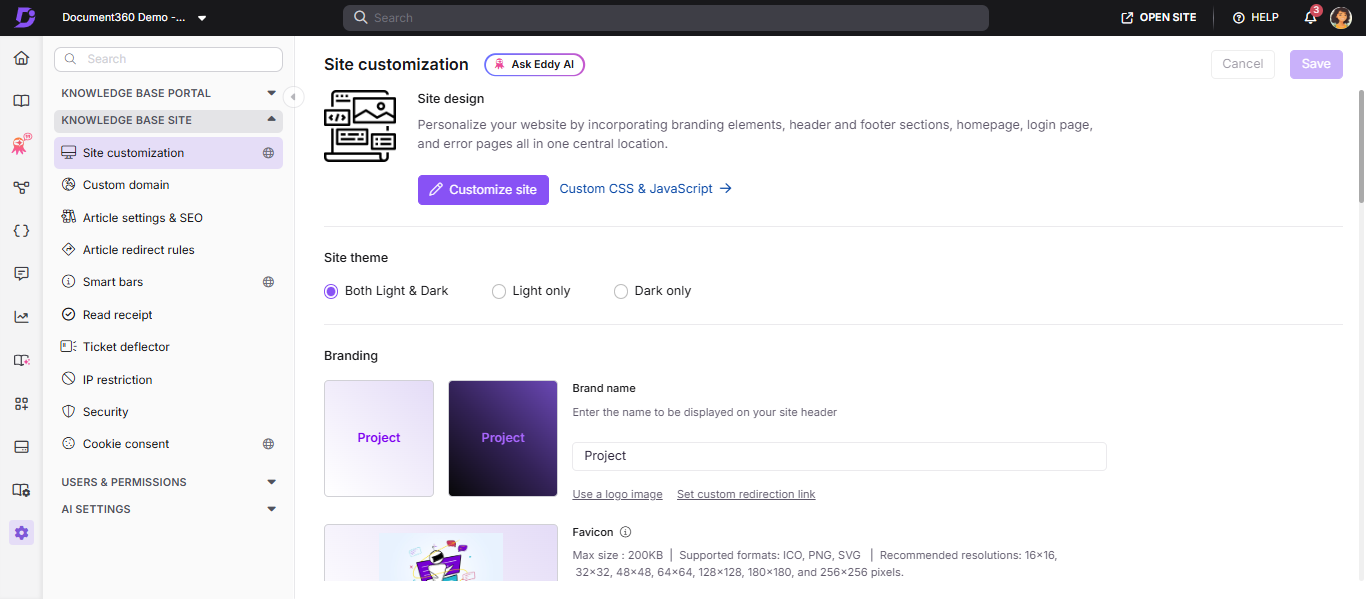
- Navigate to Settings () > Knowledge base site in the left navigation bar of the Knowledge base portal.
- In the left navigation pane, navigate to Site customization.
- Click the Customize site button.
- From the left dropdown menu, select Unauthorized page.
- Customize the page using one of two options:
- Basic style - Customize the default image, heading, and paragraph.
- Custom style - Add your own HTML and CSS. Use the Preview toggle to switch between code view and rendered view.
- Click Save to save without applying immediately, Preview to review, and Publish to make changes live.
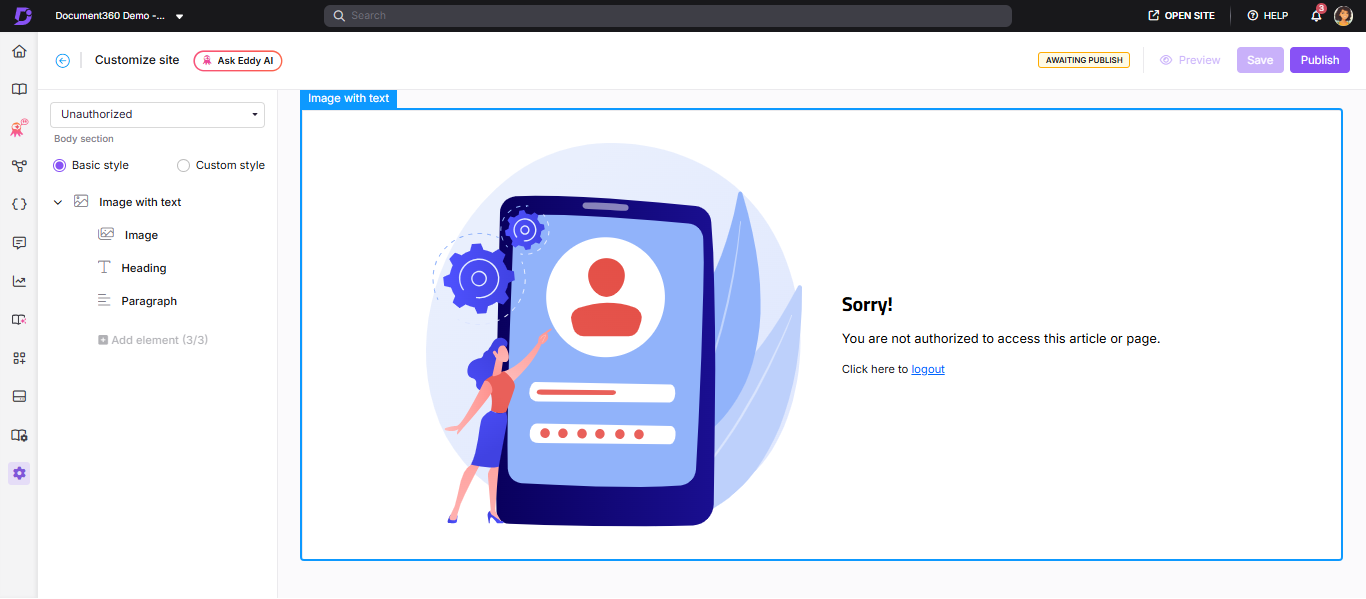
Basic style
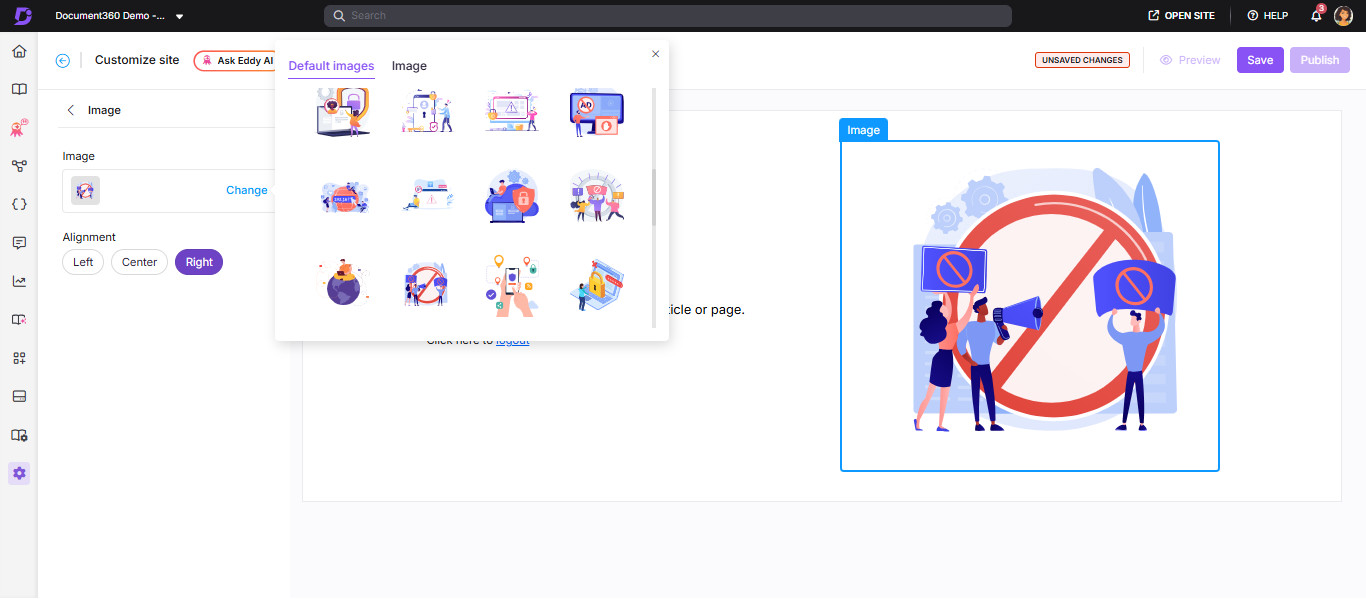
Adding an image
- Click Image. The Image panel appears.
- Click Change and choose between:
- Default images - Select from available default images and click Save.
- Image - Enter an image URL or upload from your Drive and click Save.
- Set the image alignment (left, center, or right) as needed.
Updating the heading
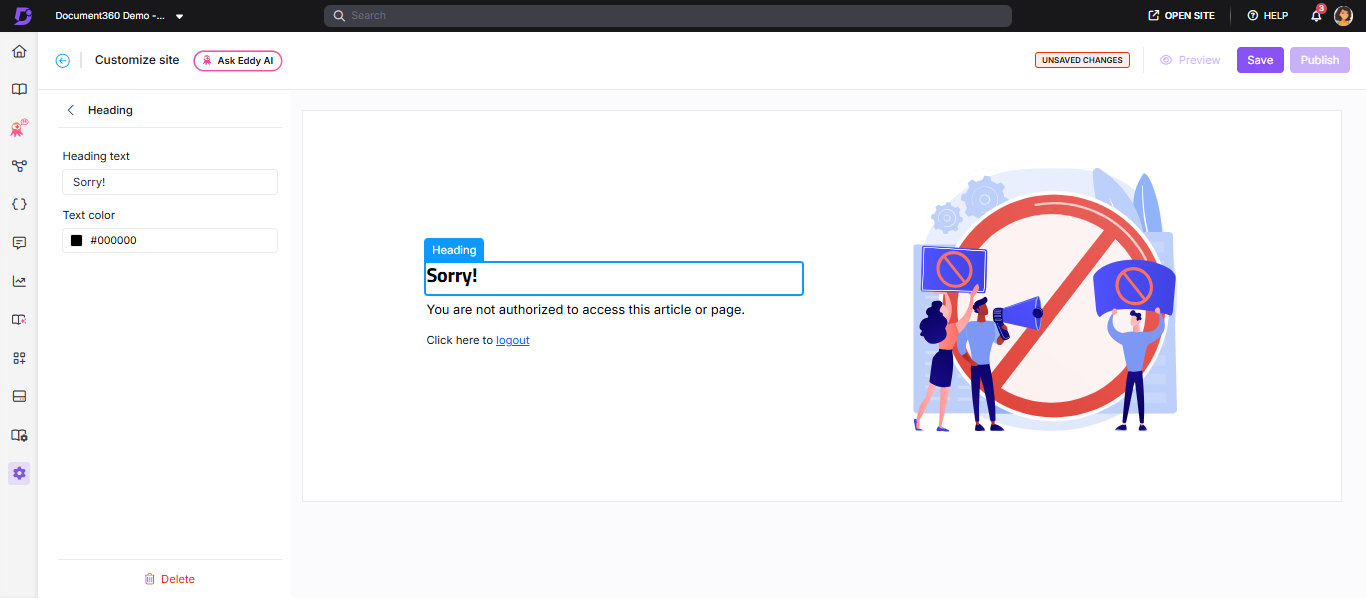
- Click Heading. The Heading panel appears.
- Enter the desired heading text.
- Select a color from the text color palette.
The default heading will be "Sorry!"
Updating the paragraph
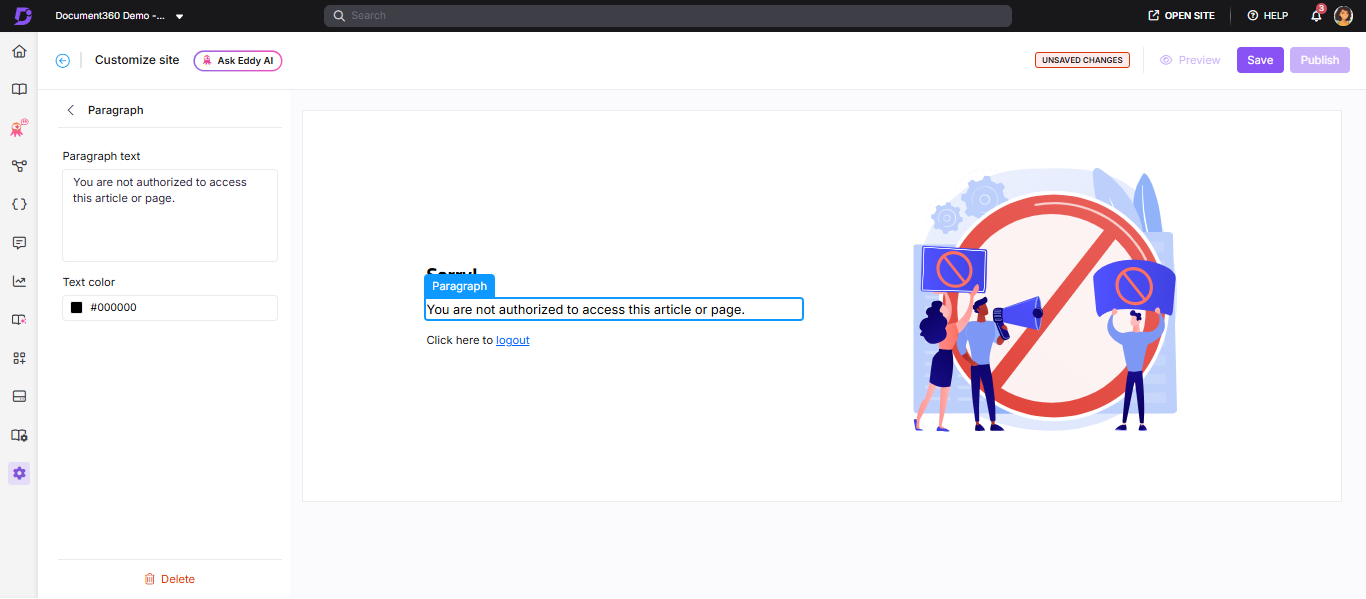
- Click Paragraph. The Paragraph panel appears.
- Enter a description to help readers understand the context.
- Select a color from the text color palette.
The default paragraph will be "You are not authorized to access this article or page."
Custom style
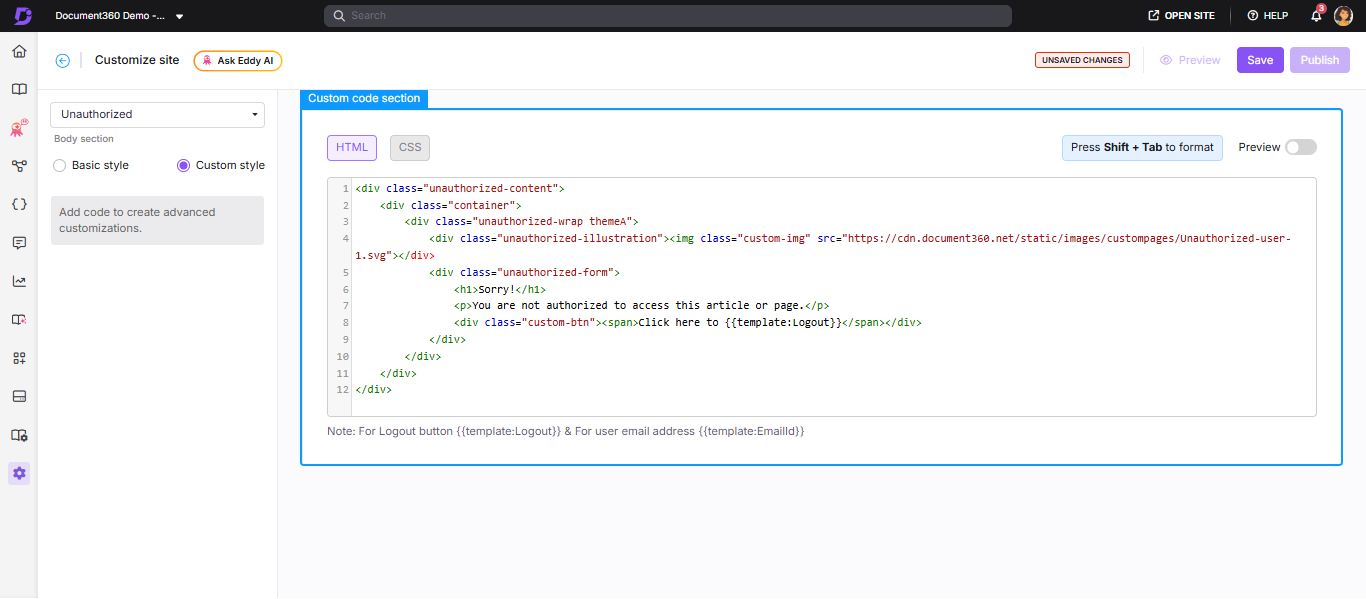
- Select Custom style and switch between the HTML and CSS sections.
- Update the code as required.
- Turn on the Preview toggle to view the updated page.
- Once done, click Save and Publish.
Best practices
- Lead with the login action — the most common reason a reader hits this page is a lapsed session. Make the login link the most prominent element so readers can get back in with one click.
- Explain the situation clearly — let readers know they need to log in or request access, not just that they can't view the page. "Your session has expired — please log in to continue" is more useful than "You are not authorized."
- Provide a path forward — add a login link, a contact support button, or instructions for requesting access so readers aren't left without options.
- Keep the tone calm and helpful — avoid alarming language. A simple "You need to log in to view this page" is more reassuring than "Unauthorized access detected."
- Keep the design on-brand — use the same colors and tone as the rest of your knowledge base so readers know they are still in the right place, even when they can't view a specific page.
FAQ
Can I revert to the default Unauthorized page after customizing it?
No. Once you configure a custom Unauthorized page, you cannot revert to the default version.
Is the Unauthorized page available for all project types?
No. The Unauthorized page is only available for Private and Mixed access projects. If your knowledge base is public, readers will not encounter this page.