Document360 includes a set of built-in header fonts, but you can go beyond the default options by loading any font from Google Fonts into your knowledge base. This is done in two parts: loading the font file via Custom HTML, then applying it to your content via Custom CSS. The process takes about five minutes and gives you access to the full Google Fonts library, over 1,500 typefaces, to match your brand or documentation style.
When to use this
Use this customisation when you want to:
- Apply a specific Google Font that is not included in Document360's default font list.
- Match your documentation typography to your product or brand guidelines.
- Improve the visual consistency between your knowledge base and your website or product interface.
Before you begin
- You need access to Connections > Integrations > Custom HTML in the Knowledge base portal to complete Step 2.
- You need access to Settings () > Knowledge base site > Site customization > Custom CSS & JavaScript to complete Step 3.
- This guide uses Google Fonts as the example source, but the same approach works with any web font that provides an HTML embed link and a CSS
font-familydeclaration. - The process involves three sequential steps: get the font code, add it to Custom HTML, then apply it in Custom CSS. All three steps are required for the font to render correctly.
How to configure a Google Font in Document360
Step 1 - Get the Google Font embed code
-
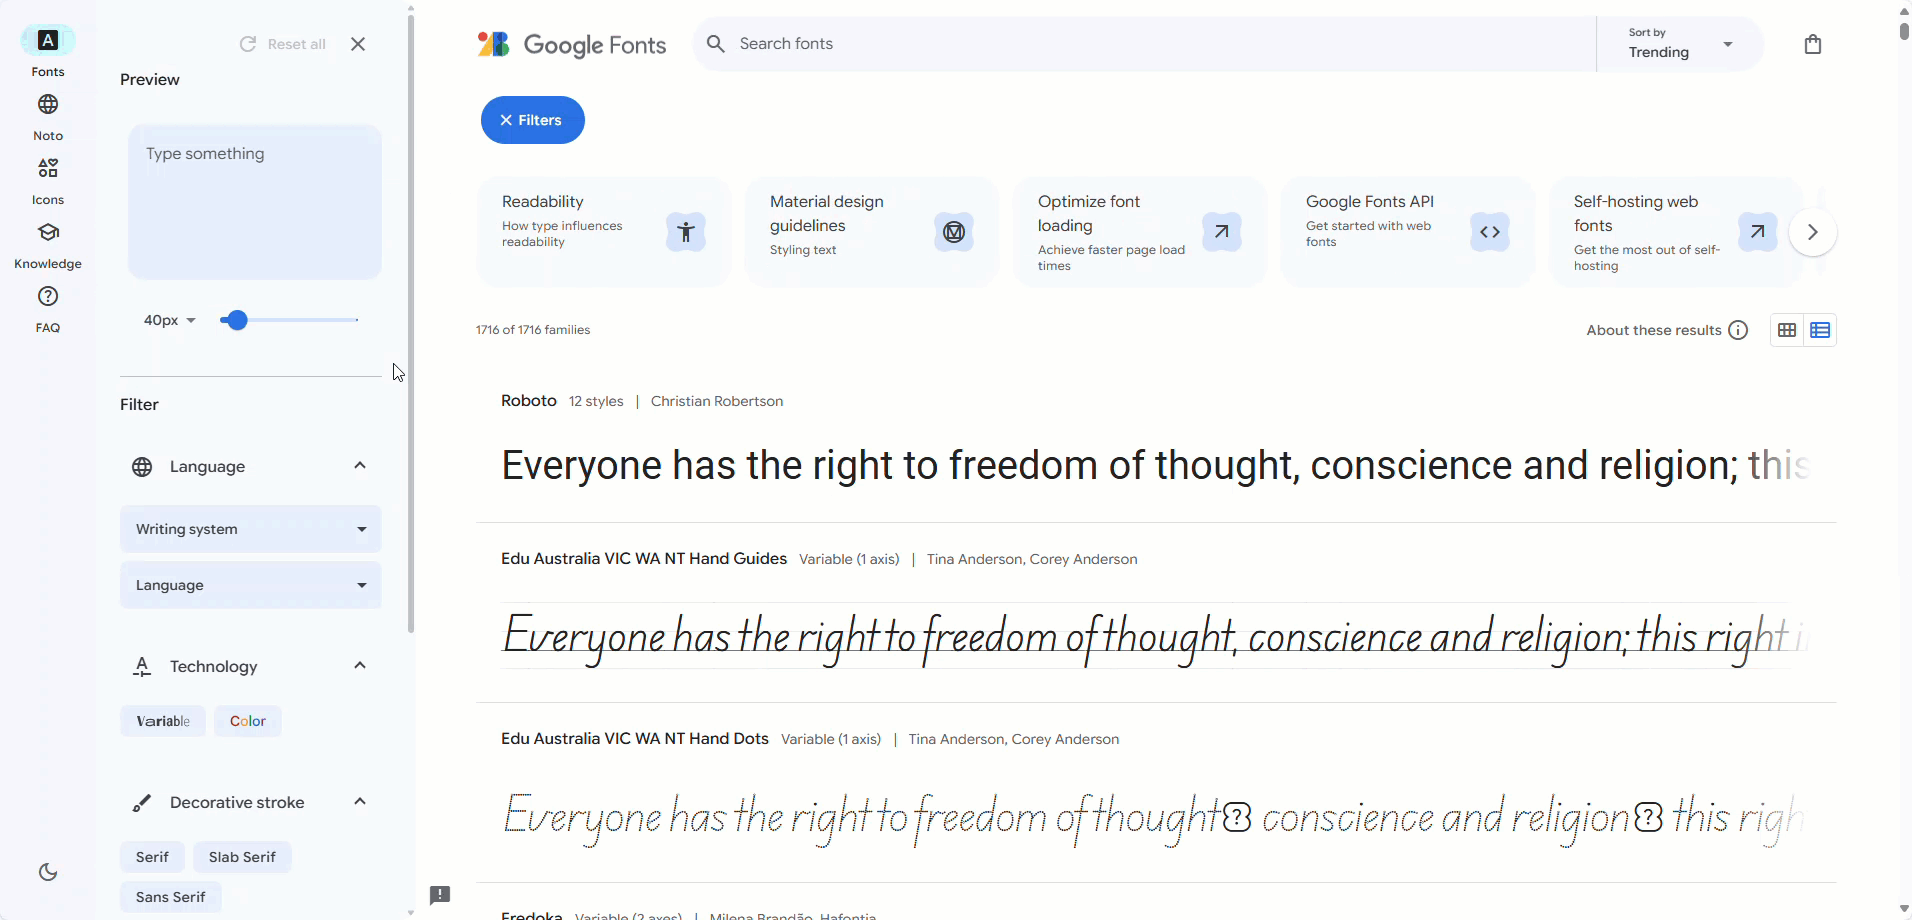
Go to Google Fonts.
-
Select the desired font. The font page appears with available styles.
-
At the top right, click Get font, then select Get embed code.
In the Web section, the embed code for your chosen font appears.
-
Click Copy code to copy the embed code, then return to Document360.
Step 2 - Add the font link to Custom HTML
- In the Document360 portal, navigate to Connections > Integrations.
- Select Custom HTML and click Add. The
Header (above </head>)option is selected by default, keep this selection. - Paste the embed code copied in step 4 into the Header section.
- Click Add.
Step 3 - Apply the font in Custom CSS
-
Navigate to Settings (
) > Knowledge base site > Site customization > Custom CSS & JavaScript in the Knowledge base portal.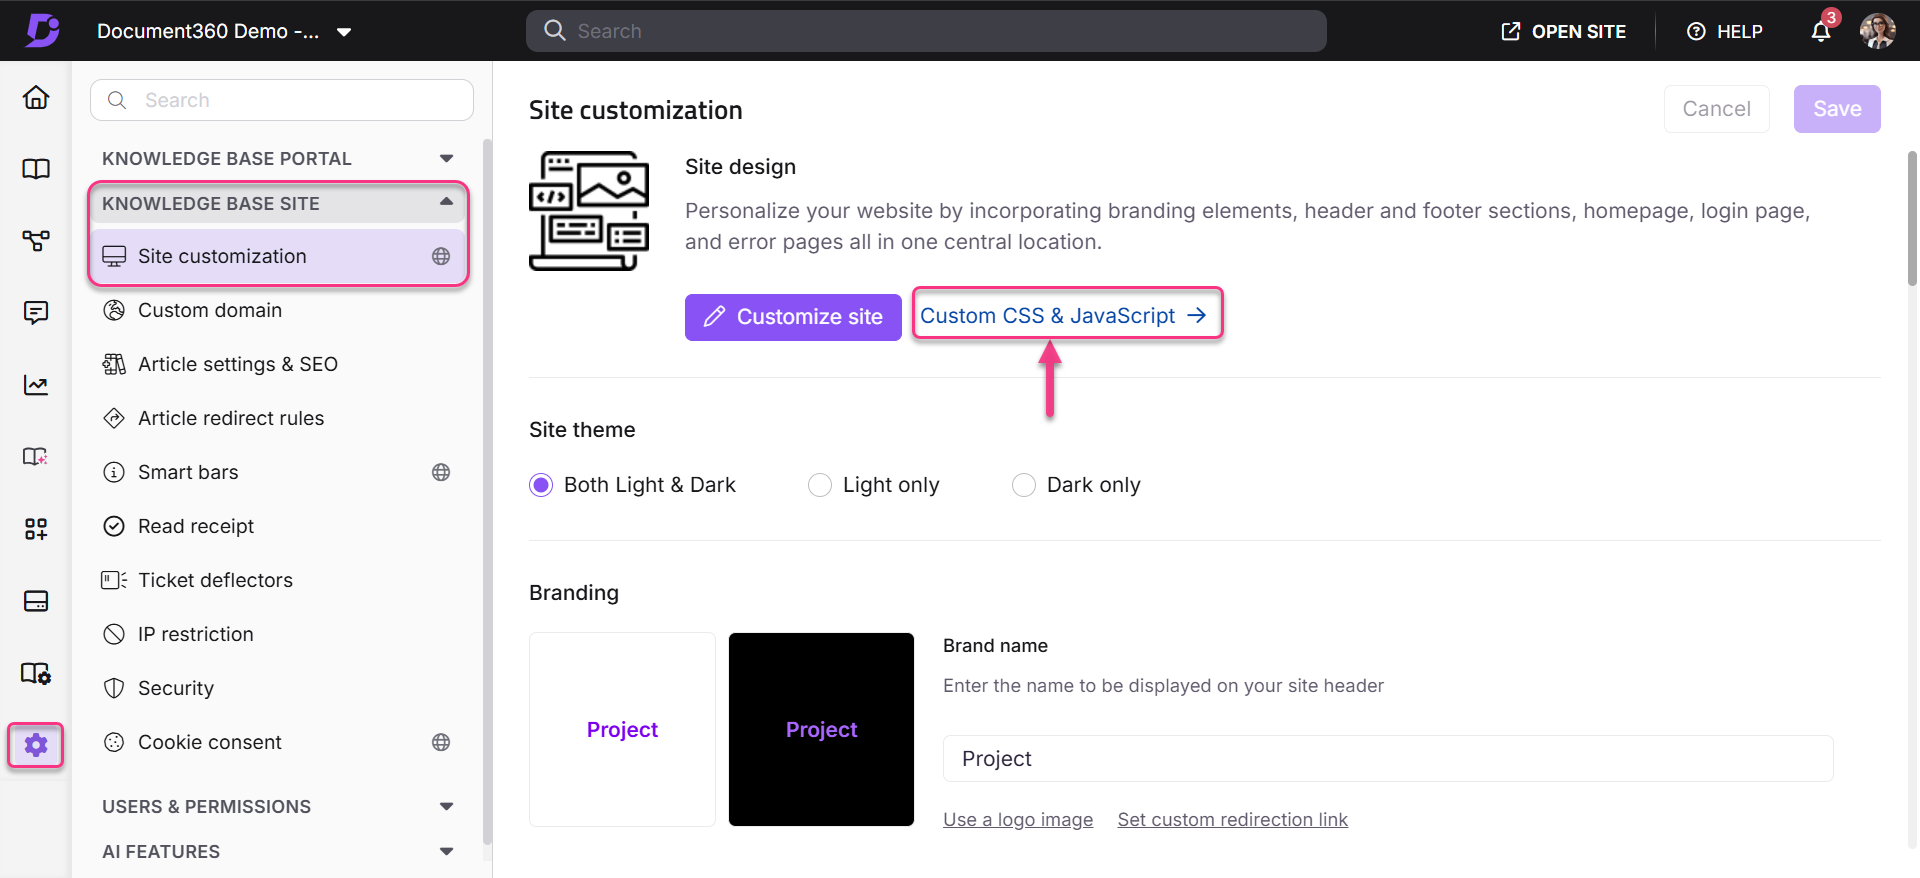
-
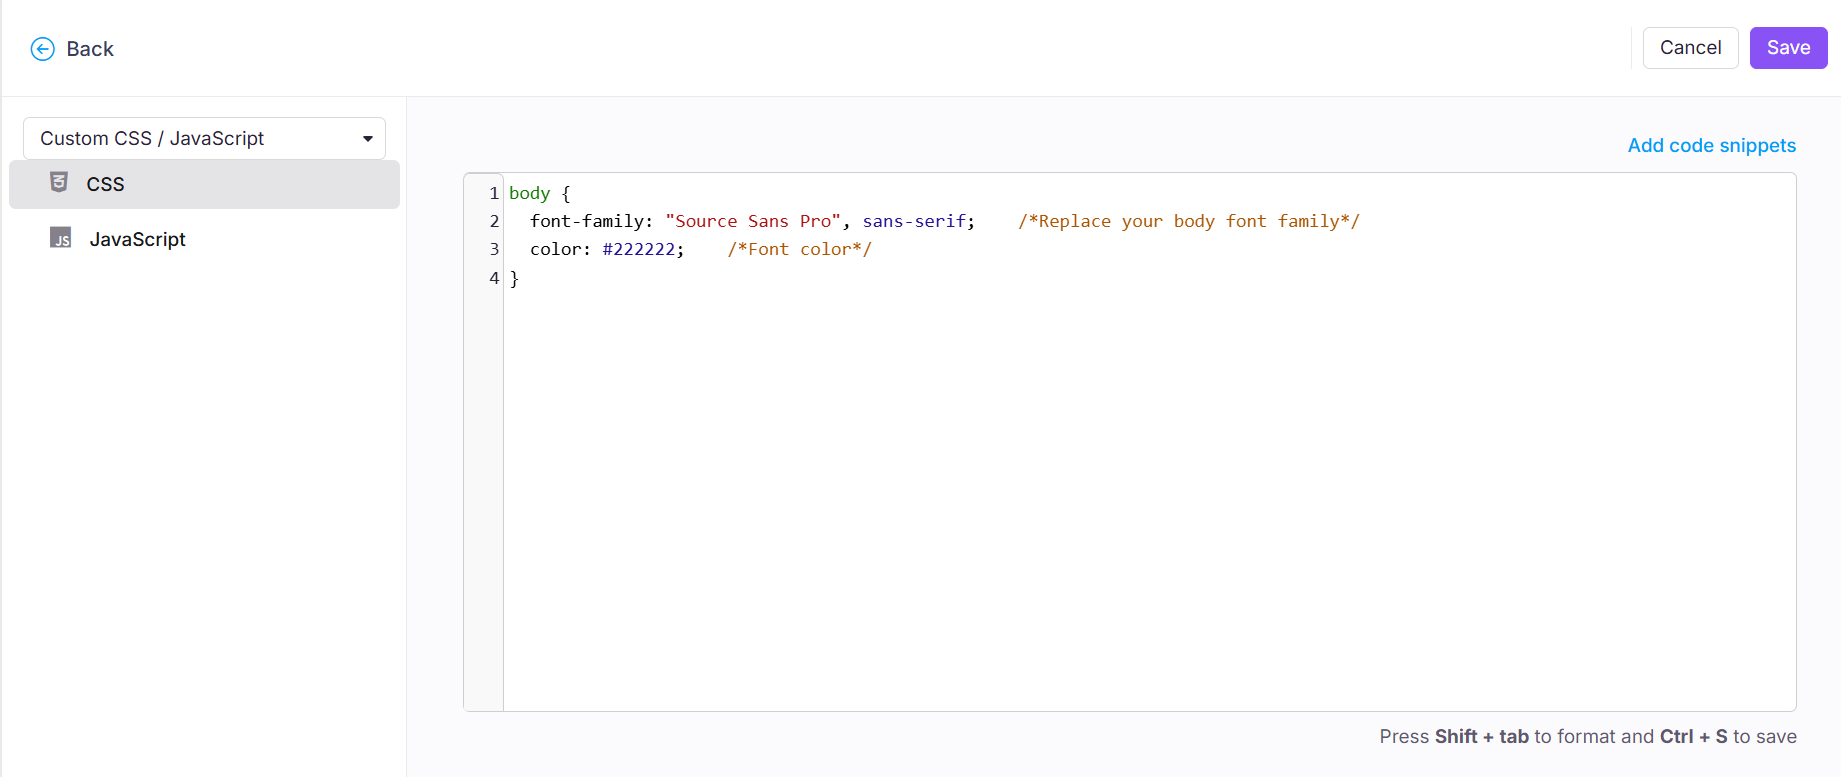
The Custom CSS tab is selected by default. Click the Add code snippets button.
-
Select the Change heading font option. The following code template appears:
body {
  font-family: "Source Sans Pro", sans-serif;    /*Replace your body font family*/
  color: #222222;    /*Font color*/
}
- Replace
font-family: "Source Sans Pro", sans-serif;with the CSS rules to specify families from the embed code you copied in step 4. - Update the
colorvalue with your desired font color. - Click Save.
Outcome
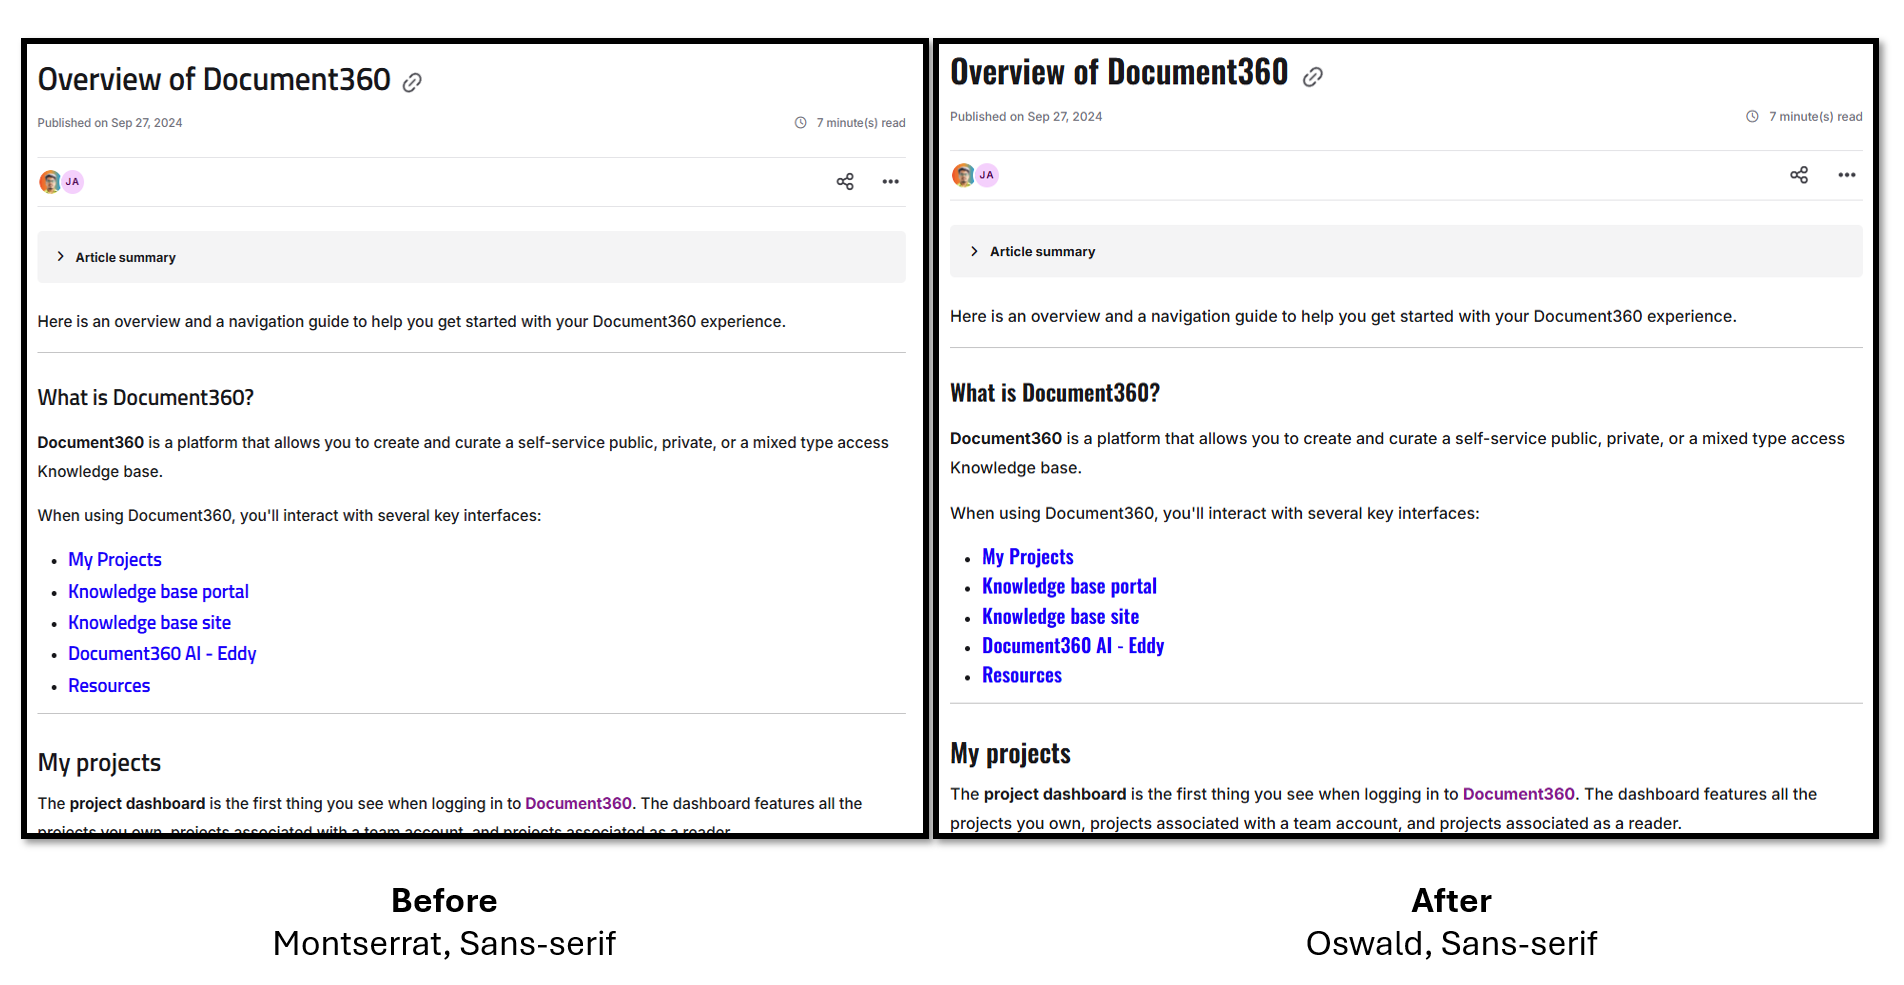
The custom font is now applied across your knowledge base. The before and after below show the difference in typography after completing all three steps.
Best practices
- Complete all three steps in order. Loading the font in Custom HTML without applying it in Custom CSS will have no visible effect; the font will be available to the browser but not assigned to any element. Equally, adding a
font-familydeclaration in CSS without loading the font file first will cause the browser to fall back to the default font. - Use the
font-familyvalue from the embed code exactly. Google Fonts provides the precise CSSfont-familystring in the embed code under "CSS rules to specify families." Copy this value exactly, including the fallback stack, to avoid rendering inconsistencies across browsers. - Test across browsers after saving. Font rendering can vary slightly between Chrome, Safari, Firefox, and Edge. Preview your knowledge base in at least two browsers to confirm the font loads and displays correctly.
- Keep the fallback font. The
sans-seriffallback infont-family: "Your Font", sans-serif;ensures readers still see a readable font if the Google Font fails to load (for example, in environments that block external requests). Always include a generic fallback. - Consider font weight and performance. Google Fonts lets you select specific weights (Regular, Bold, etc.) when generating the embed code. Load only the weights you need — loading all available weights increases page load time.