You can use the Import users feature to add more than five users to your project at once. Users are added by uploading a CSV file containing their email addresses and names, with roles and access assigned before the import is confirmed.
Why import users
When onboarding a large team, adding users one by one via the Add user dialog is time-consuming — it supports a maximum of 5 email addresses per operation. The Import users feature removes that constraint by letting you prepare a list of up to 500 users in a CSV file and upload them all in a single operation. This is the right approach when you are:
- Adding more than five users at once.
- Onboarding a new team, department, or cohort of contributors.
- Migrating users from another system into Document360.
Before you begin
- You must have the Owner or Admin project role.
- Have the email addresses, first names, and last names of the users you want to add ready.
How to import users
-
Navigate to Settings () > Users and security in the left navigation bar in the knowledge base portal.
-
In the left navigation pane, navigate to Users and groups > Users.
-
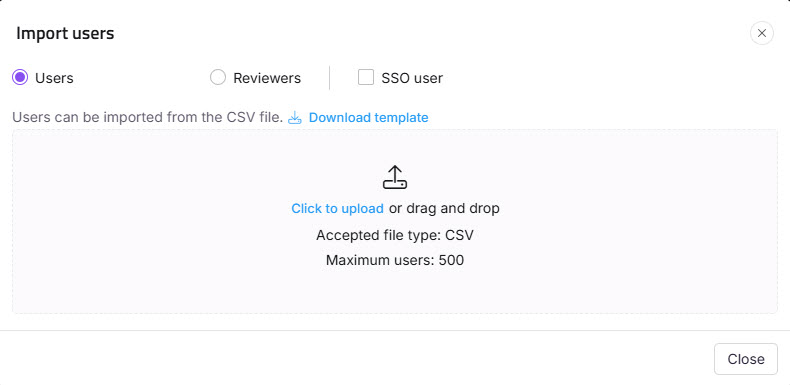
Click Add > Import users to open the Import users panel.
-
Select the SSO user checkbox to add the users as SSO users.
-
If you selected the SSO user checkbox, select an SSO configuration from the Select SSO dropdown menu.
-
Download the CSV file template by clicking the Download template option.
-
Open the downloaded CSV file in a local application such as MS Excel.
-
Enter the new account emails and first and last names.
-
Save the CSV file, then click Click to upload in the dialog. You can also drag and drop the file into the designated drop frame.
The data will be validated, and the Valid emails and Invalid emails will be listed in the Validation summary table.
-
Click the Skip invitation mail checkbox if you don't want your new users to receive an invitation email.
-
Assign the Portal role, Content role, Content access, and Group for the imported users using the respective dropdowns.
-
Click Import.
NOTE
To add fewer than six users at once, use the Add user option instead.
Best practices
- Always use the downloaded CSV template. Uploading a file with different column headers or formatting will cause validation errors.
- Review the Validation summary before confirming the import. Fix any invalid email rows in the CSV and re-upload if needed.
- All users in a single import batch receive the same portal role, content role, and content access. If you need different roles for different users, split them into separate import operations.
- Use Skip invitation mail only when you plan to notify users through another channel — users cannot log in until they receive and act on the invitation.