Eddy AI alt text generation automatically suggests descriptive alt text for images in your Document360 knowledge base articles, helping you meet accessibility standards and improve image discoverability without writing descriptions manually. When you upload or paste an image, Eddy AI analyses it and populates the Alt Text field — for example, Document360's settings dashboard with configuration options. You can use the suggestion as-is or edit it before inserting the image. The feature is available in the Advanced WYSIWYG editor and in the Drive.
When to use Eddy AI alt text generation
- Accessibility compliance — alt text is read aloud by the Read Out Loud feature on the Knowledge Base site for visually impaired users. Use this feature to ensure every image in your knowledge base has a meaningful description.
- Improving image discoverability — with 20% of Google searches being image-based, optimised alt text improves how your knowledge base images appear in search results.
- High-volume image workflows — when publishing articles with many images, use Generate for all images during Drive upload to populate alt text across all images in one step rather than writing each one manually.
- Auditing existing images in Drive — use the File details panel to add or regenerate alt text for images already uploaded to Drive that are missing descriptions.
Before you begin
- The AI writer must be enabled in your project. Eddy AI alt text generation is enabled by default when the AI writer is on.
- Images must be in JPEG, JPG, PNG, or WEBP format and smaller than 20 MB. Images in other formats or above this size cannot have alt text generated.
- Alt text generation is supported in English only.
- You need sufficient monthly alt text generation credits. Check your balance before running bulk generation.
Generate alt text in the Advanced WYSIWYG editor
When inserting a new image
-
Open the article in the Advanced WYSIWYG editor.
-
Use the slash command
/imageor go to Insert > Image.The Insert Image panel appears.
-
Insert your image using one of the following methods:
- Upload from my device — select an image from your local device. Eddy AI automatically generates alt text in the Alt Text field.
- Drag and drop — drag and drop the image into the panel. Eddy AI automatically generates alt text in the Alt Text field.
- External URL — enter the image URL. Eddy AI automatically generates alt text in the Alt Text field.
- Choose from Drive — select an image from the Drive. If the image already has alt text stored in Drive, that text is carried over. To update it, insert the image first, then click it and select the Alt text (T) icon from the floating menu.
-
Review the generated alt text. To regenerate, clear the existing text and click ✦ Generate.
-
For multiple images, Eddy AI generates alt text for all. To regenerate for a specific image, clear its alt text and click ✦ Generate for that image individually.
-
Click Insert to add the image to the article.
For more information on inserting images, see Inserting images in the Advanced WYSIWYG editor.
When copy-pasting an image directly into the editor
When you paste or drag an image directly into the editor body (outside the Insert Image panel), alt text is not generated automatically. Use the floating menu to generate it.
-
Paste or drag and drop the image directly into the Advanced WYSIWYG editor.
-
Click the image.
The floating menu appears.
-
Select the Alt text (T) icon.
-
In the Image alt text field, enter alt text manually or click ✦ Generate to create it with Eddy AI.
-
Click ✓ to save the alt text.
Generate alt text in Drive
When uploading new images to Drive
- During the image upload process, either enter alt text manually or click ✦ Generate to create Eddy AI-generated alt text.
- For multiple images:
- Click ✦ Generate next to each image to generate alt text individually.
- Or click ✦ Generate for all images to generate alt text for all uploaded images at once.
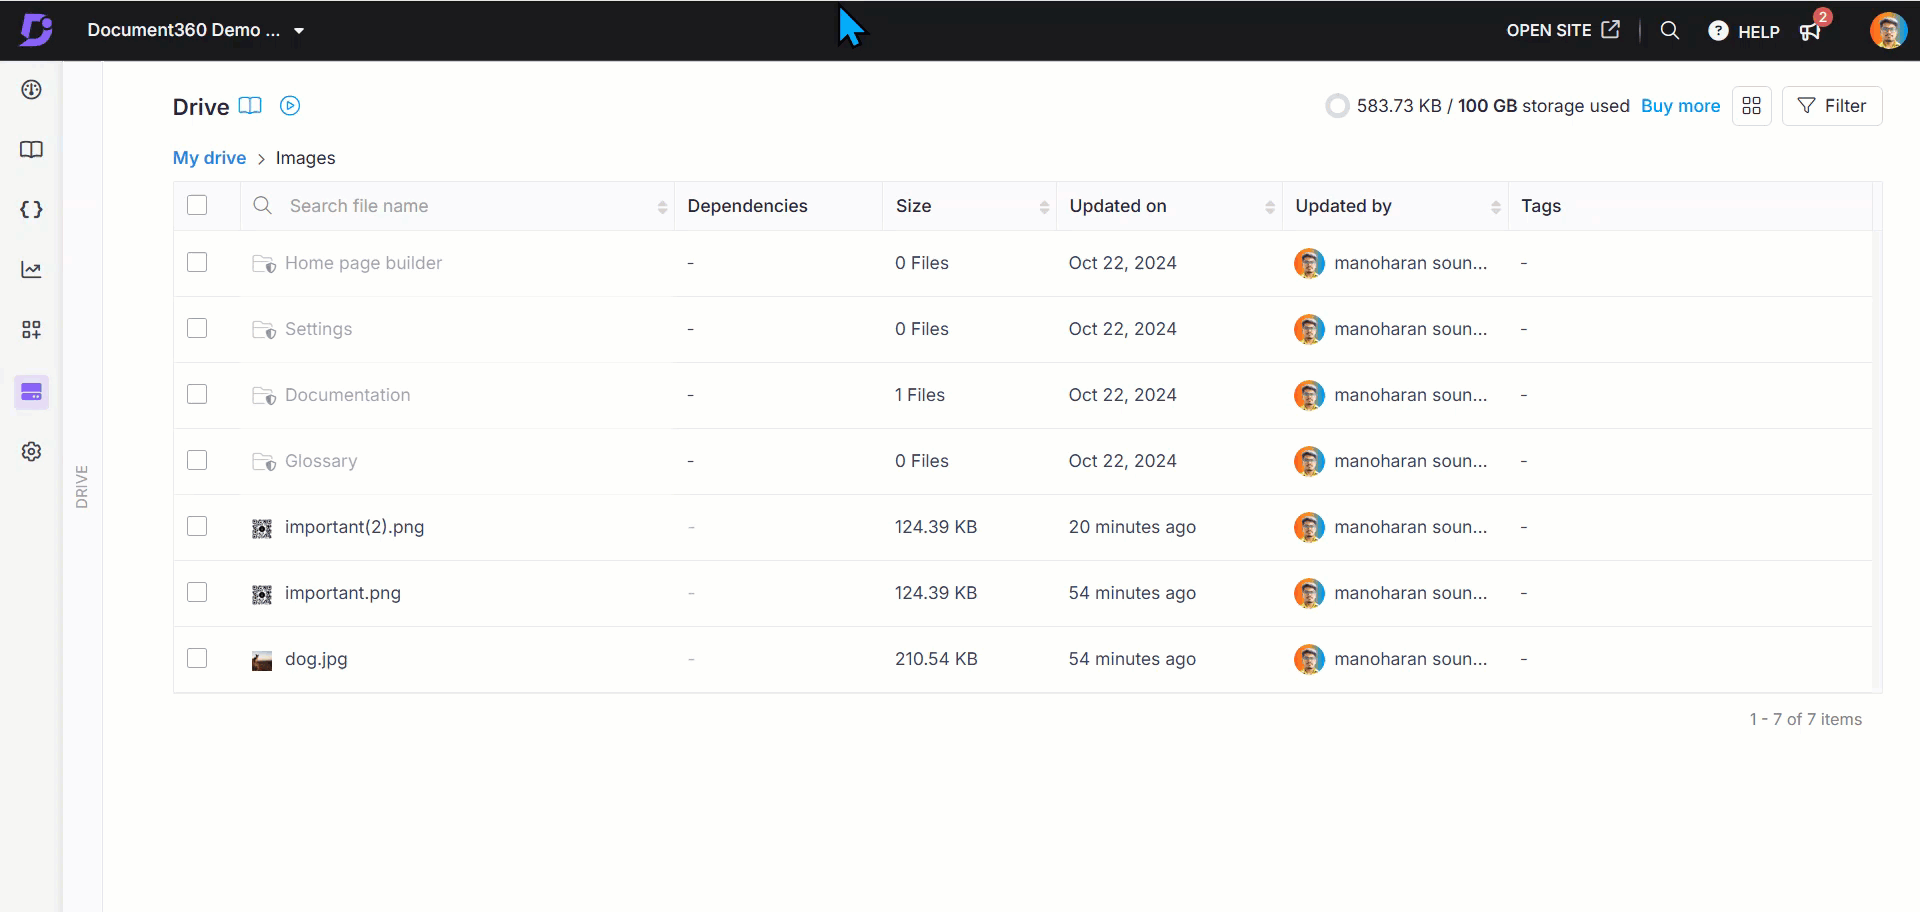
For images already in Drive
-
In the Knowledge Base portal, select Drive in the left navigation bar.
-
Click the desired image.
The File details panel appears.
-
In the Alt text section, click ✦ Generate to create alt text using Eddy AI.
To regenerate, clear the existing alt text and click ✦ Generate again.
-
Click Update to save the changes.
Supported formats and quotas
| Limit | Value | Notes |
|---|---|---|
| Supported image formats | JPEG, JPG, PNG, WEBP | Other formats are not supported |
| Maximum file size | 20 MB | Images above this size cannot have alt text generated |
| Monthly generation limit | 5,000 alt texts per project | Each generation deducts one from the shared monthly limit across all articles |
| Language support | English only | Alt text is generated in English regardless of the article language |
| Known accuracy limitations | Panorama images, fisheye view images, monochrome icons | Results may be less accurate for these image types |
Best practices
- Always review generated alt text before inserting — Eddy AI produces a starting point, not a final description. Check that the generated text accurately reflects what the image shows in the context of your article, and edit where needed.
- Use "Generate for all images" during initial Drive uploads — if you're uploading a batch of new images, generate alt text for all at once rather than returning to each image individually later.
- Regenerate rather than manually rewrite from scratch — if the generated alt text is directionally wrong, clear it and regenerate. A second generation often produces a better result than editing a poor first attempt.
- Add alt text to Drive images before inserting them into articles — if an image already has alt text in Drive, that text carries over automatically when you insert it into an article, saving a step.
- Monitor your monthly credit balance for large projects — the 5,000/month limit is shared across all articles and workspaces in the project. For large knowledge bases, check your balance before bulk-generating to avoid mid-session interruptions.
Try this feature
Explore the feature with the interactive demo below.
FAQ
What happens if the Generate button is inactive?
An inactive ✦ Generate button means your monthly alt text credit balance has been exhausted. Contact your admin or Document360 support to increase your limit.
What happens if I upload multiple images but don't have enough credits for all of them?
The ✦ Generate for all images button will be inactive. For example, if you upload 10 images but only have 5 credits remaining, you can manually select up to 5 images and click ✦ Generate to create alt text for those individually.
Are Knowledge Base customization images included in the monthly alt text generation count?
No. Only images from published articles with dependencies, as well as those from templates, snippets, and glossary, count toward the monthly limit.