The Appearance settings in Eddy AI Chatbot let you customise how the chatbot looks and where it appears on your website — including the chatbot name, icon, background colour, screen position, spacing, and welcome message. You can preview all appearance changes in the Playground before publishing, so no changes go live until you are ready.
When to configure appearance settings
- Use this when setting up a chatbot for the first time to match it to your website's branding.
- Use this when your brand identity changes and you need to update the chatbot's visual style.
- Use this to adjust the chatbot's position or spacing so it does not overlap with other elements on your website.
- Use this to add or update the welcome message that appears before users click the chatbot icon.
Before you begin
- You must have created an Eddy AI Chatbot with at least one source connected.
- Use the Playground to preview appearance changes before publishing — the Playground reflects all saved appearance settings without pushing them live.
Configure appearance settings
- Navigate to AI Chatbot (
 ) in the left navigation bar and click Customize.
 - Navigate to the Appearance () tab.
- Configure the following settings:
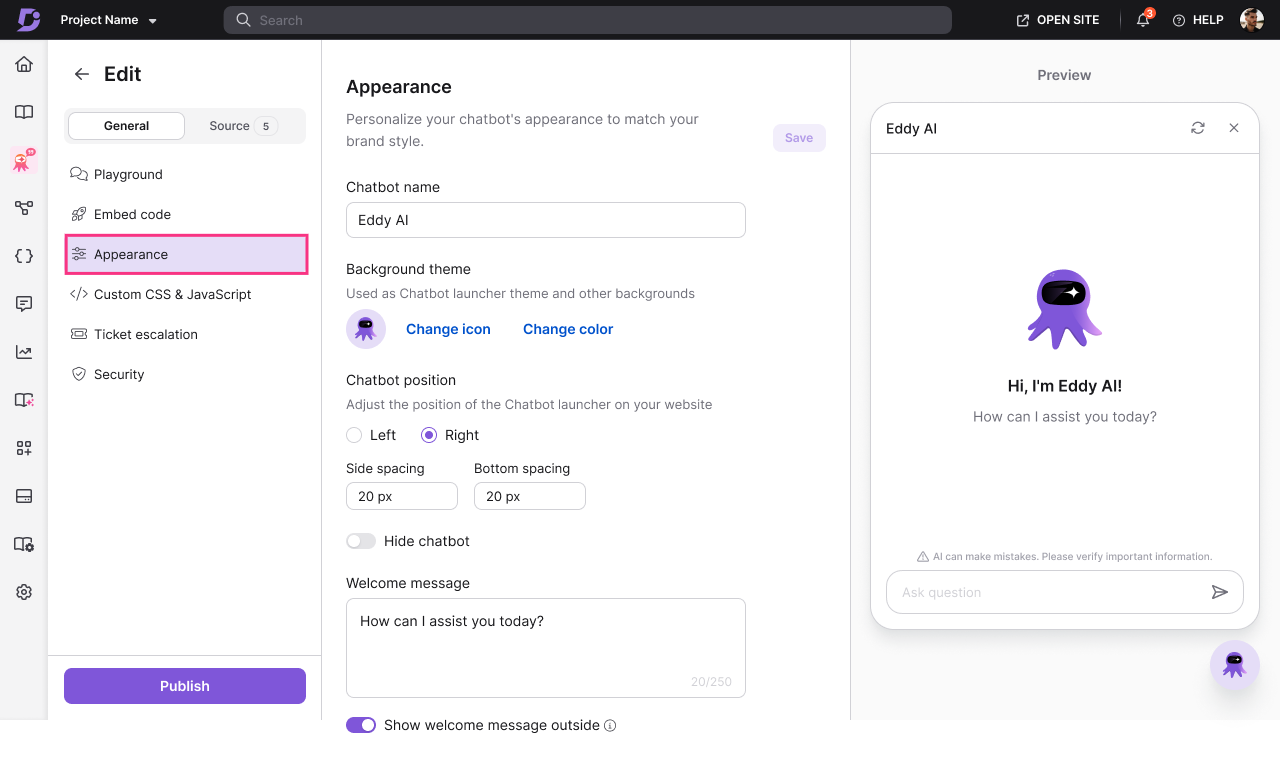
Chatbot name
Enter a name in the Chatbot name field. This name is displayed to users in the chatbot interface.
Background theme
| Setting | Description |
|---|---|
| Icon | Upload a custom icon for your chatbot, or choose from the available options. |
| Color | Select a background colour using the colour picker, or enter a HEX code. |
| Position | Choose where the chatbot appears on the screen: Left, Right, or Bottom. |
| Side spacing | Adjust the distance between the chatbot and the left or right edge of the screen. |
| Bottom spacing | Adjust the distance between the chatbot and the bottom edge of the screen. |
| Hide chatbot icon | Toggle on to hide the chatbot icon from the website. The chatbot can still be triggered programmatically. |
Welcome message
Toggle on Show welcome message outside to display a message bubble to users before they click the chatbot icon. This helps prompt engagement and sets user expectations about what the chatbot can help with.
- Click Save to save your changes.
- Click Publish to make the changes visible on your website.
Appearance changes saved but not yet published are visible in the Playground for preview, but are not reflected on the live chatbot until you click Publish.
Best practices
- Match the chatbot colour to your brand's primary colour — using your brand's HEX code makes the chatbot feel like a native part of your site rather than a third-party widget.
- Use the welcome message to set expectations — a welcome message like "Hi! Ask me anything about [product name]." helps users understand what the chatbot can do before they type a question.
- Preview in the Playground before publishing — always save and review appearance changes in the Playground first to catch issues such as icon clipping, colour contrast problems, or positioning conflicts with other page elements.
- Adjust spacing to avoid overlap — if your site has a cookie banner, live chat button, or sticky footer, increase the bottom or side spacing so the chatbot does not overlap those elements.