The Center align images in articles CSS snippet lets you center all images in your knowledge base article content. By default, images are aligned to the left. You can also manually write CSS to align images left or right, or to maintain image proportions when the page is resized.
How to center align images
- Navigate to Settings () > Knowledge base site in the left navigation bar of the Knowledge base portal.
- In the left navigation pane, navigate to Site customization.
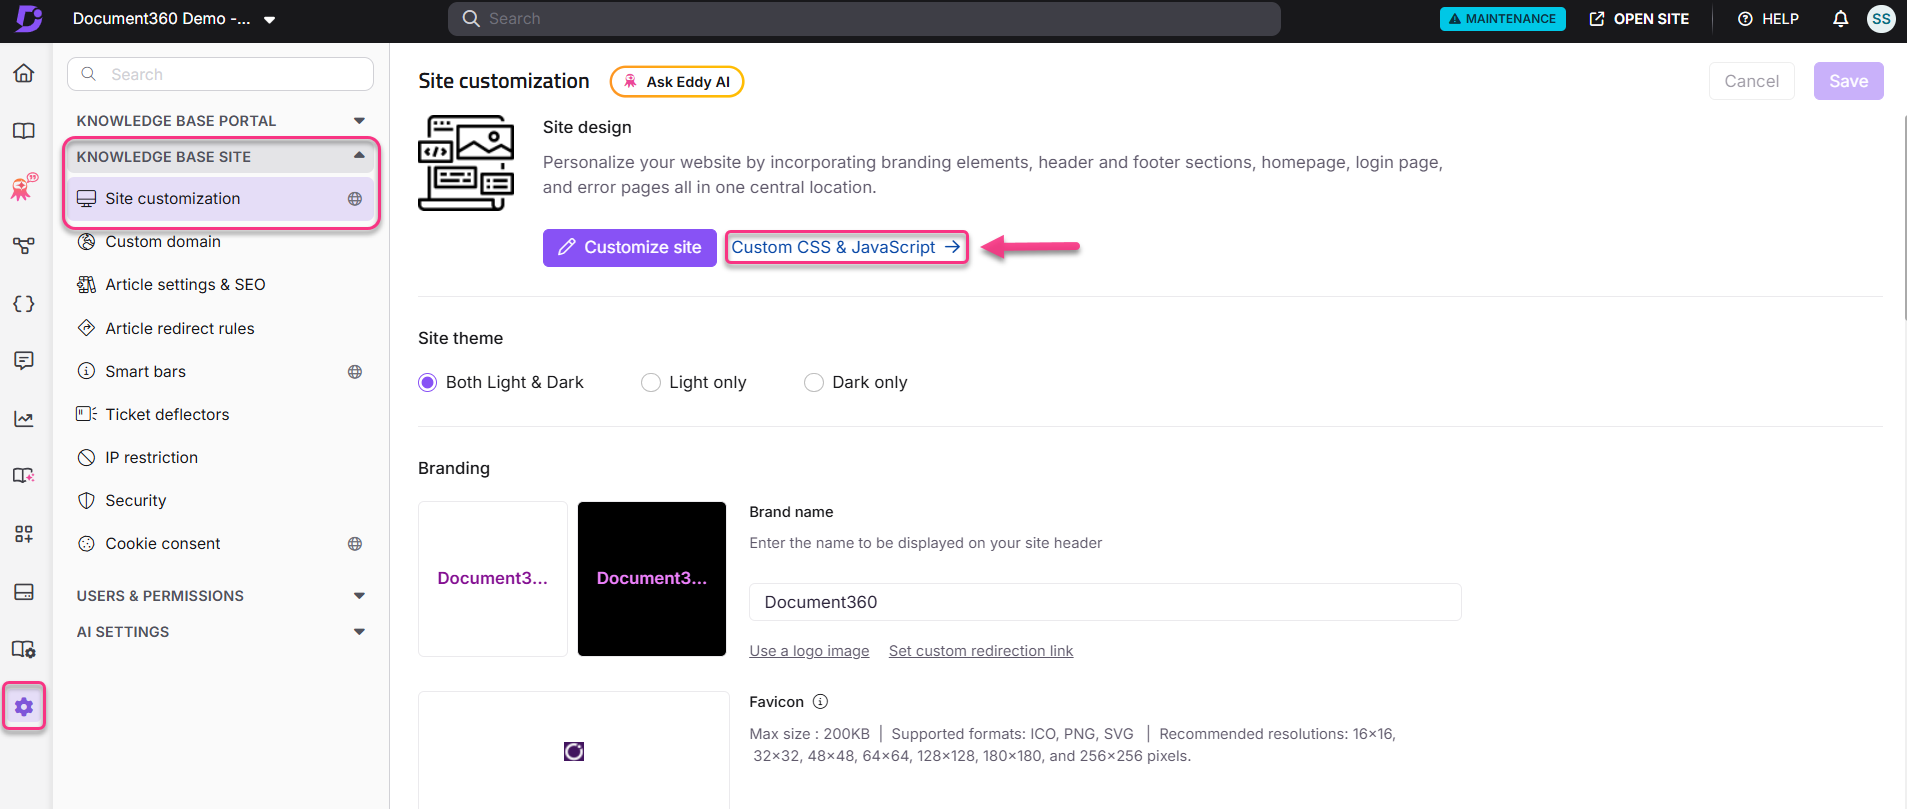
- Click Custom CSS & JavaScript.
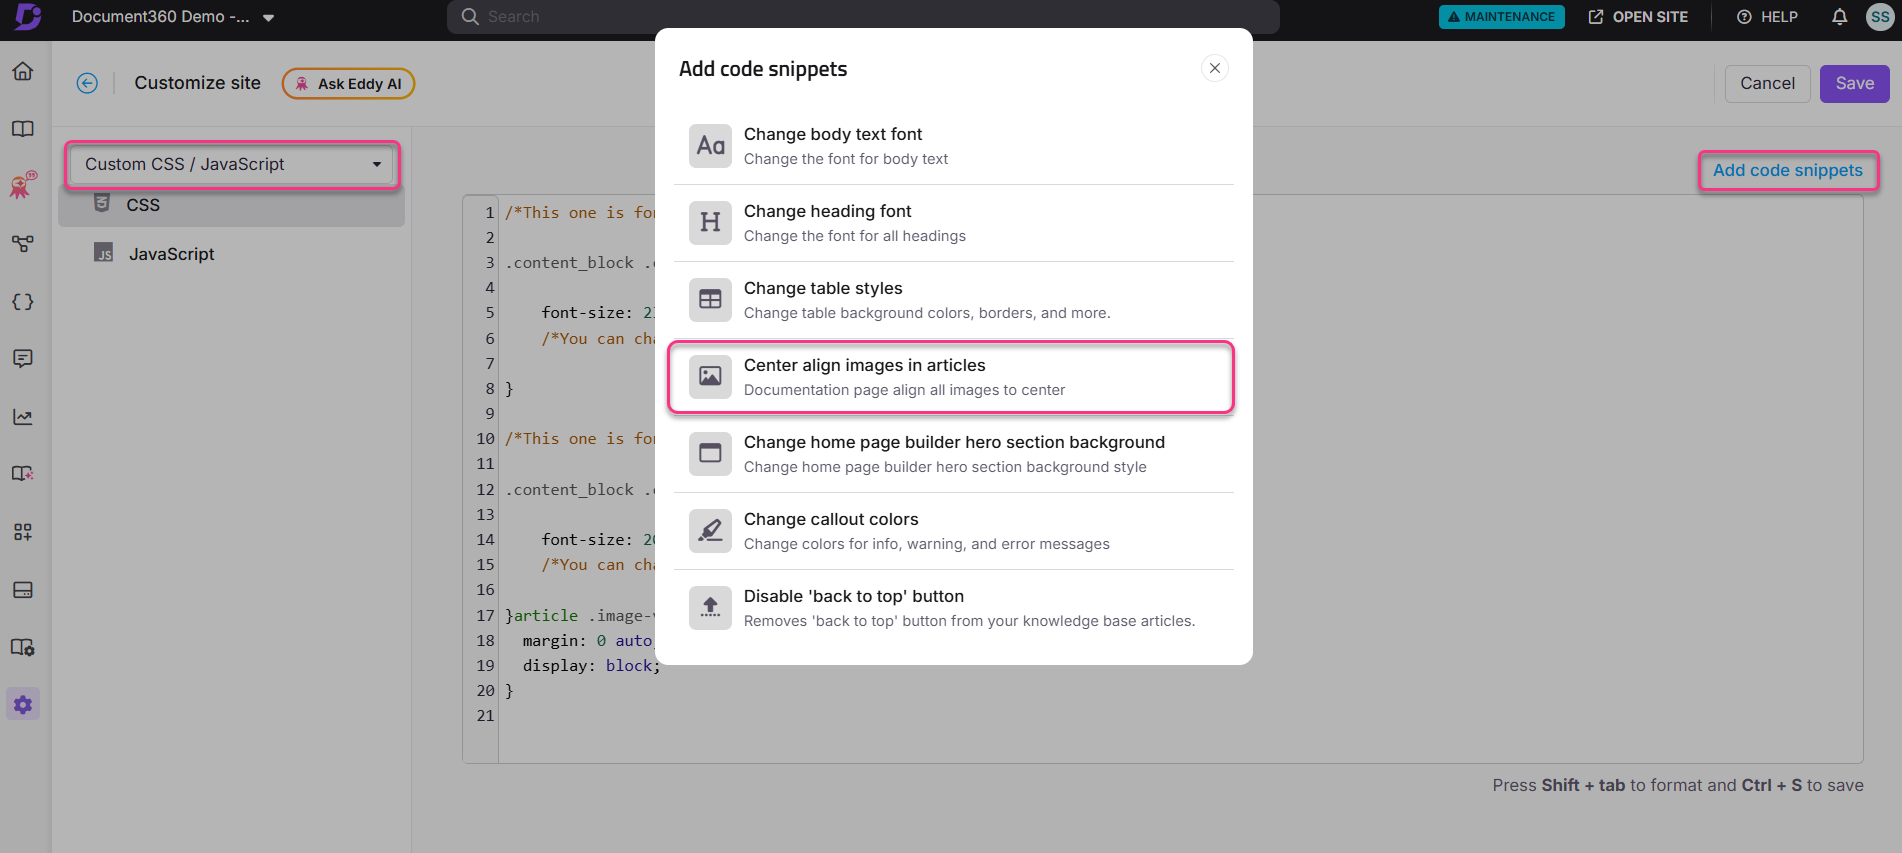
- Select the CSS tab, then click Add code snippets in the top right.
- Click Center align images in articles. The snippet is inserted into the CSS editor.
- Click Save.
The CSS snippet used is:
article img {
    margin: 0 auto !important;
    display: block;
}
All images in article content are now center-aligned across the knowledge base.
Before adding a new alignment snippet, remove the previously added one. If two alignment snippets are active at the same time, they will conflict and produce unpredictable results. The image alignment that is set applies to the entire knowledge base.
How to align images left
To align images to the left, paste the following CSS directly into the CSS editor:
article img {
    margin: auto 0 0 0 !important;
    display: block;
}
How to align images right
To align images to the right, paste the following CSS directly into the CSS editor:
article img {
    margin: 0 0 0 auto !important;
    display: block;
}
How to maintain image proportions when resizing
To maintain the text and image proportions when readers zoom in or out on the knowledge base site, paste the following CSS into the CSS editor:
article img {
    height: auto !important;
}
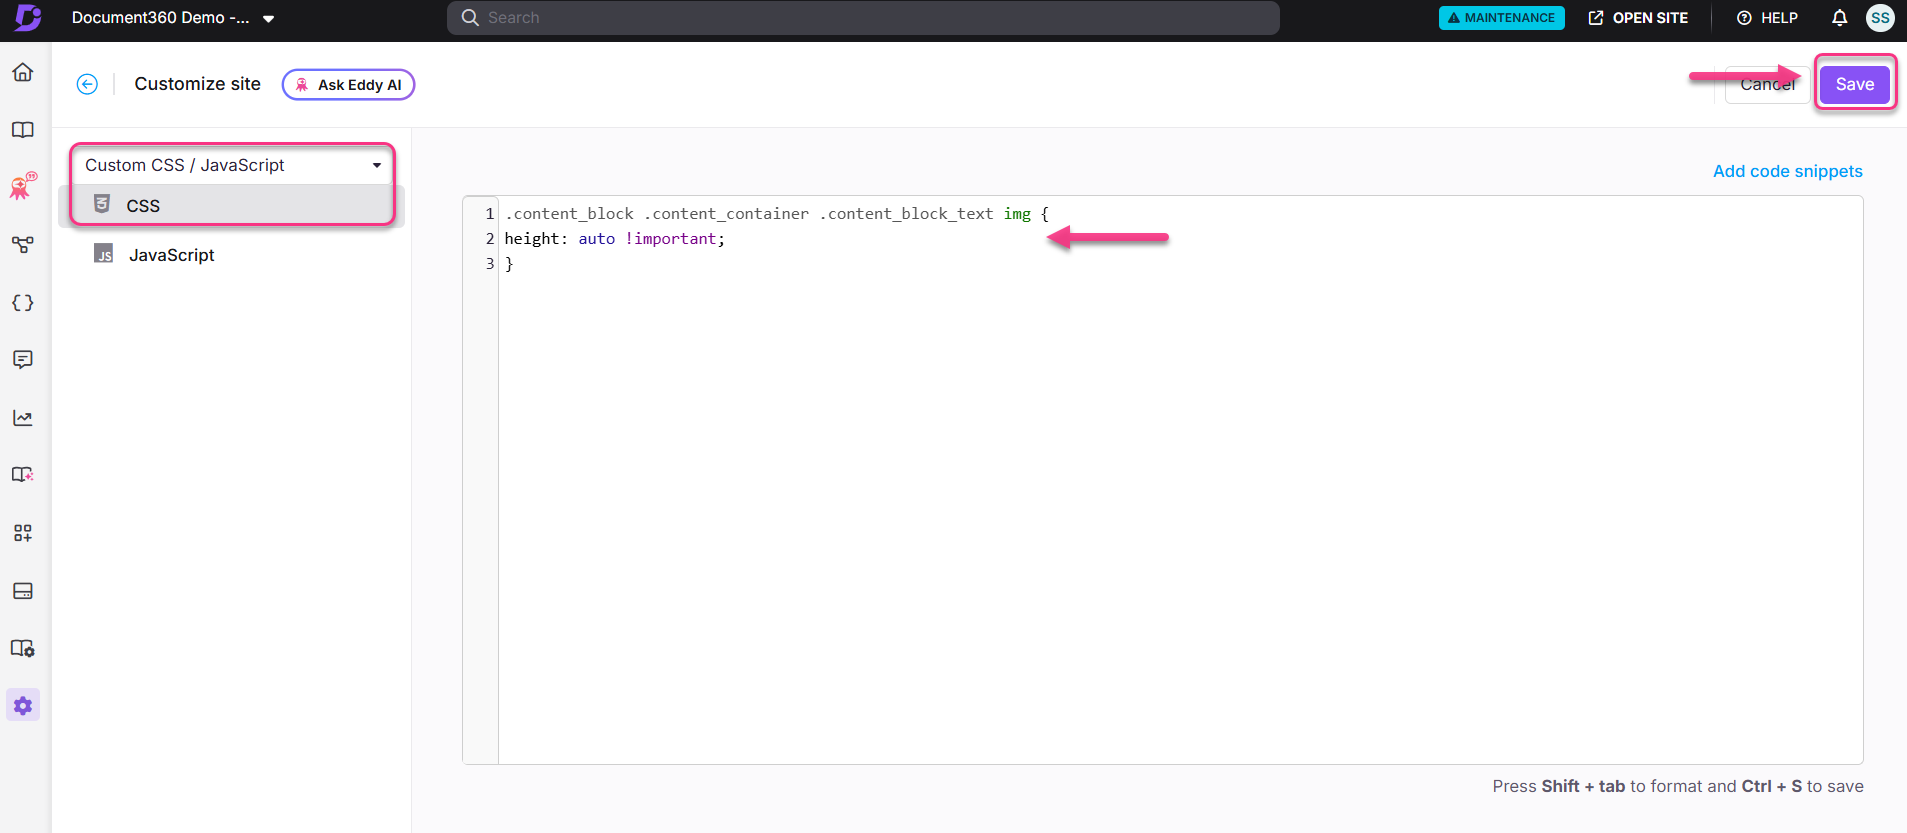
Click Save to apply.
How to remove a previously added alignment snippet
Select the snippet code in the CSS editor and press Delete on your keyboard to remove it. Click Save to apply the change.
Best practices
- Remove the previous snippet before switching alignment - adding a center-align snippet while a left-align snippet is still active will cause conflicts. Always delete the old snippet first.
- Use
!importantcarefully - the snippets use!importantto override default styles. Avoid adding other image CSS rules that also use!important, as they may conflict unpredictably. - Apply resizing CSS alongside alignment - if you change image alignment, also apply the
height: autoresizing snippet to ensure images scale correctly on different screen sizes.