The Custom code section lets you embed your own HTML and CSS directly on the knowledge base home page. It exists for situations where the standard body blocks like Rich text, Multicolumn cards, Image with text - don't give you the layout or functionality you need. With this block you have full control over what renders and how it looks, making it the right choice for dynamic content, third-party embeds, or custom visual treatments that aren't possible through the other blocks.
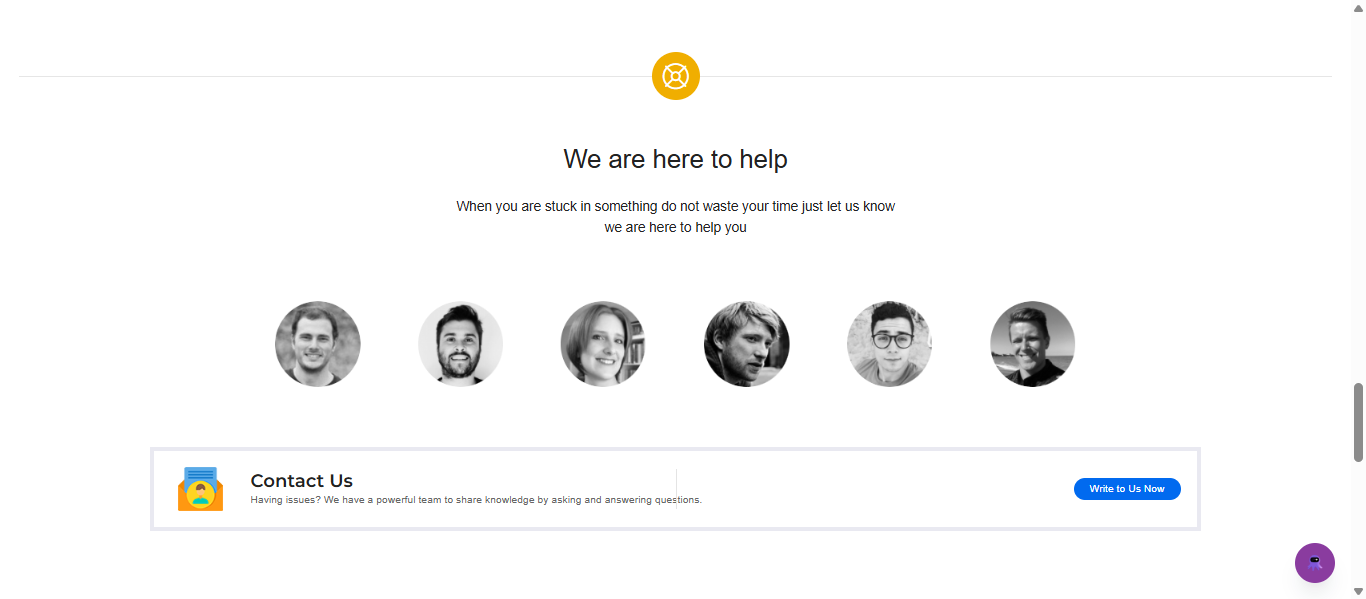
When to use the Custom code section
- Dynamic banners - Display a seasonal promotion, product launch announcement, or maintenance notice using custom HTML that you can update independently of the page layout.
- Countdown timers - Embed a JavaScript-powered countdown for events, launches, or limited-time offers.
- Embedded third-party widgets - Add embeds from external services like video players, form builders, chat widgets, or status page badges, that don't have a dedicated block.
- Custom-styled content - When you need a specific layout or visual treatment that isn't achievable with the Rich text or Multicolumn card blocks, write your own HTML and CSS to achieve it.
Custom code sections execute HTML and CSS in the context of your knowledge base site. Test your code carefully before publishing. Poorly structured HTML can affect the layout of surrounding page elements.
Add a Custom code section
- Navigate to Settings () in the left navigation bar of the Knowledge base portal.
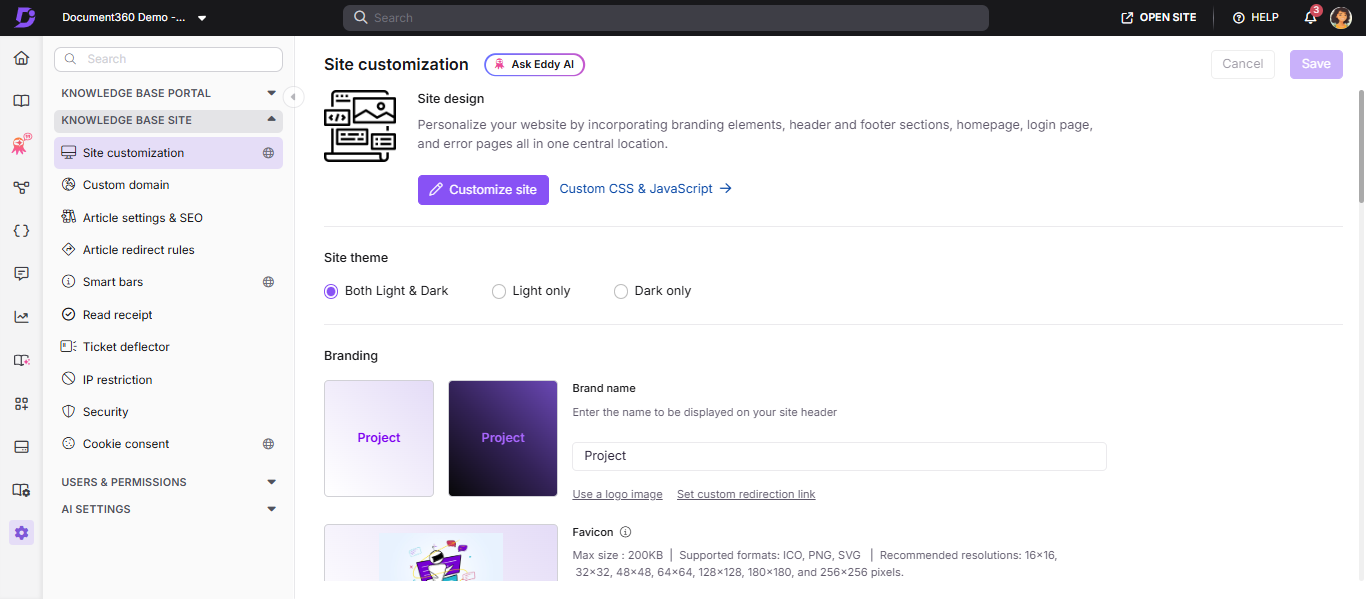
- In the left navigation pane, navigate to Knowledge base site > Site customization.
- Click the Customize site button.
- From the left dropdown, select Home page. The Body section displays the list of body blocks.
- Click Add section and select Custom code section. The block is added to the list.
- Use the Reorder () icon to rearrange the block. The Reorder and Hide () icons appear when you hover over any body block in the Body section.
Configure the Custom code section
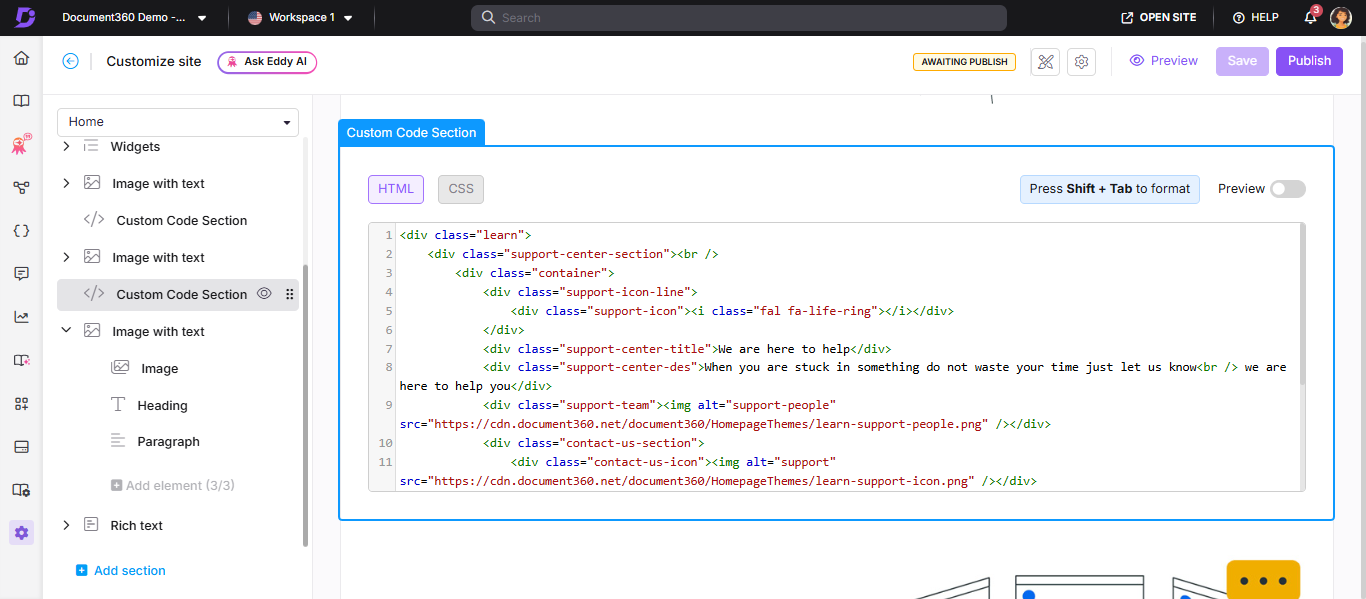
- Click the Custom code section block to open the editor.
- In the HTML tab, add or edit your HTML code.
- In the CSS tab, add or edit your CSS code.
- Click Save to save your changes as a draft.
- Click Preview to see how the code renders on the knowledge base site.
- Click Publish to make the changes live.
Custom code section content in multilingual workspaces
If your knowledge base site uses multiple languages, the content of a Custom code section is configured separately for each language. Adding a new language to a workspace does not copy an existing Custom code section's HTML or CSS into the new language, and translating other articles does not update it either. Any hardcoded values inside the code, such as page URLs, link text, or image alt text, must be reviewed and updated manually for each language.
To update a Custom code section for a specific language:
- Navigate to Settings >** Knowledge base site** > Site customization, then click Customize site.
- From the left dropdown, select Home page.
- At the top of the editor, select the language you want to update from the language dropdown.
- Click the Custom code section block for that language and edit the HTML or CSS as needed.
- Click Save, then Publish, to apply the change for that language only.
- Repeat steps 3 to 5 for every other language that uses this Custom code section.
A link or URL hardcoded in one language's Custom code section will not automatically update or apply to other languages. If your knowledge base uses per-language destination URLs (for example, separate All Articles pages for each language), update the corresponding link in the Custom code section for each language individually.
Best practices
- Always preview before publishing - rendering differences between the editor and the live site can be subtle. Use the Preview option to verify layout and styling before committing.
- Keep HTML self-contained - avoid referencing external stylesheets or scripts that may block page load or conflict with Document360's own styles.
- Scope your CSS - use specific class names for your custom elements to avoid overriding the site's default styles.
- Use the CSS tab for all styling - keeping styles separate from markup makes the code easier to maintain and update.
- Test across light and dark mode - if your knowledge base supports dark mode, verify your custom code renders correctly in both.
FAQ
How do I delete a Custom code section from the home page?
Navigate to {{variable.Settings}} () > {{variable.Knowledge base site}} > Site customization and click Customize site. From the left dropdown, select Home page. In the Body section, select the desired Custom code section. Click Delete () below the navigation bar, then click Yes in the Delete confirmation prompt. Click Save and then Publish to apply the changes.