The Image with text block lets you place an image alongside a heading and paragraph on your knowledge base home page. Where the Rich text block is purely text-based, this block brings in a visual dimension, pairing an image with structured text so readers get context and imagery together in a single layout. This makes it well suited for content where a screenshot, illustration, or thumbnail adds meaning that text alone cannot convey.

When to use the Image with text block
- Feature highlights - Showcase a specific product feature with a screenshot or illustration alongside a short description.
- Release announcements - Pair a new feature image with a brief paragraph describing what's new and where to find it.
- Visual introductions - Use an image to set the tone for a section of your knowledge base, with supporting text to orient readers.
- Promotional content - Highlight a guide, video tutorial, or key article with a thumbnail and short call to action.
When the content is text-only, use the Rich text block instead.
How to add an Image with text block
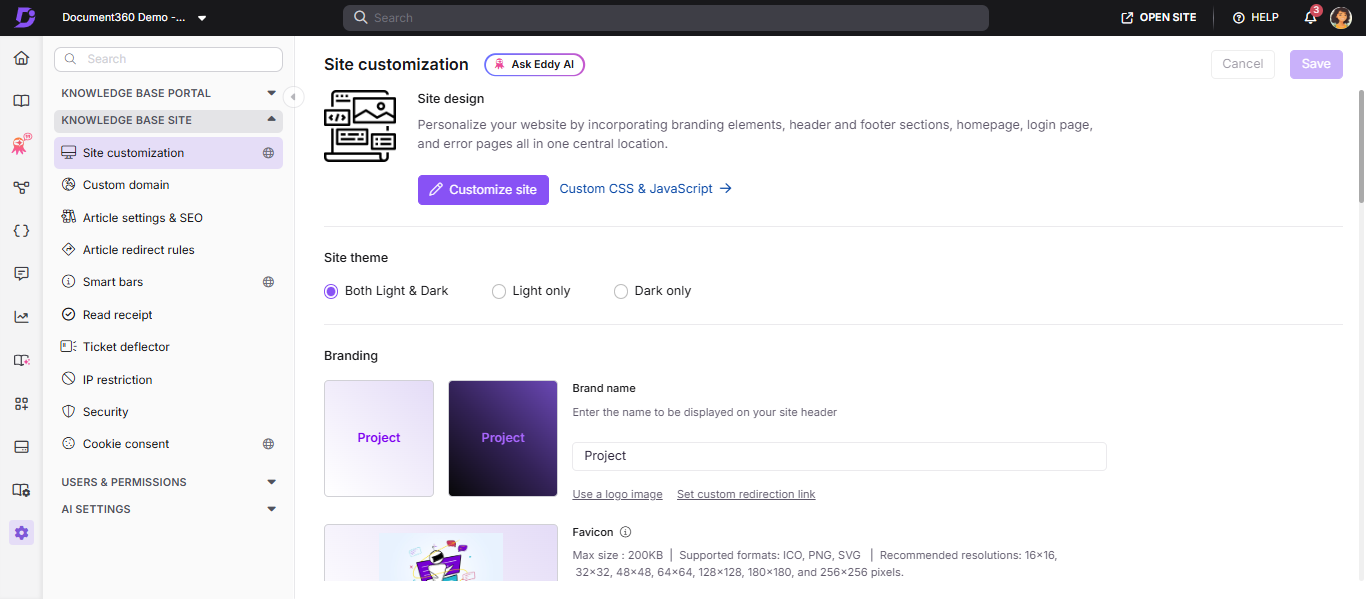
- Navigate to Settings () in the left navigation bar of the Knowledge base portal.
- In the left navigation pane, navigate to Knowledge base site > Site customization.
- Click the Customize site button.
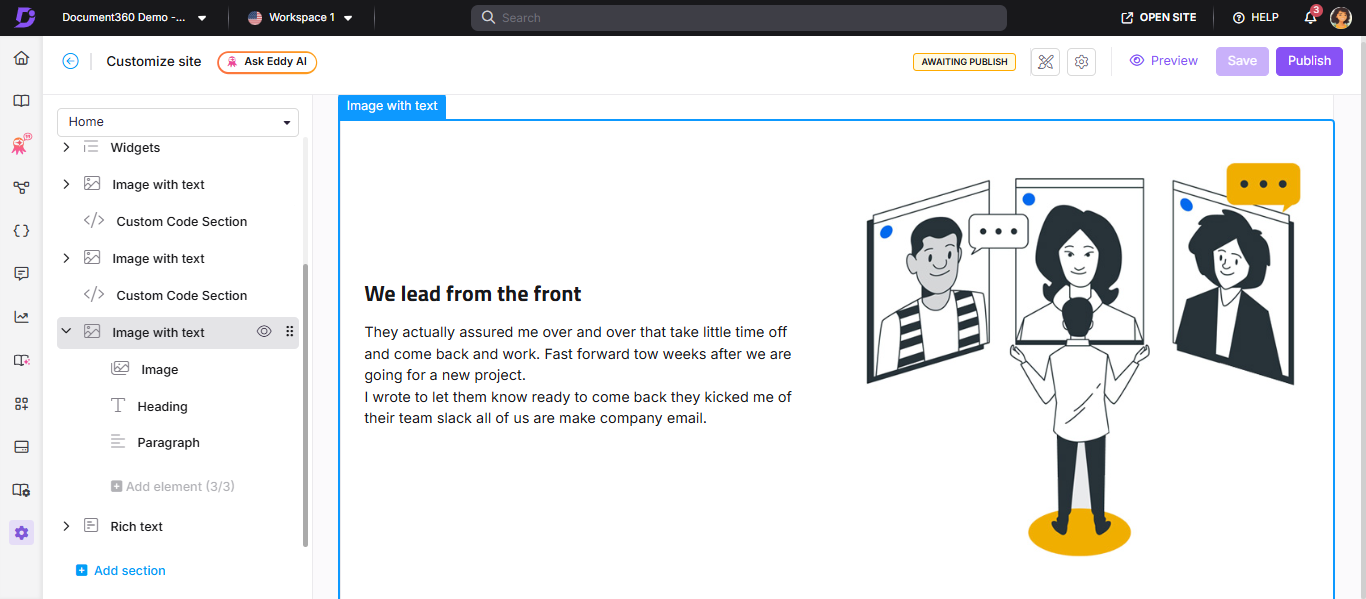
- From the left dropdown, select Home page. The Body section displays the list of body blocks.
- Click Add section and select Image with text. The block is added to the list.
- Use the Reorder () icon to rearrange the block. The Reorder and Hide () icons appear when you hover over any body block.
- Expand the Image with text dropdown to access the Image, Heading, and Paragraph elements.
How to configure the elements
Image
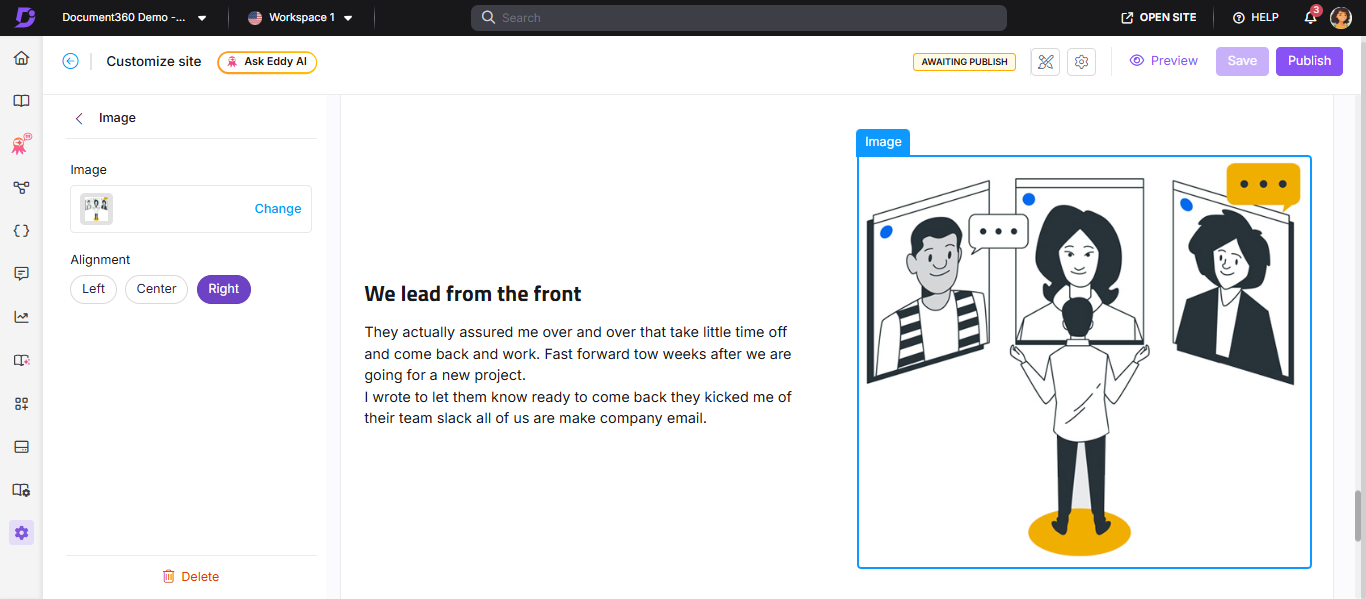
- Click Image to open the Image panel.
- Click Change to upload or update the image.
- In the Image tab, enter the image URL or upload one from your Drive.
- In the Alignment section, choose Left, Center, or Right to position the image within the block.
Heading
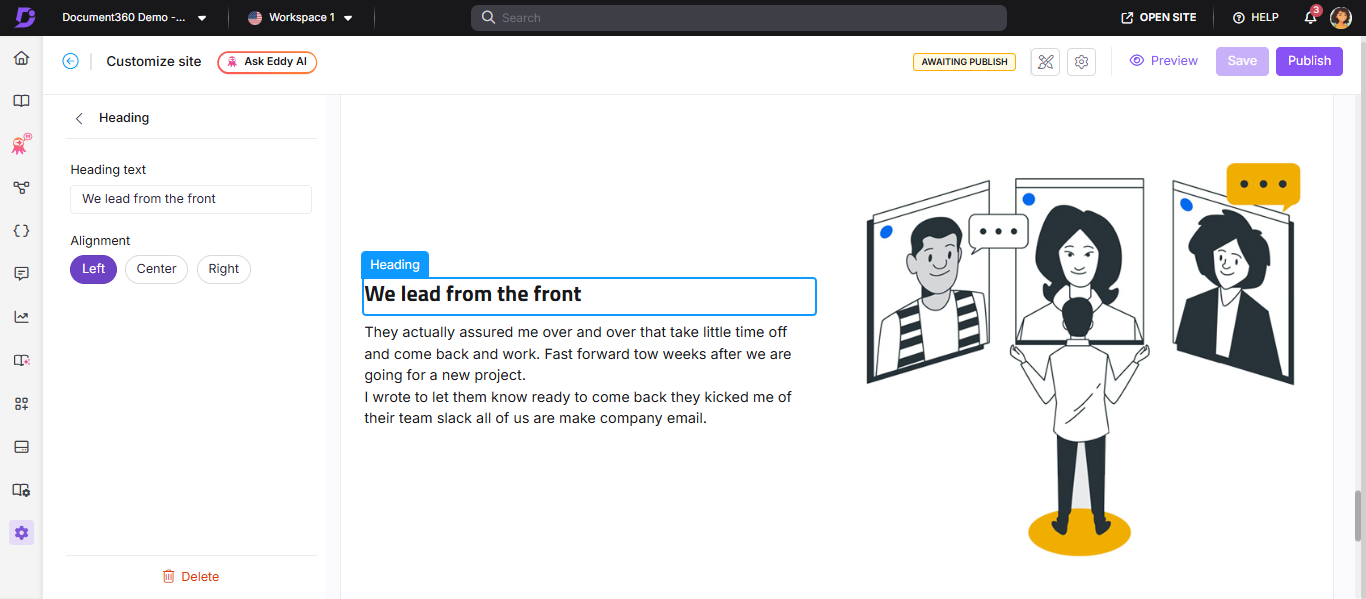
- Click Heading to open the Heading panel.
- Enter the desired text in the Heading text field.
- Use the Text color palette to choose a heading color.
- In the Alignment section, choose Left, Center, or Right.
- Click Delete to remove only the Heading element from this block.
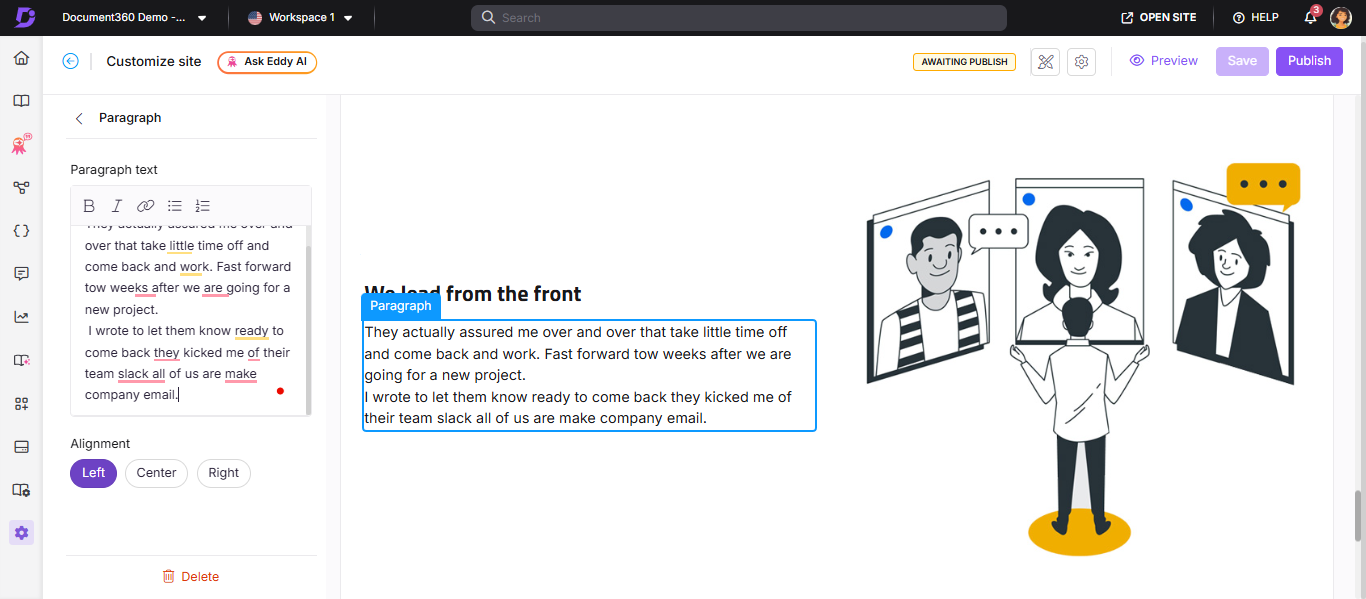
Paragraph
- Click Paragraph to open the Paragraph panel.
- Enter your content in the Paragraph text field.
- Format the text using the following options:
| Option | What it does |
|---|---|
| Bold () | Applies bold formatting |
| Italic () | Applies italic formatting |
| URL/Link () | Adds a hyperlink |
| Unordered list () | Creates a bulleted list |
| Ordered list () | Creates a numbered list |
Markdown syntax is supported in the Paragraph text field.
- Use the Text color palette to set the paragraph text color.
- In the Alignment section, choose Left, Center, or Right.
- Click Delete to remove only the Paragraph element from this block.
How to save and publish
- Use the Preview toggle on the right to review your changes.
- Click Save to save your changes.
- Click Publish to make changes live.
Best practices
- Keep image and text balanced - a large image next to a short sentence looks mismatched. Aim for roughly equal visual weight between the image and the text beside it.
- Use Left alignment for the image when the reading direction is left-to-right; it's the most natural layout for most readers.
- Use the heading to anchor the block - even if the heading is short, it gives readers a quick label for what the image and paragraph are about.
- Avoid uploading oversized images - large images slow page load. Resize images before uploading, keeping them web-optimized (typically under 200KB for home page visuals).
- Use consistent image dimensions - if you have multiple Image with text blocks on the same page, keep image sizes consistent for a cleaner layout.
FAQ
How do I delete an Image with text block from the home page?
Navigate to {{variable.Settings}} () > {{variable.Knowledge base site}} > Site customization and click Customize site. From the left dropdown, select Home page. Click the desired Image with text block. Click Delete and confirm by clicking Yes in the Delete confirmation prompt. Click Save and then Publish to apply the changes.